Citrus Beret

New Pattern Alert!!

The Citrus Beret is based on, well, citrus! This hat features a segmented design reminiscent of the inside of a sliced citrus fruit, with a textured underside meant to evoke the peel.

This hat is worked in the round, some details are worked directly onto the top of the hat, no sewing required!

The Citrus Beret crochet pattern is now available on both Etsy and Ravelry!

Granny Hearts Bag

This bag is maybe a little late for this Valentine’s Day, or maybe it’s just really early for the next one? Whichever it is, it’s a fun, textured bag that’s a good use of some smaller balls of yarn!

The bag itself is made up of 18 granny squares crochet together, with a denim lining and a crochet strap. The pattern for it details how to make the granny squares, as well as how to put it all together and make a bag. A good thing about this pattern is the granny squares themselves can be used to make any other item that uses granny squares as a base!

Not only is this pattern up for sale on Ravelry, but it’s now up for sale on Etsy too! Please be sure to check it out!

Mushroom Beret Hat Pattern

First thing’s first:
Happy New Year!

One of the last things I did in 2021 was make and design this Mushroom Beret. This is definitely in my top three designs of 2021. I made this hat using two colors of yarn and fairly simple stitches.

I’ve had the idea to make a Mushroom Beret for a while, but was only able to focus on this project recently. This beret’s design was inspired by amanita muscaria, or the fly agaric mushroom. One of the things that was super important to me was the look of the “gills” on the bottom of the hat. I managed to achieve what I was looking for in just a few days, and then patterned it and have uploaded it to Ravelry!

As always, thank you for reading, and be sure to share your projects when you’re done!

Solstand Shawl

salstand shawl front

I picked up some Lion Brand Mandala yarn and immediately knew I wanted to make a shawl with it. The question was: which shawl? I searched for a while, but was unable to find any pattern that fit my specific vision, so I decided to design and make my own.

solstand shawl first draft pattern and shawl

Over the course of about ten days, I turned my 2 skeins of Lion Brand Mandala in Spirit into a shawl and wrote up a pattern for it! This shawl pattern requires knowledge of basic stitches, as well as front post and back post stitches. The shawl uses about 1000-1200 yards of DK yarn and a size 5 mm (H) crochet hook Instructions for bobble and puff stitches are included. Scroll down to the bottom of this page for a link to purchase the pattern!

dog on solstand shawl
Jupiter would prefer if I didn’t put my crochet on his ottoman

For the most part I was super happy with the yarn I used. It didn’t become ‘fuzzy’ even after ripping out and crocheting repeatedly, and the colors were beautiful. Each skein had 1 complete repeat of the colors so they were easy to cut apart and match up when changing over.

color change solstand shawl

My only complaint is that inside the second skein, there was a tiny knot tying two completely different shades of blue together. I’m used to yarn having a small knot in it, but I am not pleased with the color change. I ended up cutting it apart and was able to match up the colors, but it’s not ideal.

solstand shawl back open

However, I’d still recommend using Lion Brand Mandala for this shawl. It has good drape and stitch definition. I also think that the length of each color in two skeins creates a very nice gradient.

solstand shawl back wrapped

Click here to purchase this pattern in UK and US terms for $4.99
Use code ‘autumn’ to get 20% off your total pattern purchase in my ravelry store from now until Halloween 2019!
Be sure to upload a picture to Ravelry and link it to the pattern! I love seeing everyone’s creations!

Scrappy Stripes Sweater

I’ve completed yet another pattern! This time I used a bunch of my leftover yarn bits and bobs to create a rainbow sweaters I have dubbed the Scrappy Stripes Sweater! This pattern is available as a free downloadable pdf on Ravelry.

Evelyn is sitting down wearing a rainbow crochet sweater

The sweater body is worked from the bottom up, while the sleeves are worked from the top down. Each colored stripe only uses about 80 yards of each scrap, and about 440 yards of a base color, in my case I used cream. This brings the total amount of yarn to about 1720 yards.

If you’ve got sharp eyes, you might notice some yarns that I have used in previous projects! The sweater is primarily made from aran weight yarn, but there are a couple dk and worsted bits snuck in there, with careful consideration as to how that would affect the gauge.

The sweater is made from dc and sc, the cuffs using the back loop only to create texture and stretch, while the sleeves use dc2tog for shape. The stripes keep their clean look using the standing crochet stitch. If you’re unfamiliar with what that is, I’d recommend checking out this tutorial on Moogly.

Scrappy Stripes Sweater Side

Although the weather is a bit warm for this scrappy sweater, I still want to wear it all the time! It was fun to use up the ends of yarn and think about other projects I had made using it.

The pattern is available for free download here. I listed all the yarns I can remember here, but I can’t guarantee the one you’re eyeing is listed. Remember to let me know if you make something using this pattern! You can link it to the project page on Ravelry, or tag me on social media.

Tanabota Top

Evelyn wearing the Tanabota Top, a loose crochet striped top. The top has an open weave and is in blues and teals.

I’ve just released a new pattern for sale on Ravelry! The Tanabota Top comes in sizes XS-XXL, fitting a bust range of 32-49 inches. It uses a size L/8mm crochet hook and worsted weight yarn. It’s the perfect top for summer – it’s sleeveless with an open, light stitch pattern. The patterns is also fairly easy to make, using only half double crochet, chain stitch, and slip stitch.

Tanabota Top Back

The yarn I used is Caron Cotton Cake in Hydrangea. It’s an easy to work with yarn with good stitch definition. However, the 530 yard ball I used had eight knots tying ends together in it. I’ve never come across a yarn with so many knots in it, but the colors are so pretty I didn’t mind too much.

Tanabota Tap Close Up of Hem and Side Seam

The Tanabota Top is worked in one piece from front to back with side seams. Here’s a close up of the join between the front and back along the sides, joined with a whipstitch. I was a bit worried with the color changing properties of the yarn that my stitches might look out of place, but it blended in rather well, I think.

Tanabota Top Front

This pattern is currently available on Ravelry for $2.99. If you’re interested in this pattern, please check it out or click here to buy it now! Be sure to share pictures of what you make, I love to see what everyone comes up with!

Raspberry Hood

hood side view I made this hood using the Bobble Hood with Tassels pattern.

hood front

It was easy and straightforward to make,but I did have a little trouble with the borders. I somehow messed up the back post single crochet so that it was on the wrong side of the piece, and had to match that when I made the second portion of the edging stitch.

hood full

Looking back at the pattern, my hood appears to be a bit smaller than the original, and the bobbles are in slightly different places. I’m not entirely sure what I did to cause this.

side hood

I am happy with the hood I ended up with, but I’m not sure it was the one that I was trying to make. I’ve received a lot of compliments on it, and might make another one. Next time I’ll pay closer attention to the pattern to figure out what I did wrong.

All Grown Up Slouched Hat

file_medium2

I made this hat using the All Grown Up Striped Slouched Hat pattern. The pattern calls for the hat to be made using an aran yarn, but I used a double knit (a double knit is thinner than an aran). In order to be able to make the hat to fit my head, I only needed to change the length off the hat. I used a 5.5 mm (I) crochet hook and made the small adult size. I crocheted about 6 more rows in the stripe pattern than the pattern asked for.

The pattern was fairly easy to make, and I learned a new stitch as well as the best method (in my opinion) of making a brim. The pattern calls for the brim to be simultaneously made and attached to the hat, thus eliminating the hassle of sizing the brim to the hat and attaching it. I will definitely be using this brim method for all of my future crochet hats!

Devil or Angle?

tumblr_o351lrkW0Y1ustsfxo3_1280

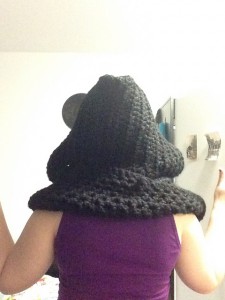
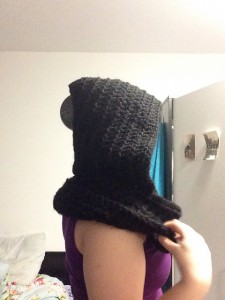
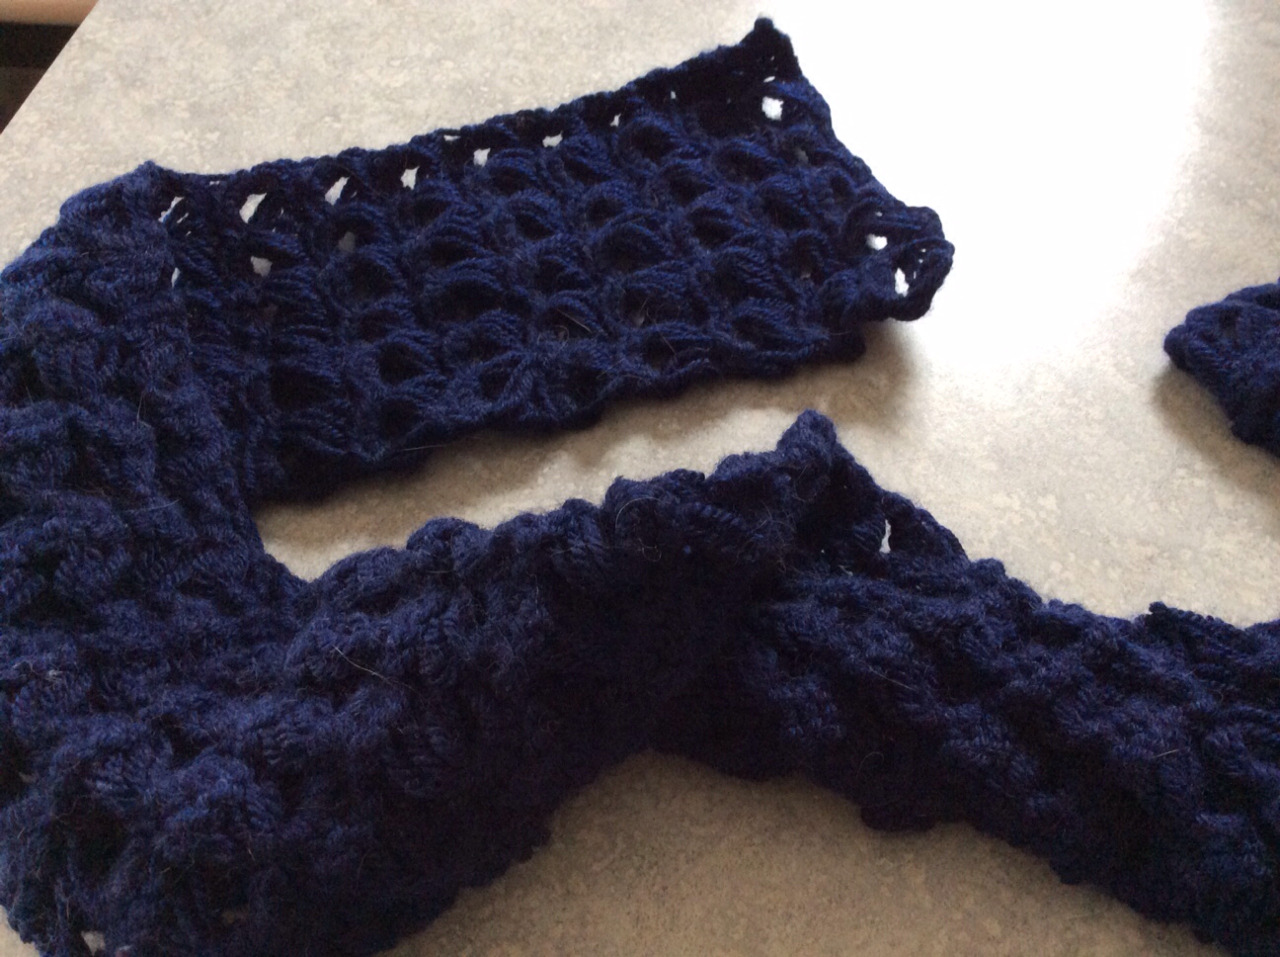
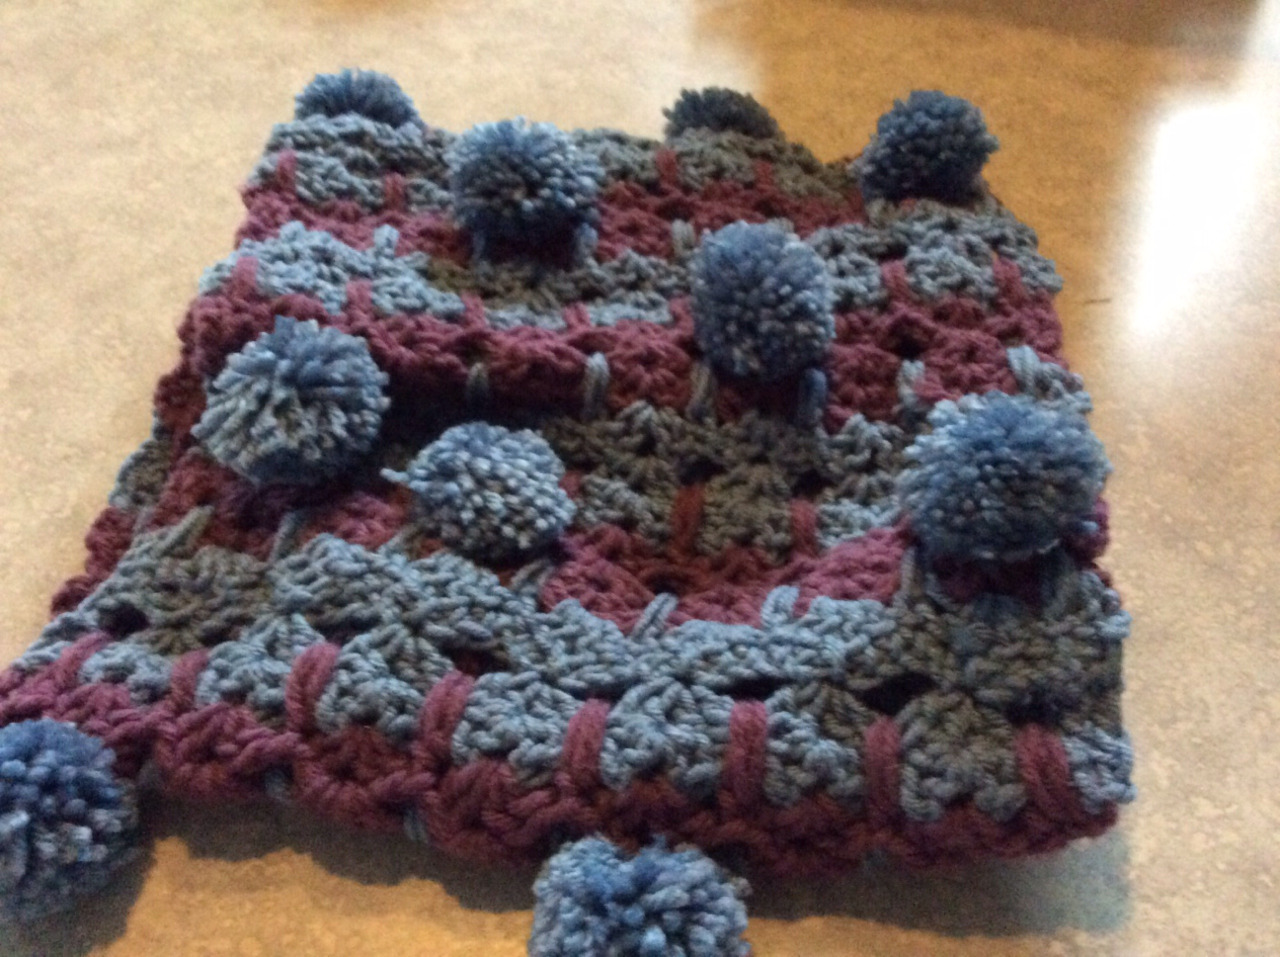
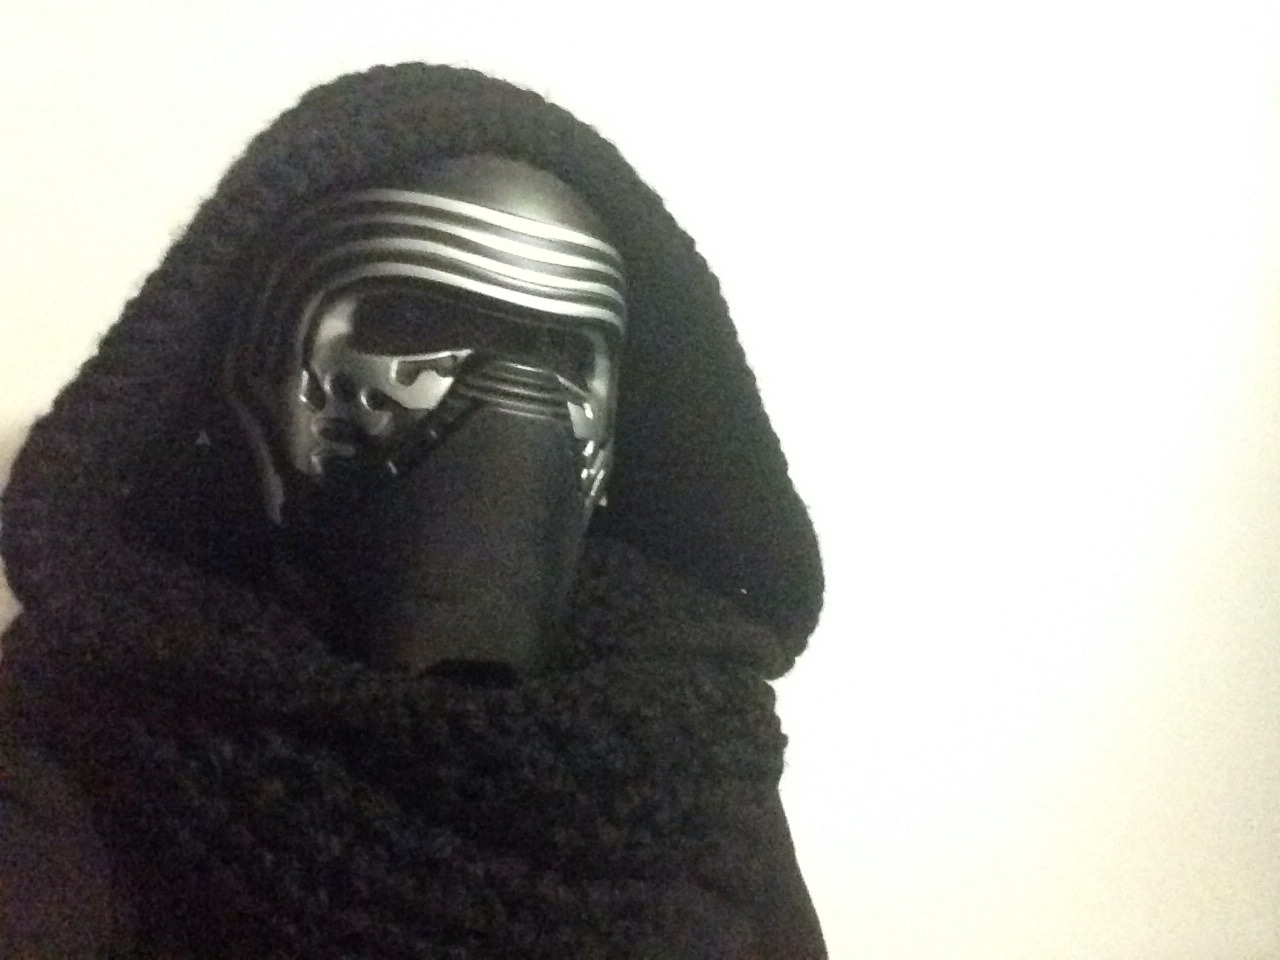
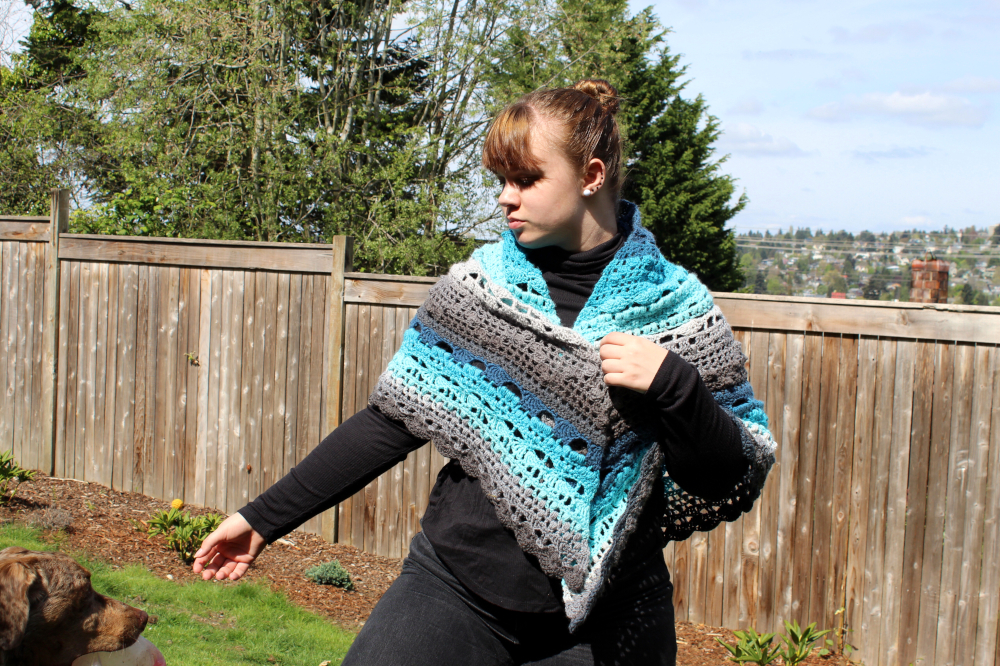
Why yes, that is a Kylo Ren mask! I made this combination hood and scarf using this scoodie pattern. From my calculations, I thought the scoodie would take about two balls of yarn to make, but it ended up taking six.

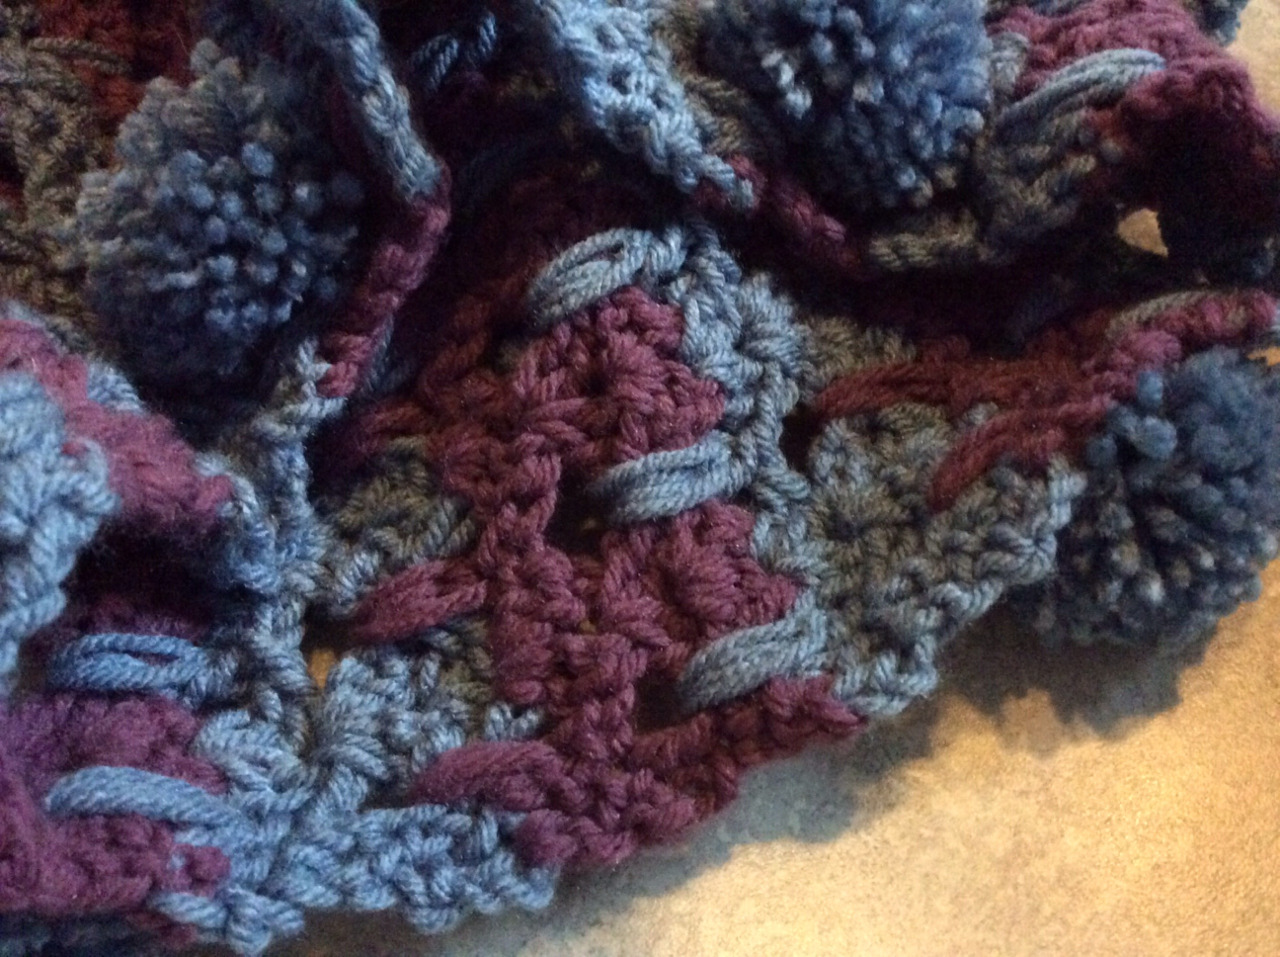
It’s difficult to photograph without it looking faded or without all of the detail disappearing, but I hope these photos give an idea of what it looks like. The pattern was a video pattern, which I personally do not like as much as a written pattern, but the scoodie was very easy to make. I would definitely suggest this pattern to people learning to crochet, because of its simple design with great visuals in the instructional video. It worked up very quickly because of the thickness of the yarn, and the scoodie is very warm – perfect for cold days!

12784532_10205579260351768_525346012_n
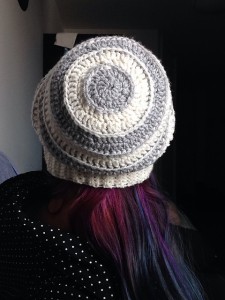
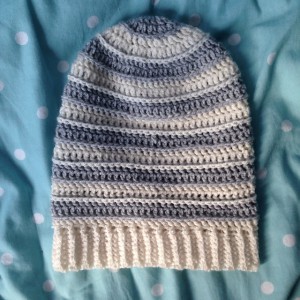
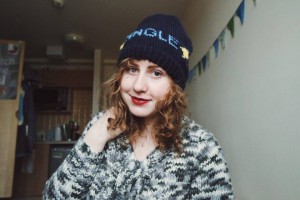
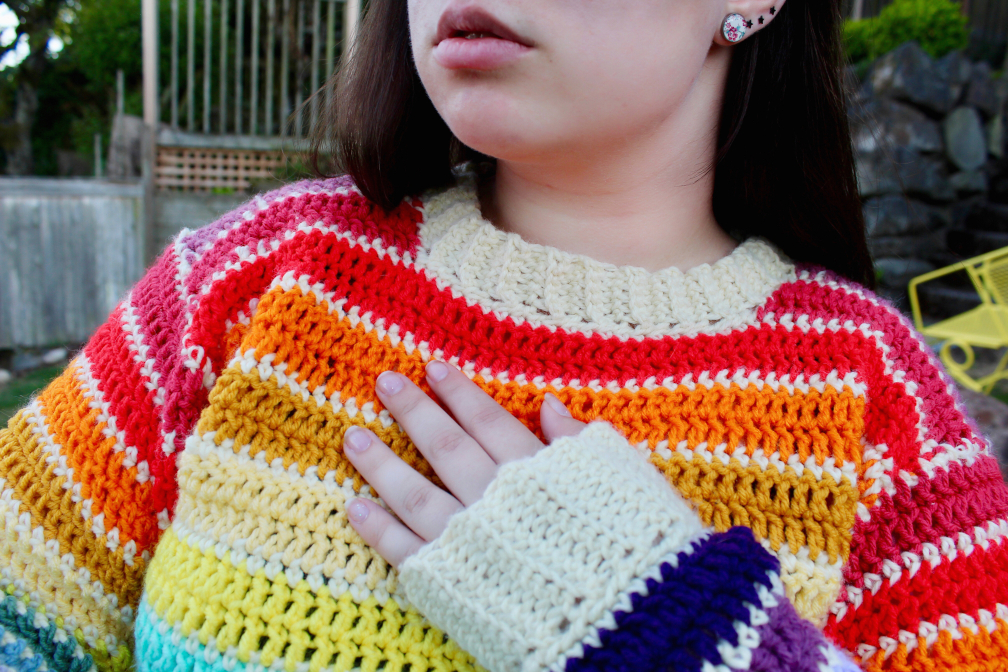
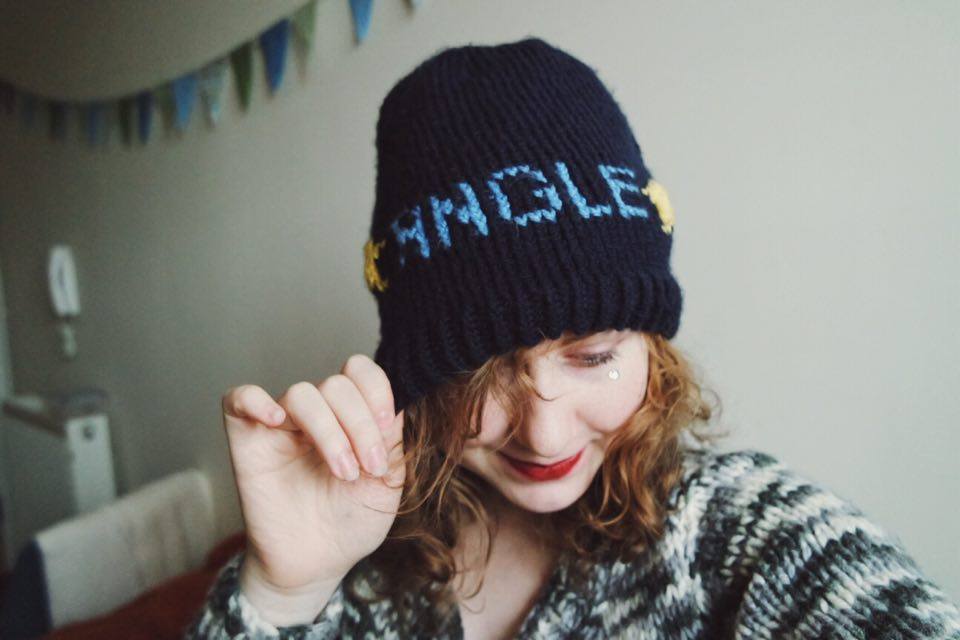
I made this hat for my friend Nicole, who told me to make her a hat that “has a random word on it that you think describes me”. Of course I went with ‘★ANGLE★’, a reference to my friend being an angel, and to an image that went around ages ago that said “I can be your devil or angle” on it. All of the pictures of the hat (with Nicole in it) were taken by Nicole. 12767546_10205579260831780_1235226791_n
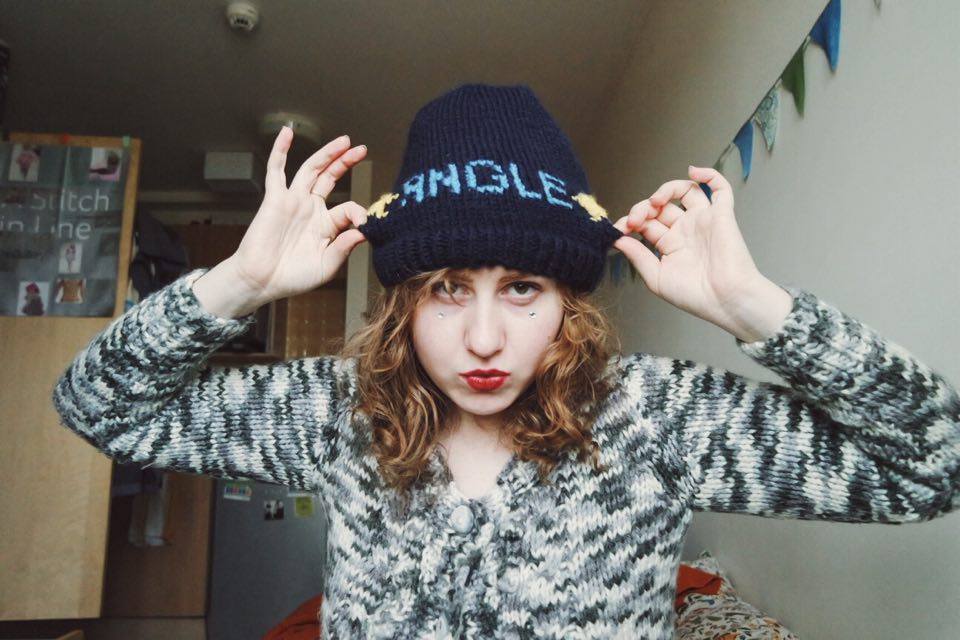
I tried to use a couple websites I found through google that translate images to knitting patterns, but I found it difficult to get the patterns to look how i wanted it to. Instead, I printed out a knitting pattern template, which is basically a grid of rectangles roughly the same size and shape of stitches, and drew out the letters and stars on that. The knitting method I used for the lettering is called stranded knitting technique, and involves ‘floats’ of yarn to be left on the back of the work. My tension for these floats were off in the space behind the stars, which resulted in them puffing out quite a bit. My tension in the lettering, however, is much better, and that section is very flat. I think I just need more practice in order to fix my tension issues. Overall, I do like the hat a lot, and I think it’s perfect for Nicole.
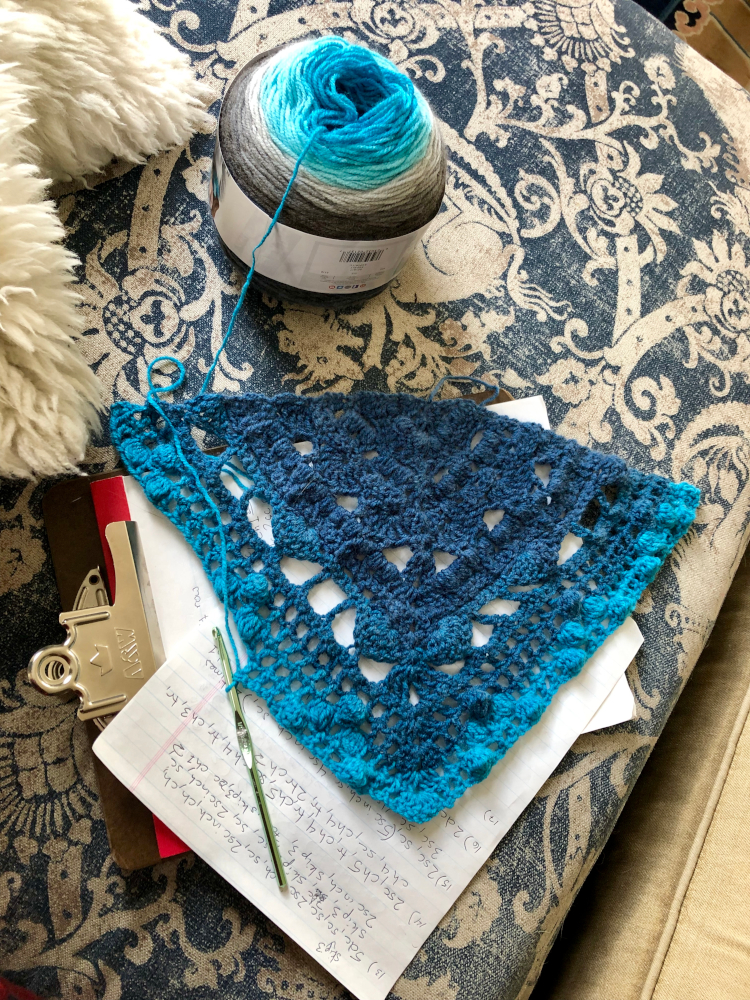
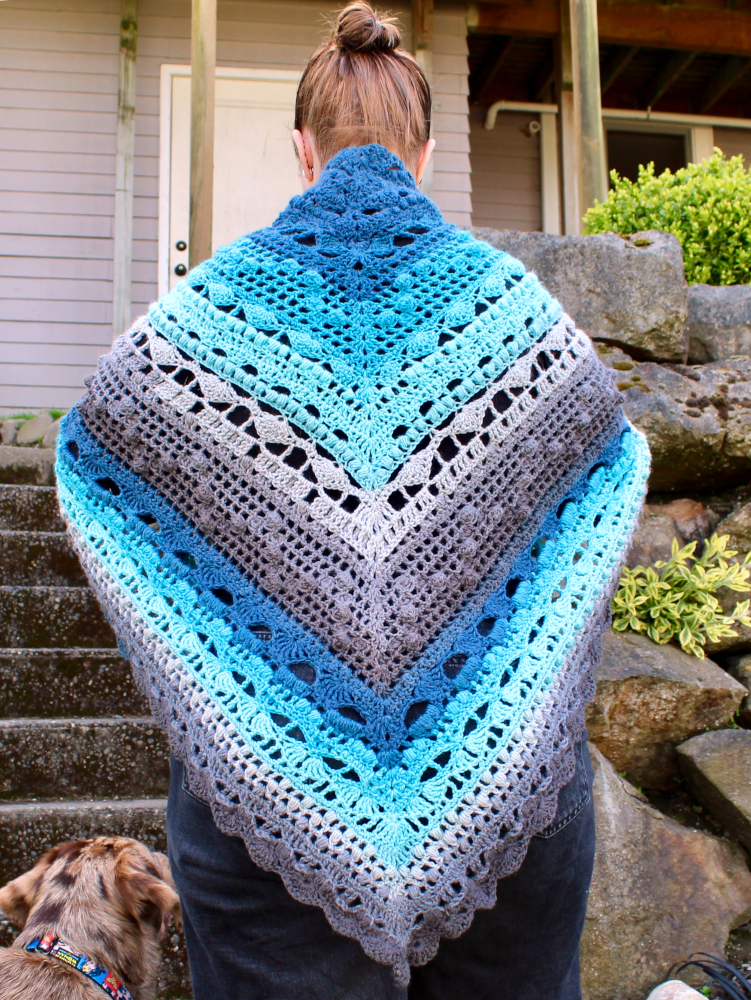
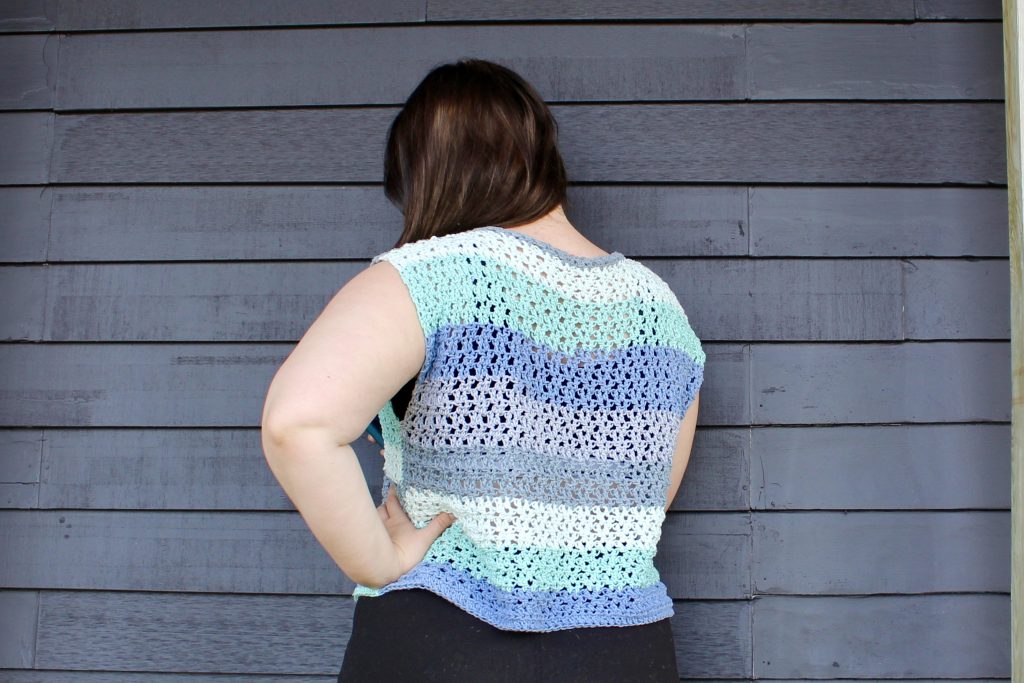
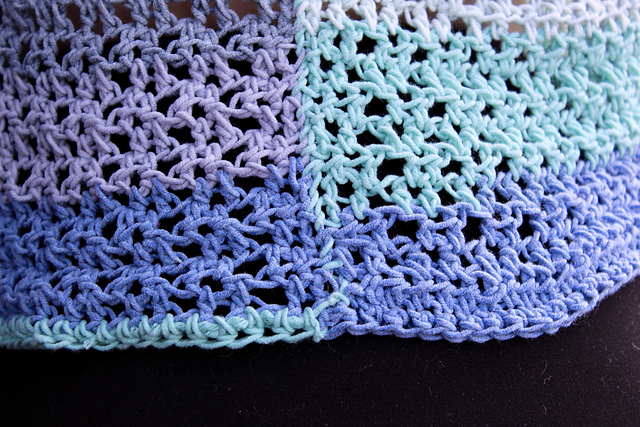
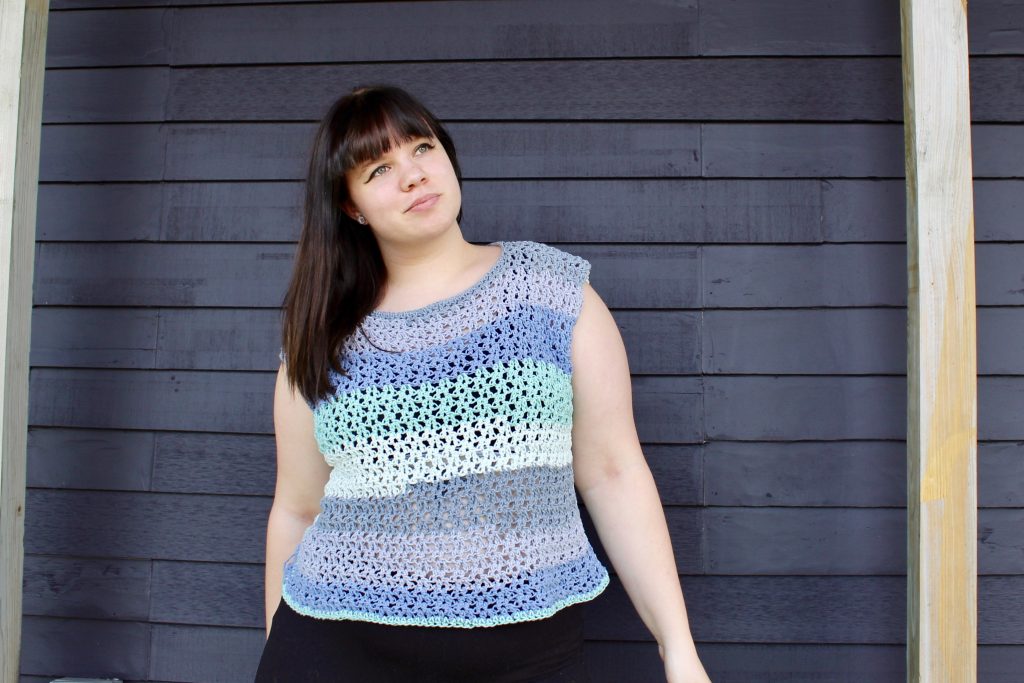
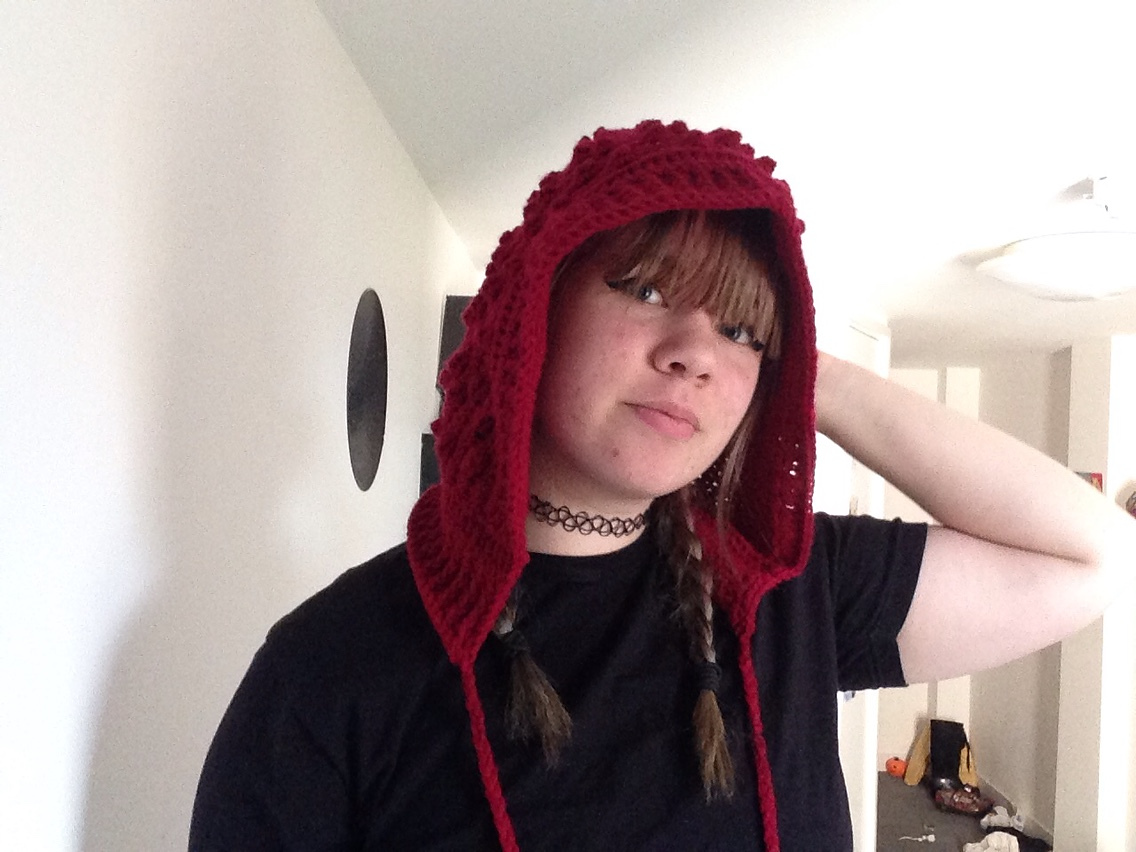
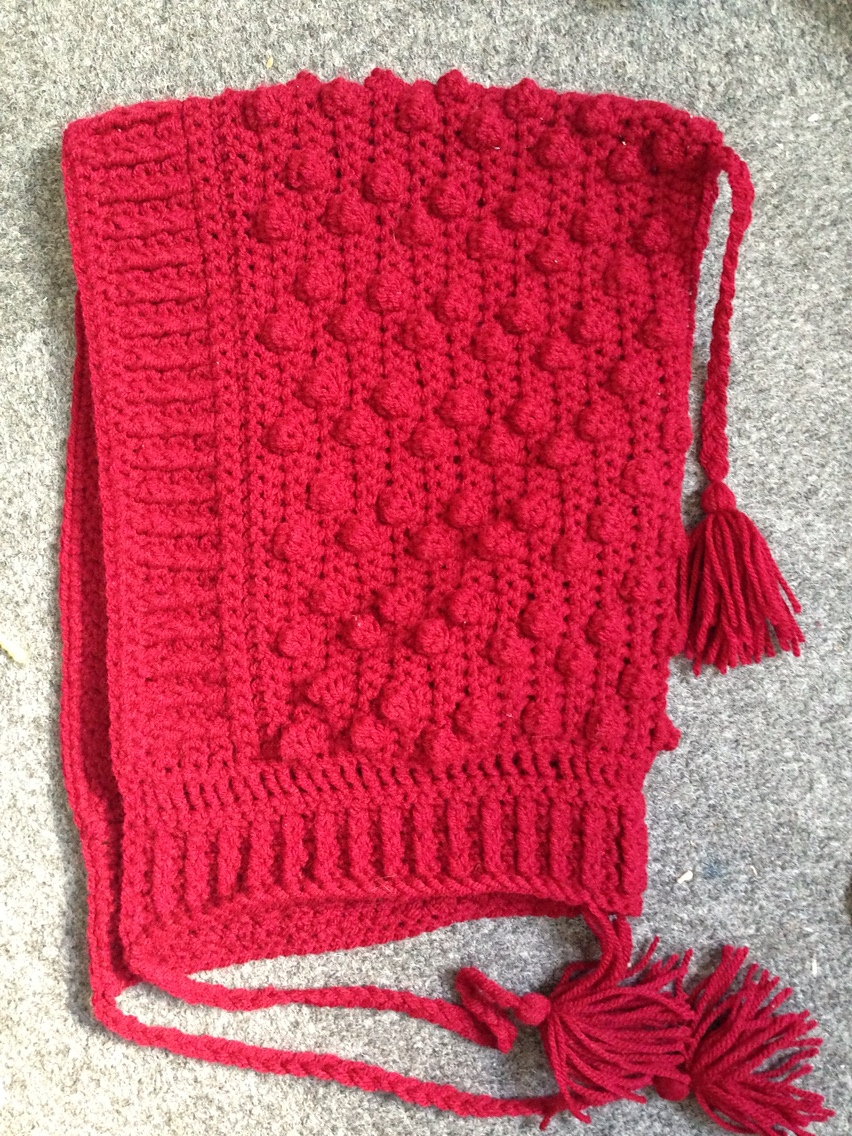
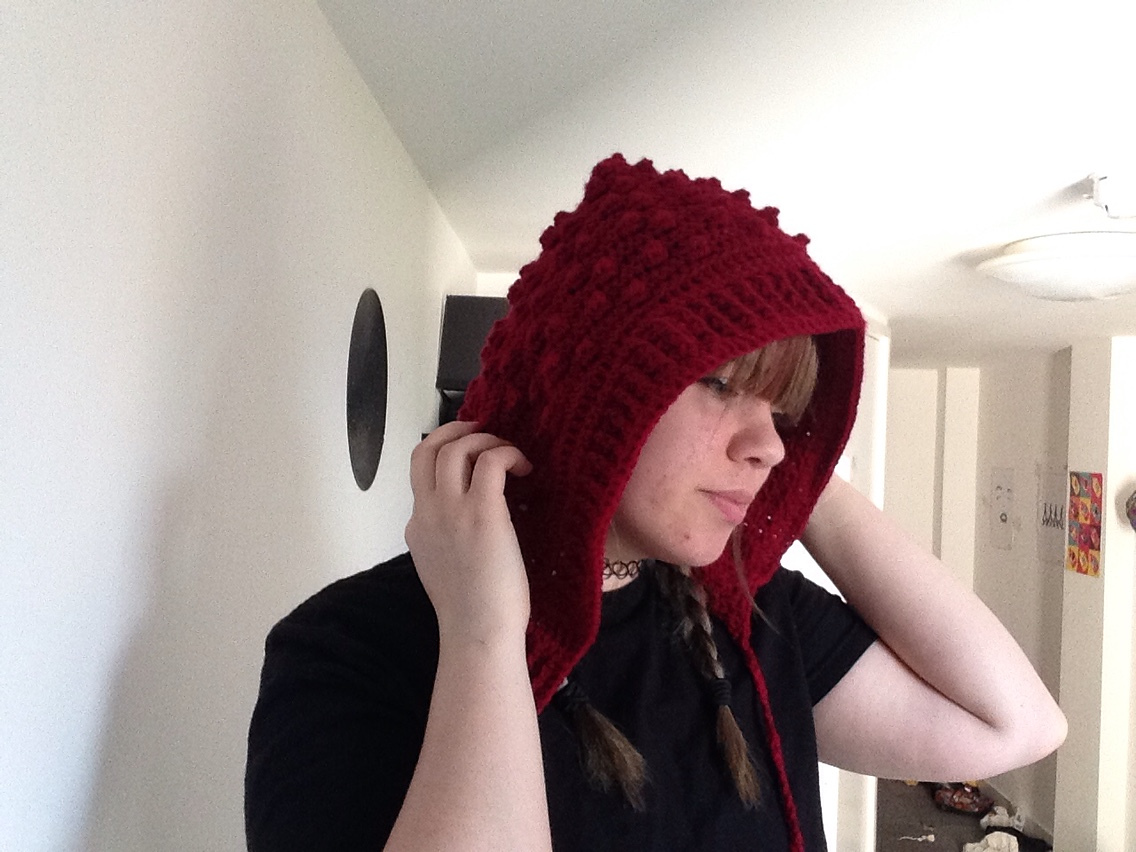
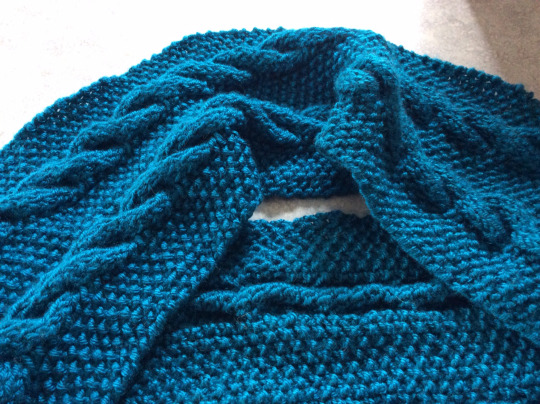
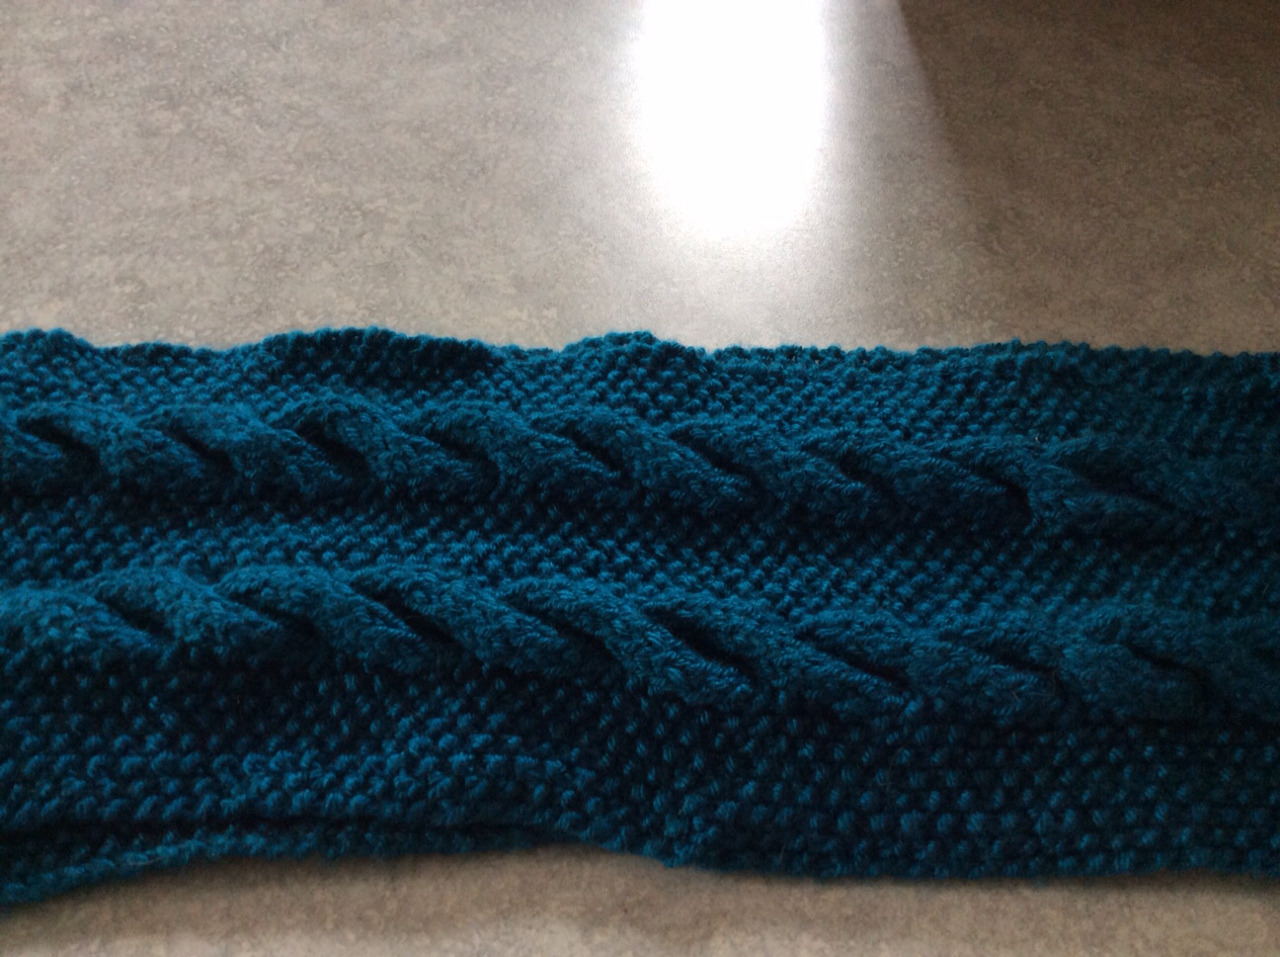
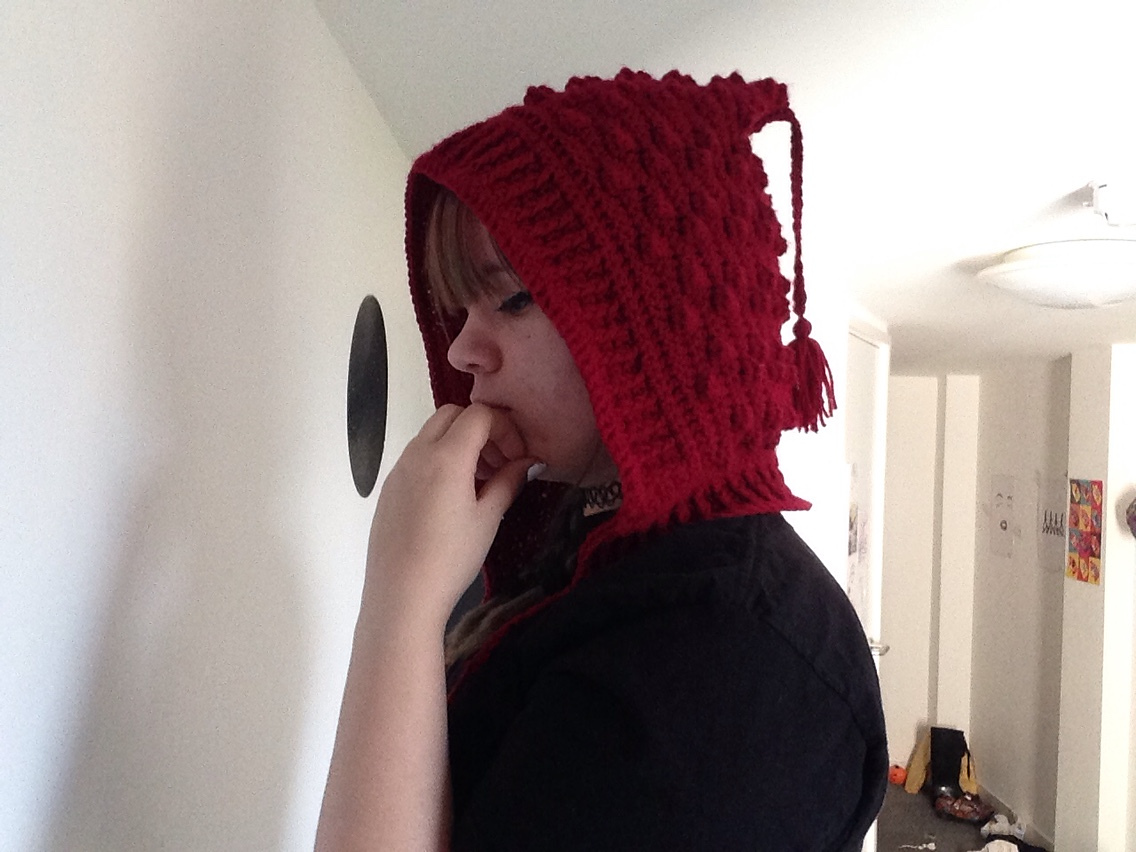
Christmas Presents for Relatives

All of these scarves were made over the summer before I moved for some of my relatives.

This cowl was knitted using the Infinity Trinity Cowl and Wristers pattern. I only made the cowl. It was an easy pattern to do, and an easy pattern to memorize, which made it nice to work on while watching TV. The only thing I’m not happy with is the seam joining the ends together. It’s a solid seam that won’t tear apart, but it’s very obvious.

This is based off the Broomstick Lace Infinity Scarf, but I lengthened the pattern so that it is instead a regular scarf. Another super easy pattern good for doing in front of the TV, although holding a huge knitting needle and trying to crochet around it at the same time takes a little focus.

This crocheted cowl has Abstract Crochet Cats and pom-poms! What’s not to like? This design was fairly easy to make, and my mom convinced me to add the pom-poms as a fun addition. I discovered that to make the cats look more like cats, the stitches done ‘in between the ears’ should be done AROUND the stitch instead of through it.

cat scarf 3

Can you see the cats?