Nardole from Doctor Who

On the second day of London MCM, I wore a cosplay of Nardole from the Doctor Who episode Eaters of Light. I’m starting with the second day because I neglected to get pictures of the costume I wore the first day, but hopefully I’ll get some soon.

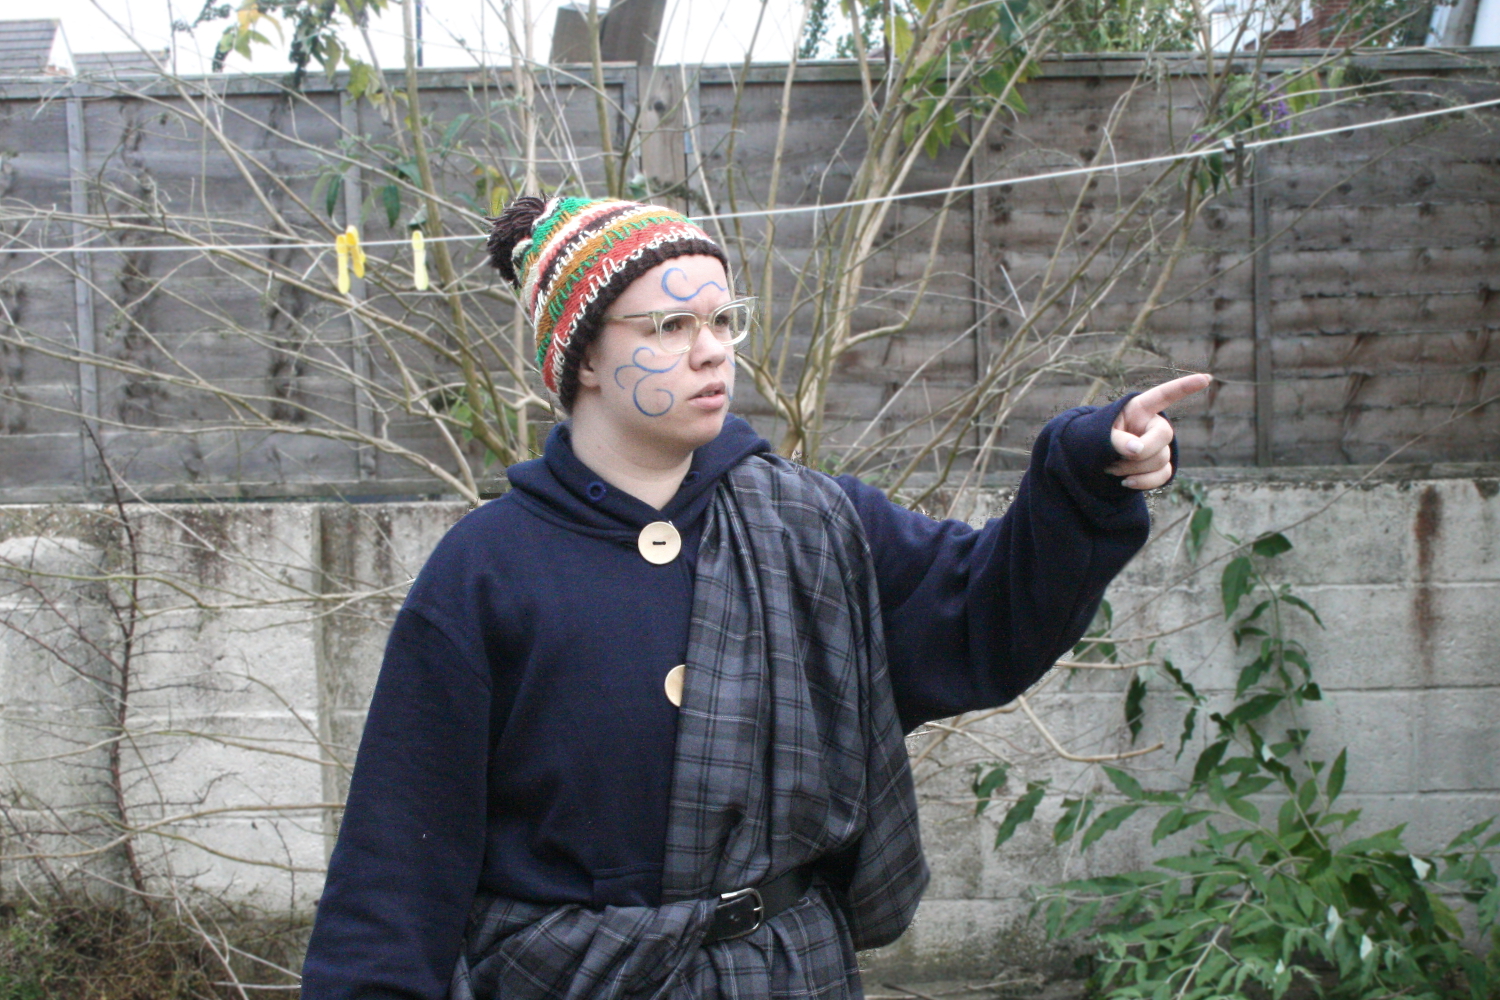
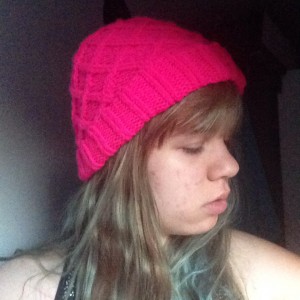
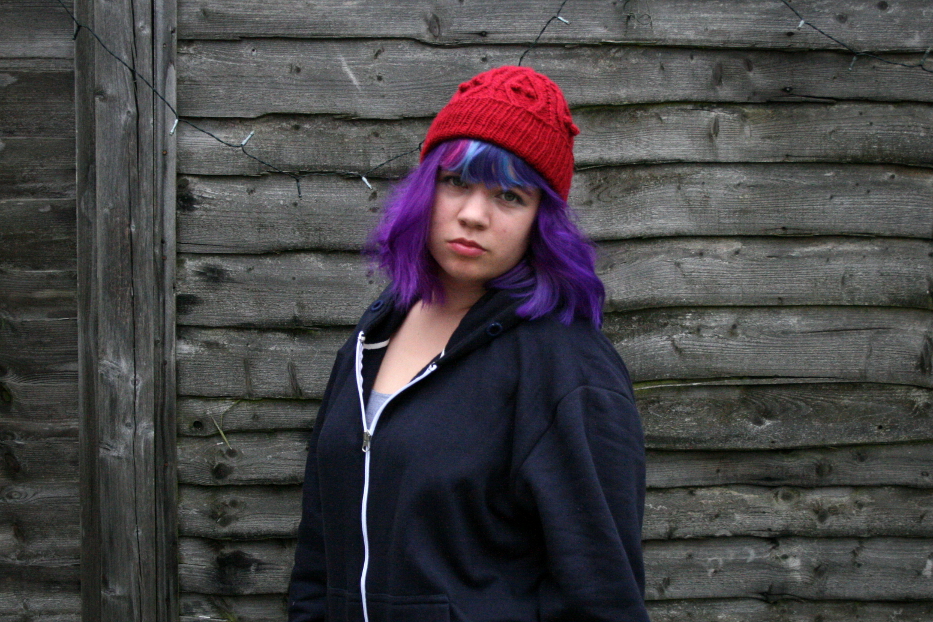
I spent the entire day making this same expression

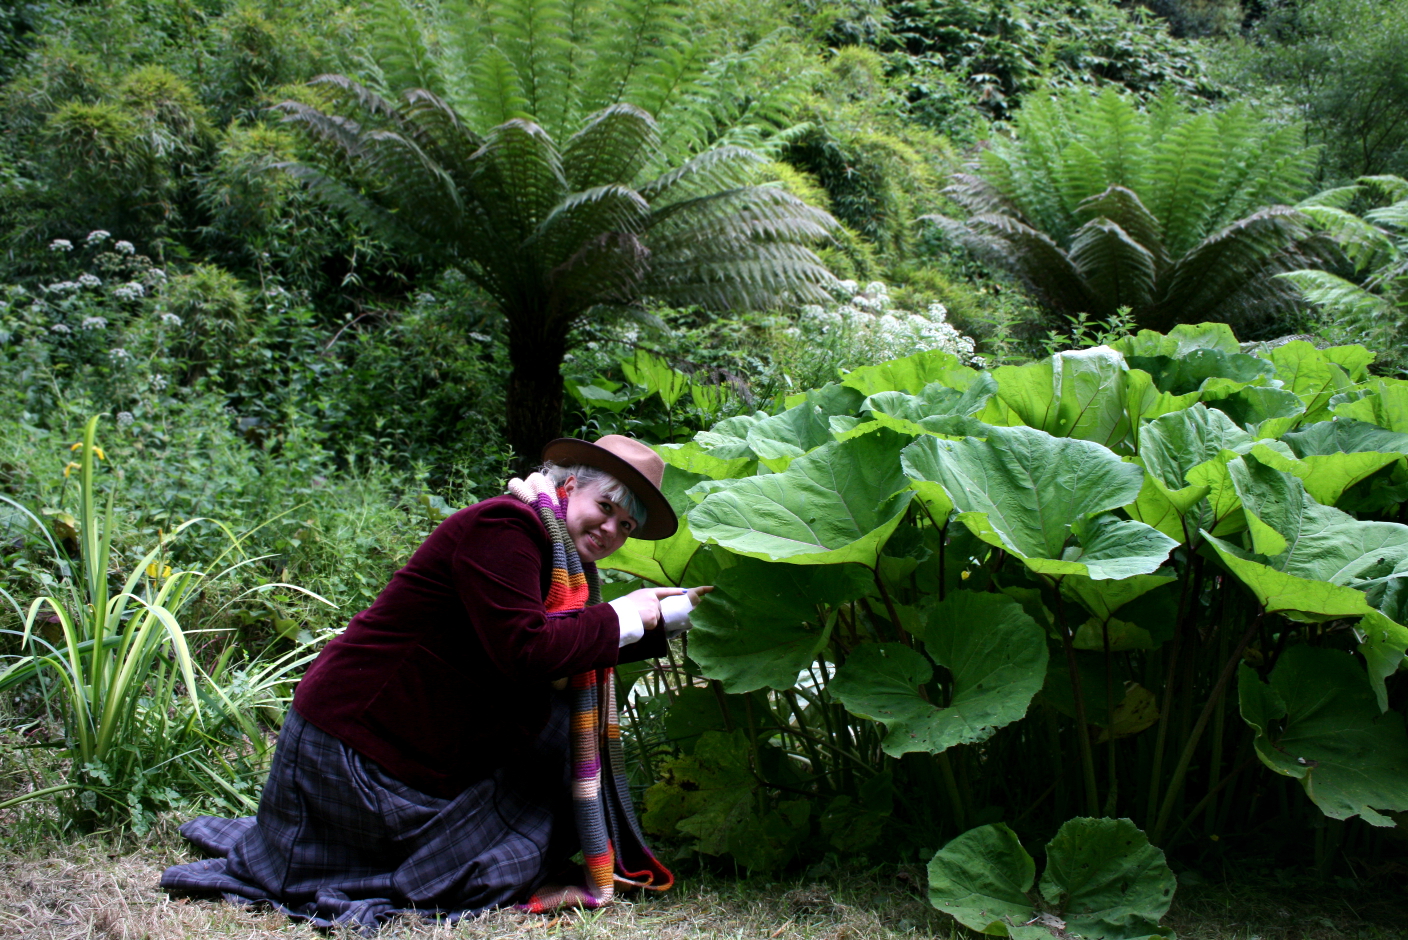
The Nardole costume consisted of a hand knit hat, a sweatshirt, pajama pants, and a kilt. The kilt was simply a huge piece of fabric with serged edges. Unlike how the kilt is worn in the show, I wore mine the same way that one would wear a great kilt.

Nardole full bodySince the sweatshirt was fairly simple in design, I opted to modify a blue zip up sweatshirt I already had instead of making one from scratch. I started by taking out the zipper and the hoodie cord. Then, I added buttonholes and large wooden buttons down the front of the hoodie. Even though I’d taken out the bright white hoodie cord, the eyelets in the hood were still visible in bright silver, so I buttonhole stitched all the way around them.

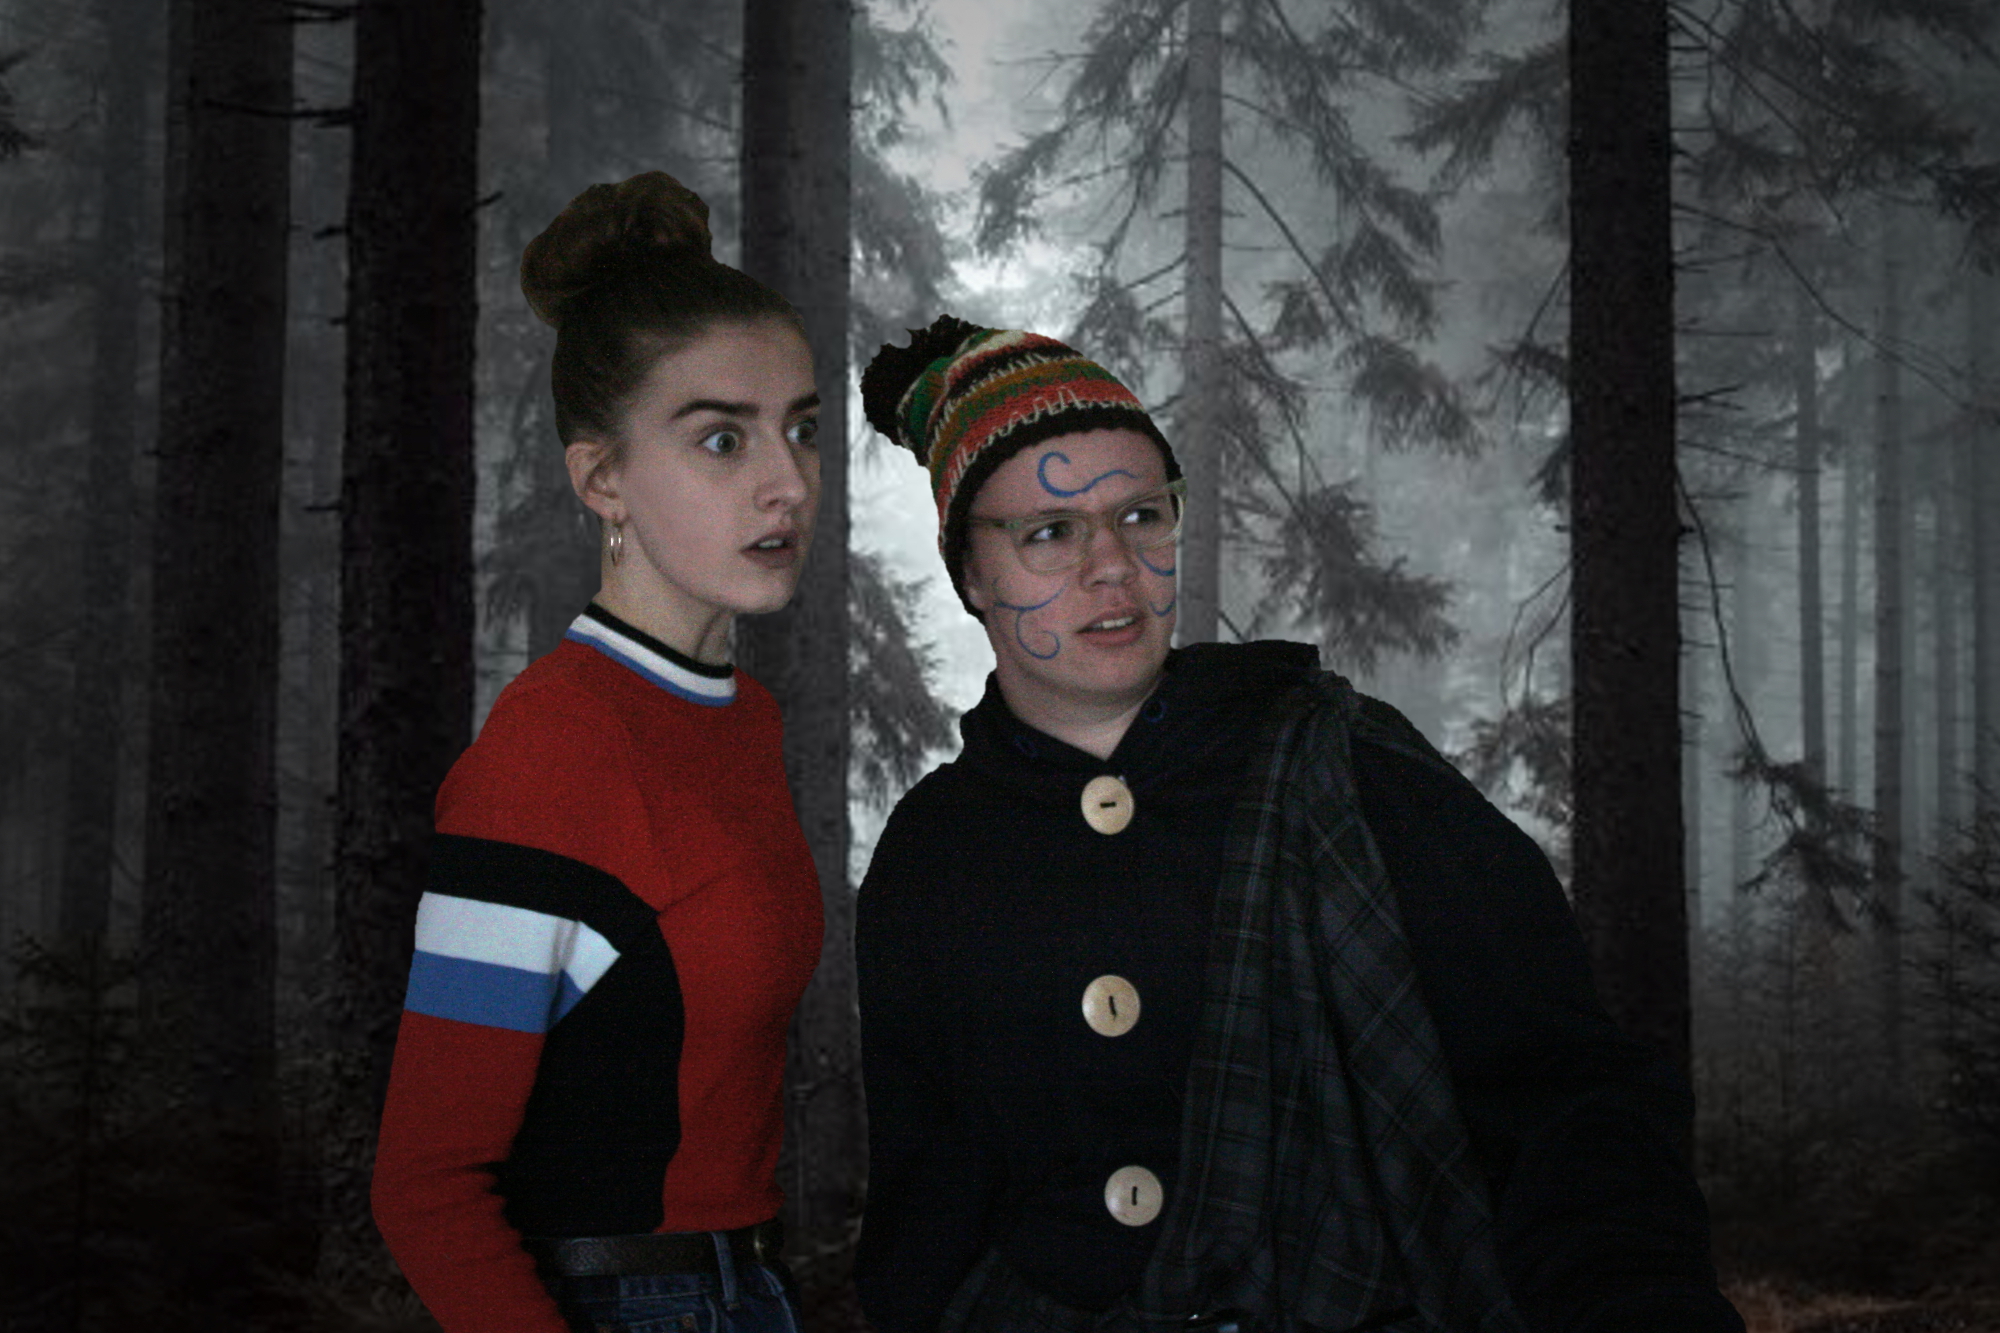
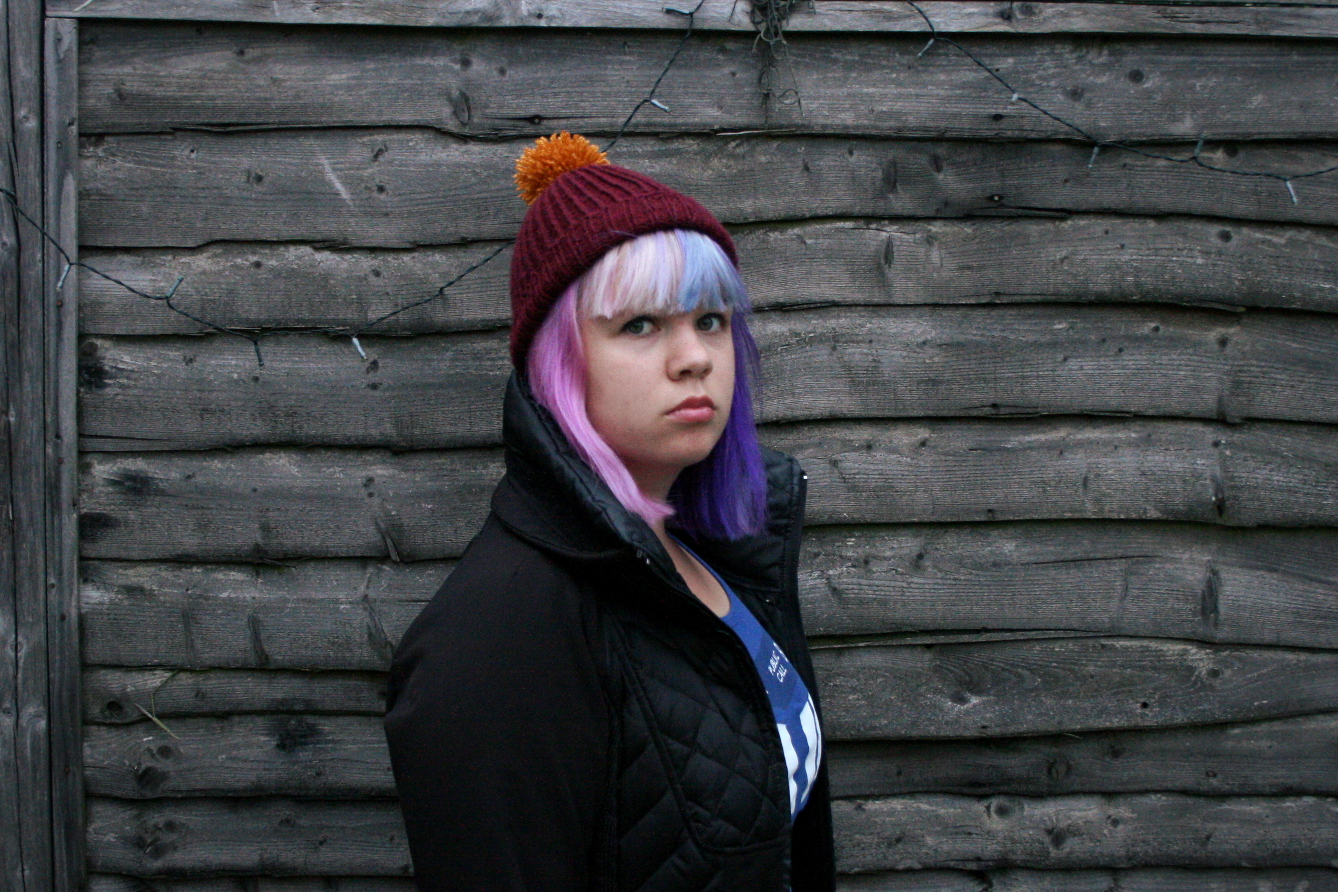
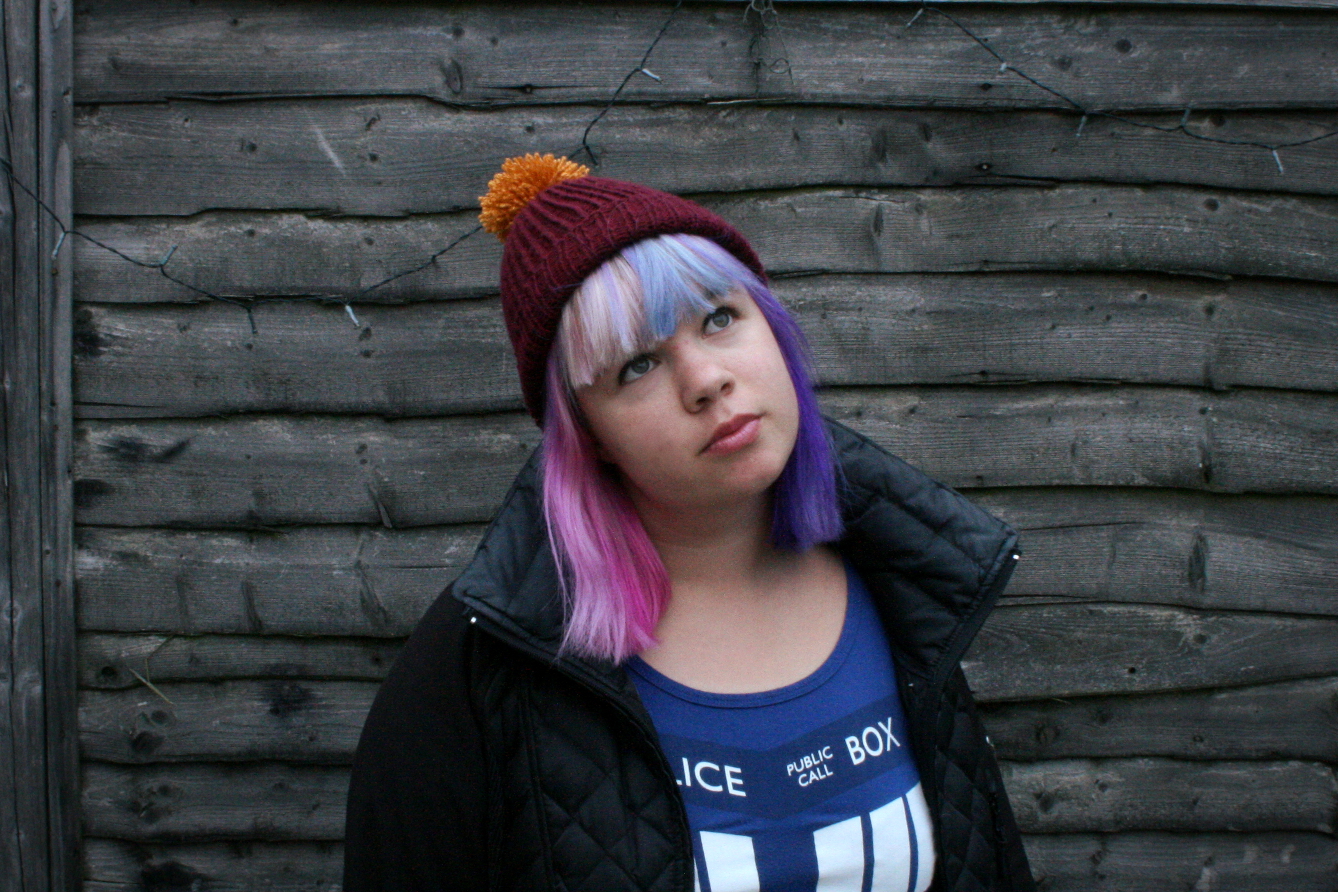
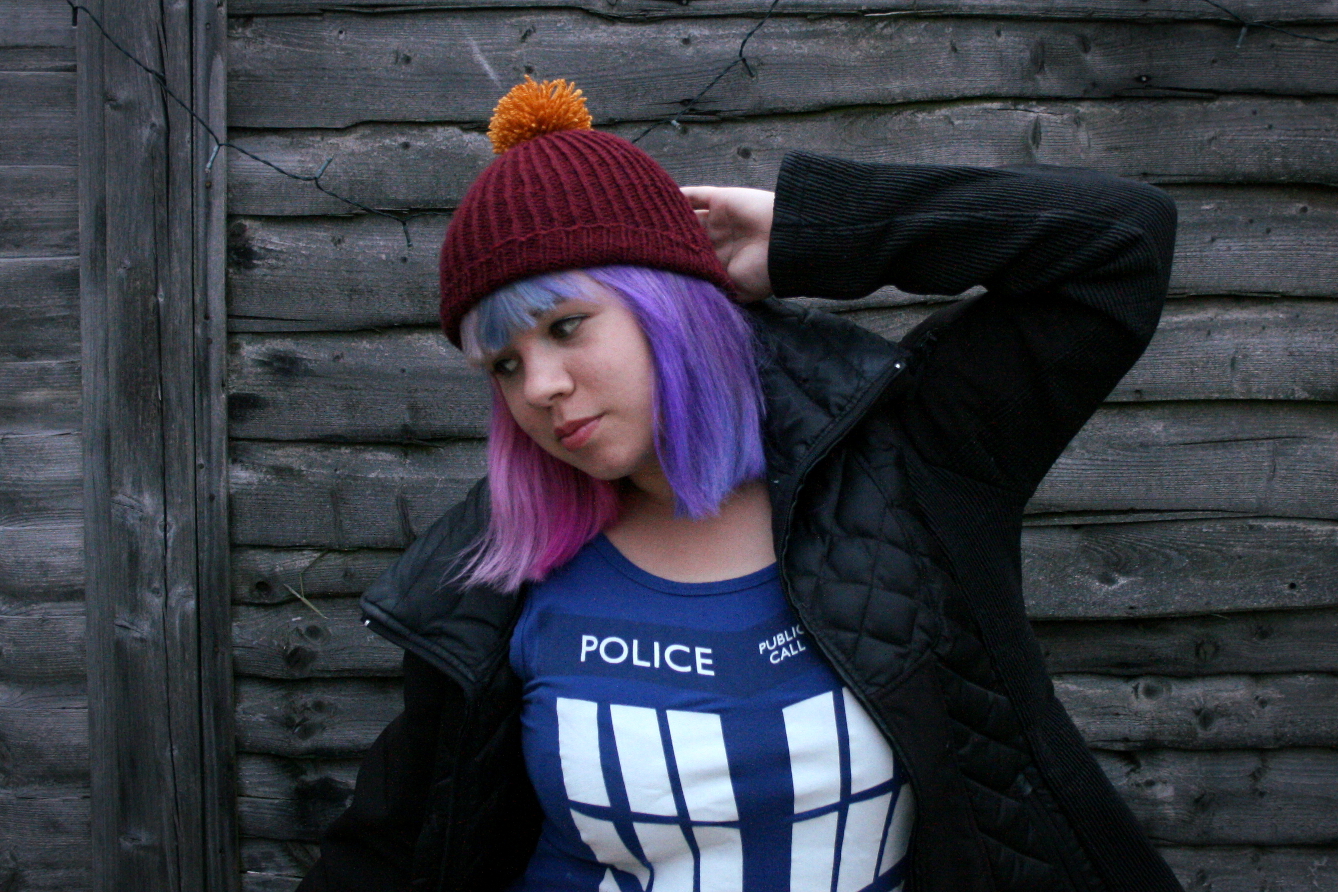
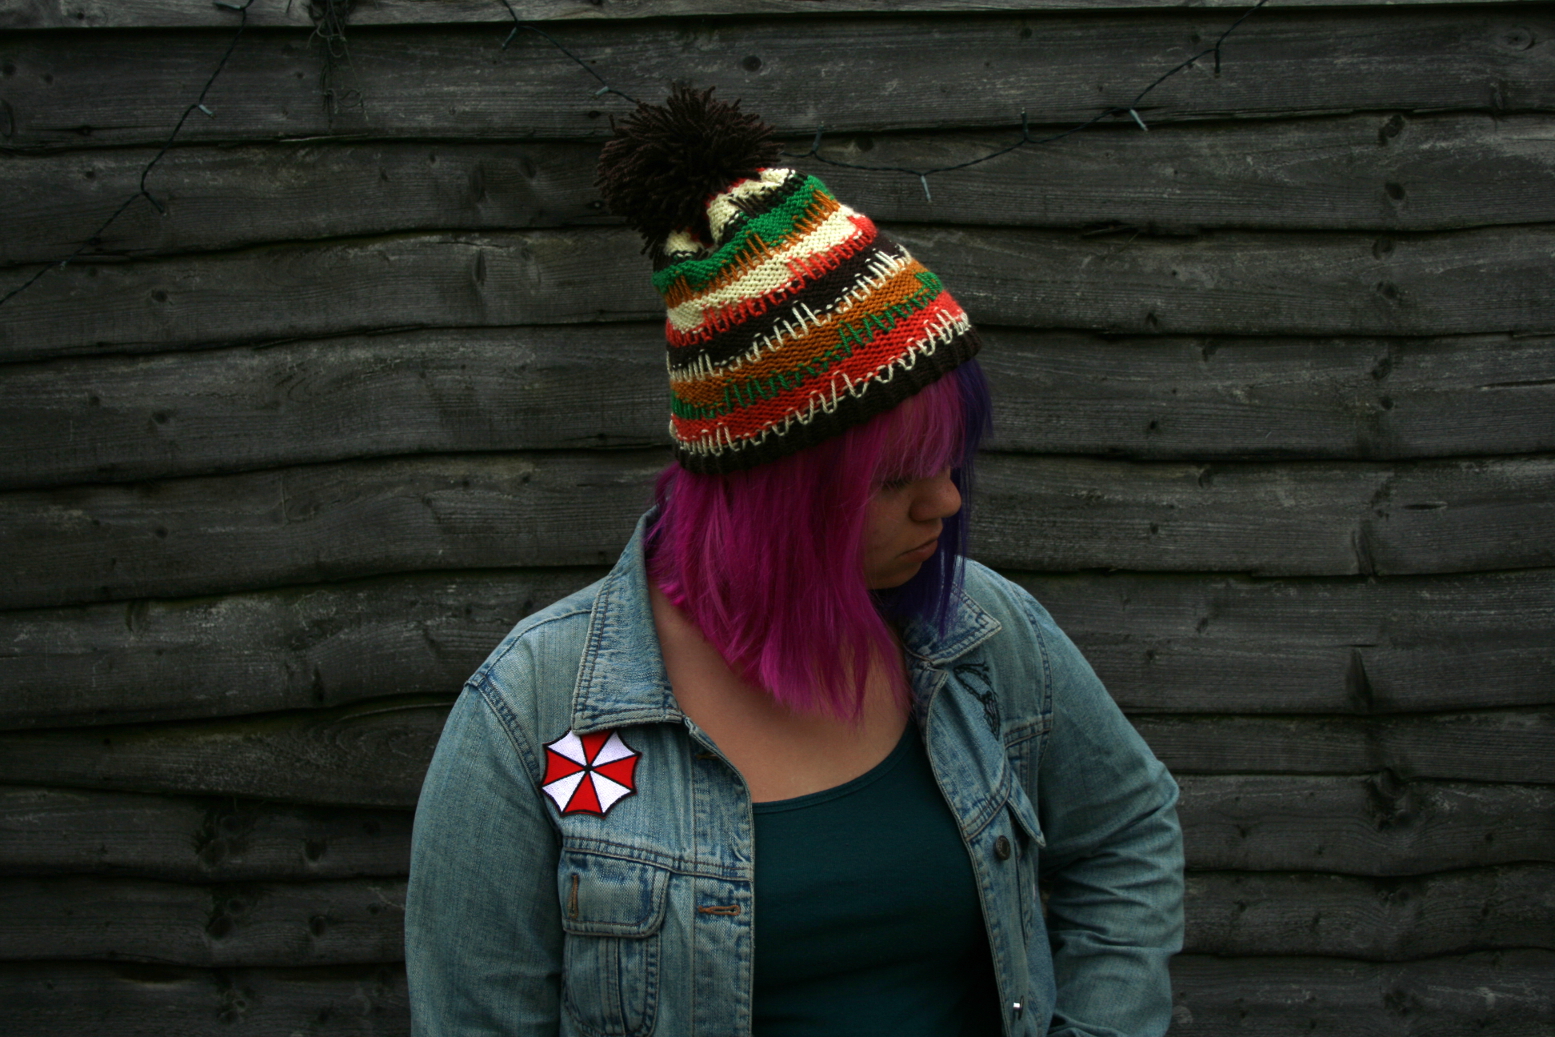
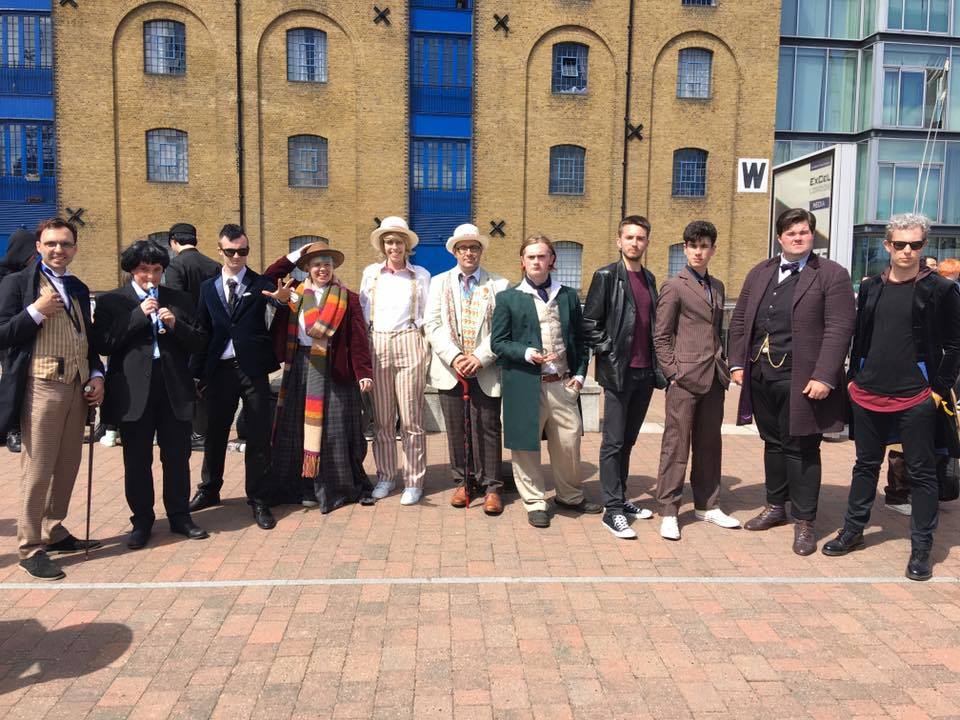
Phoebe dressed as Bill Potts

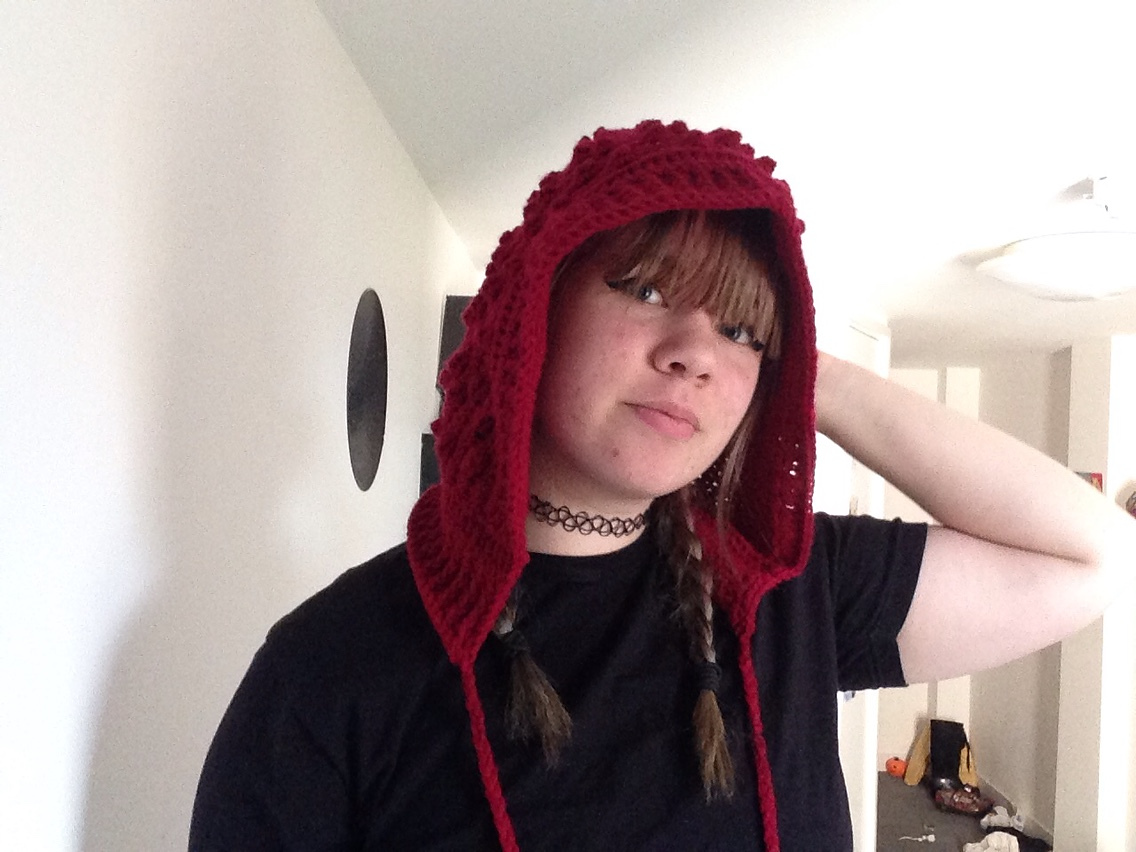
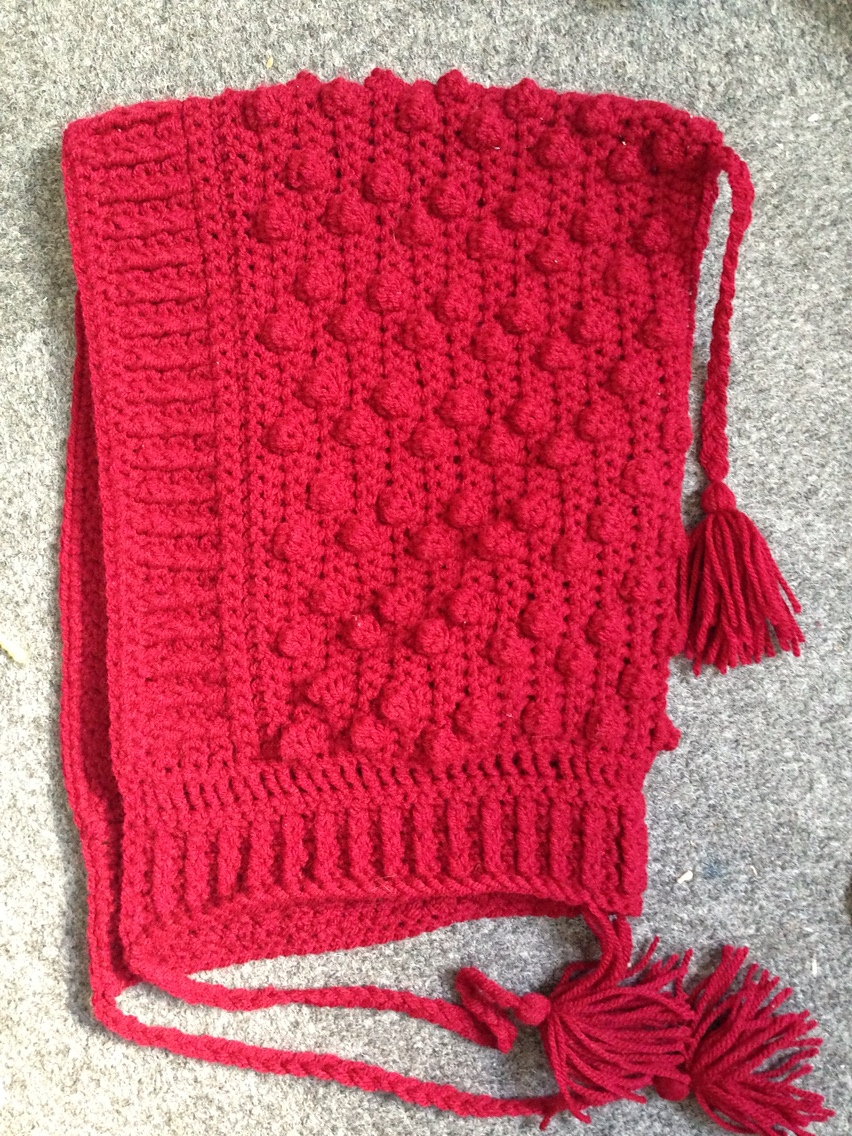
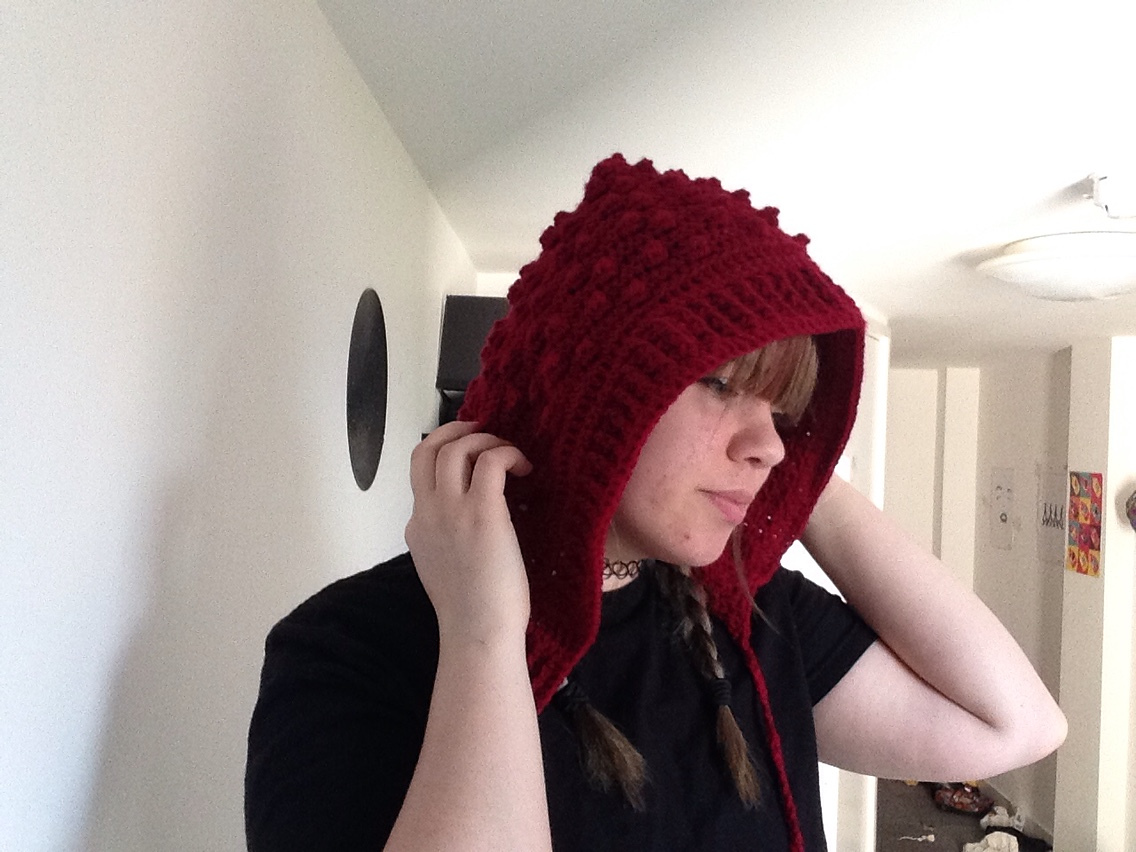
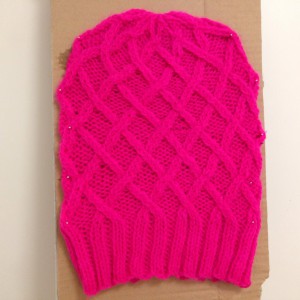
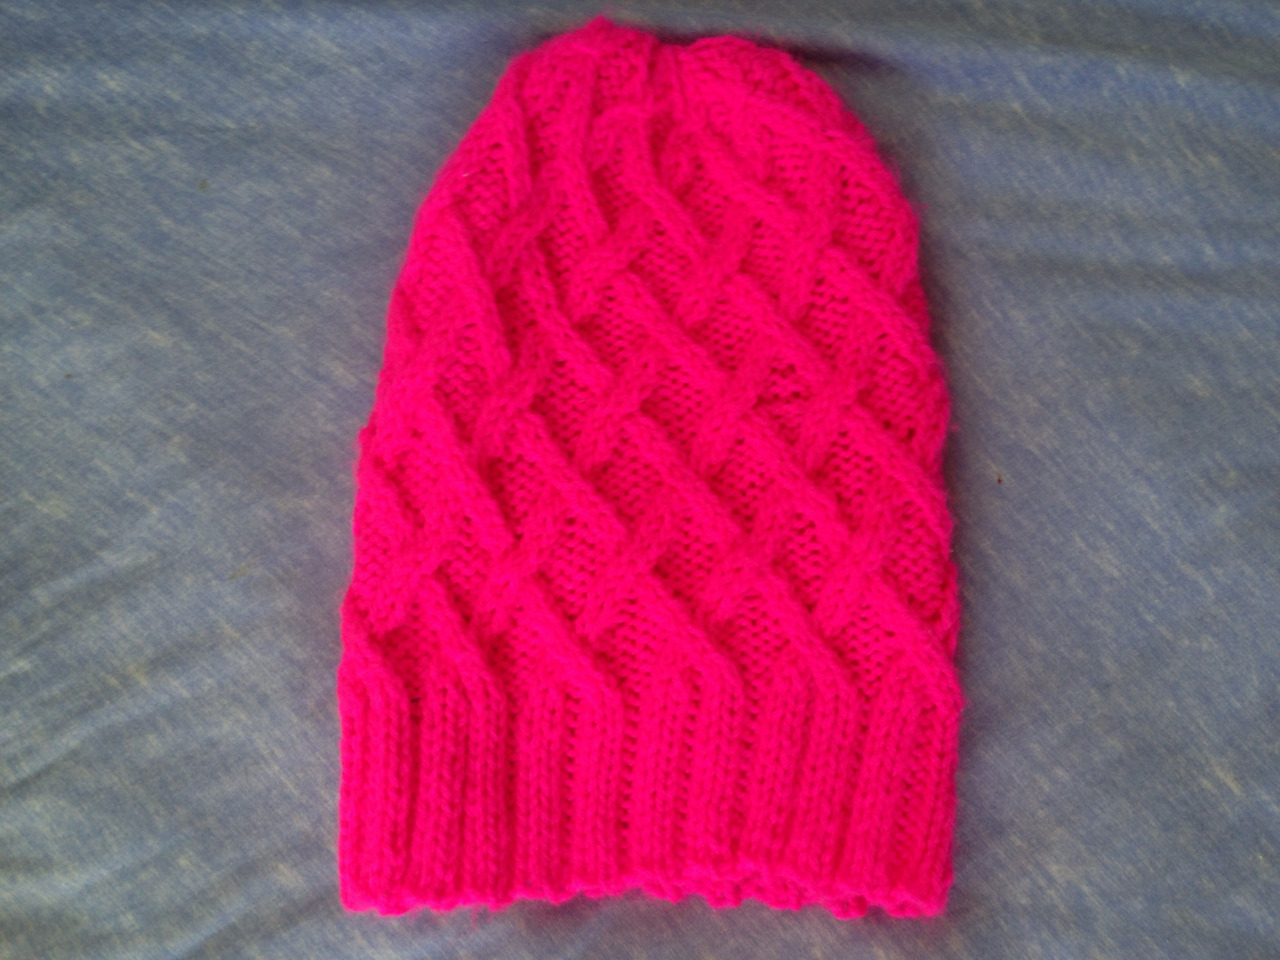
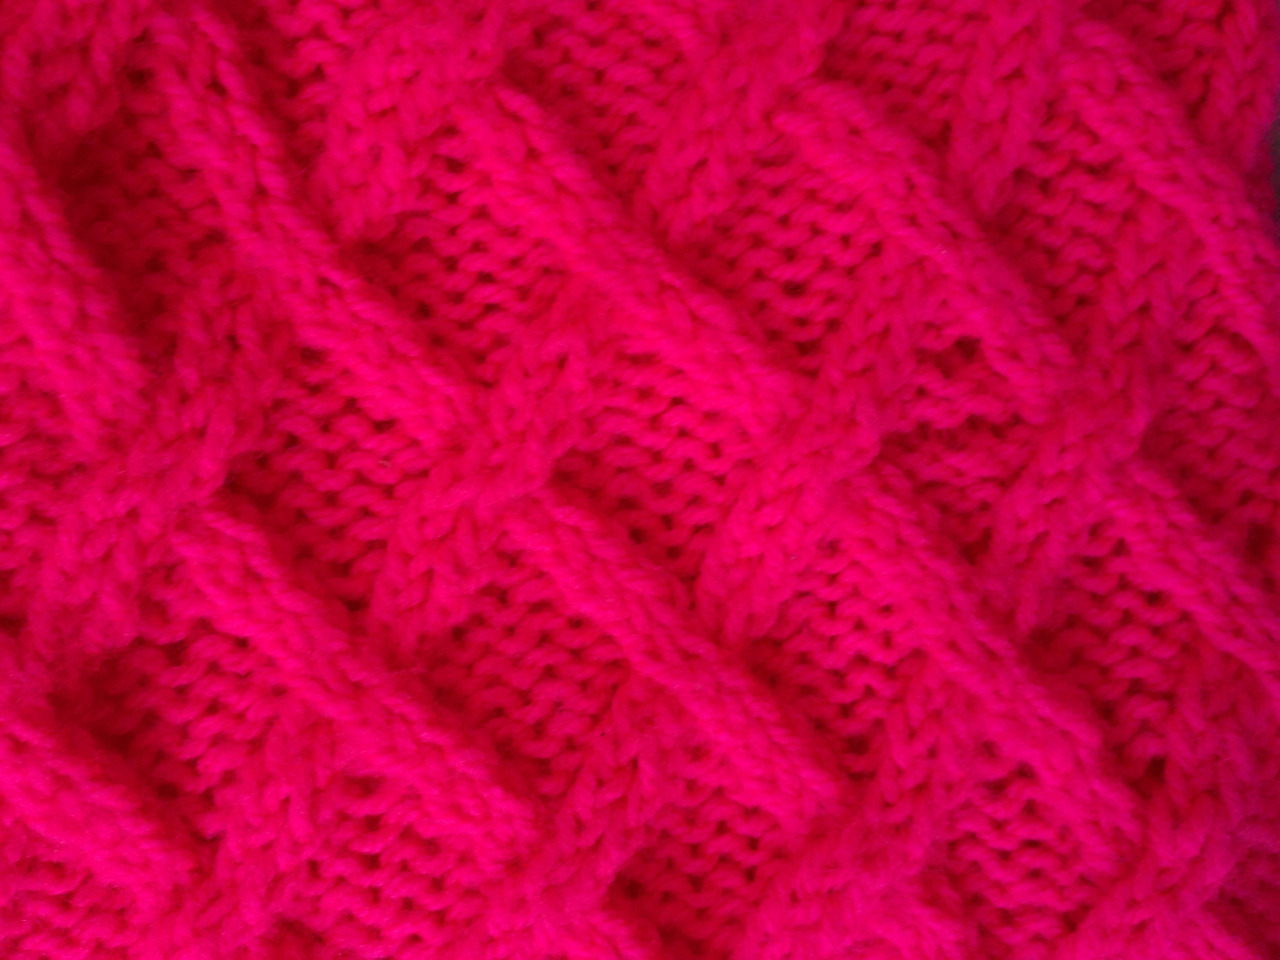
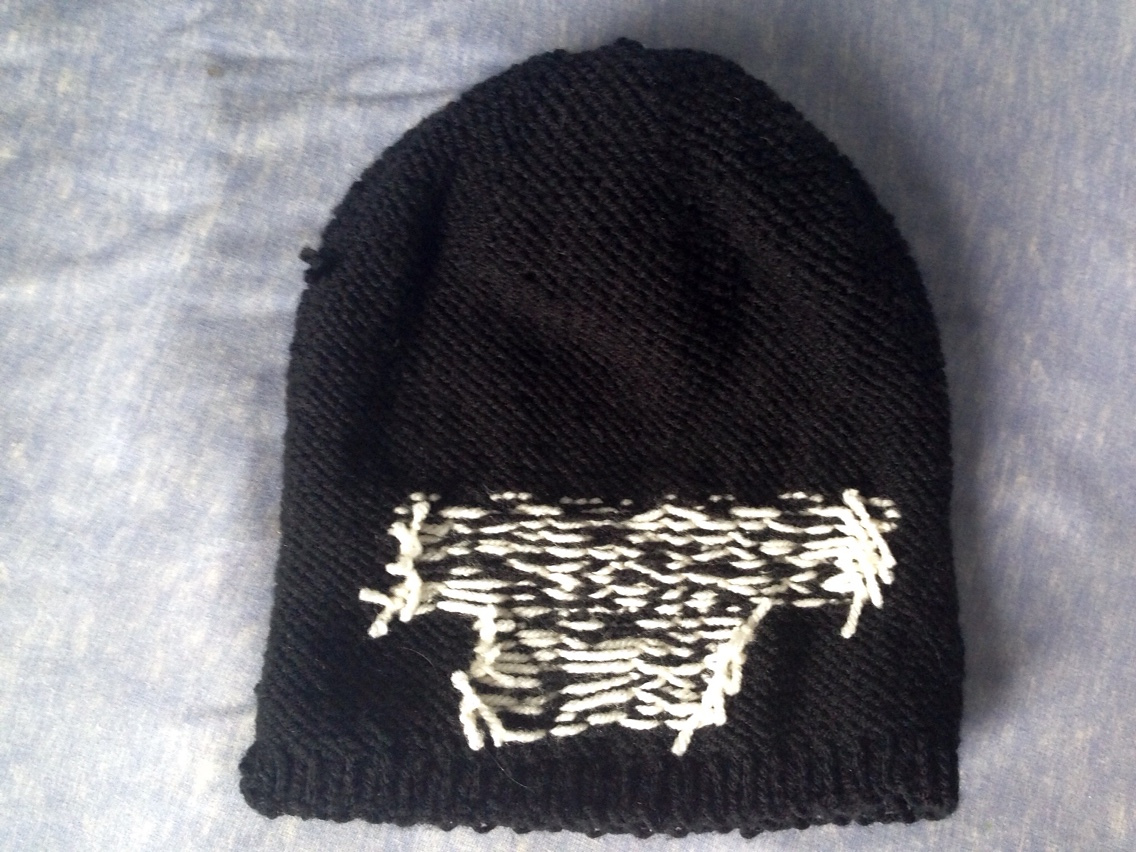
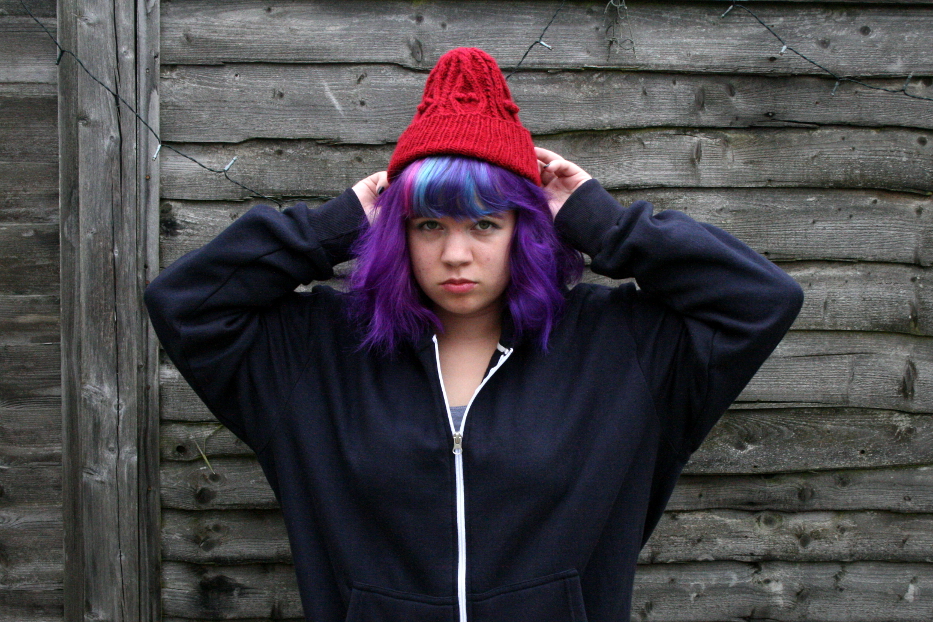
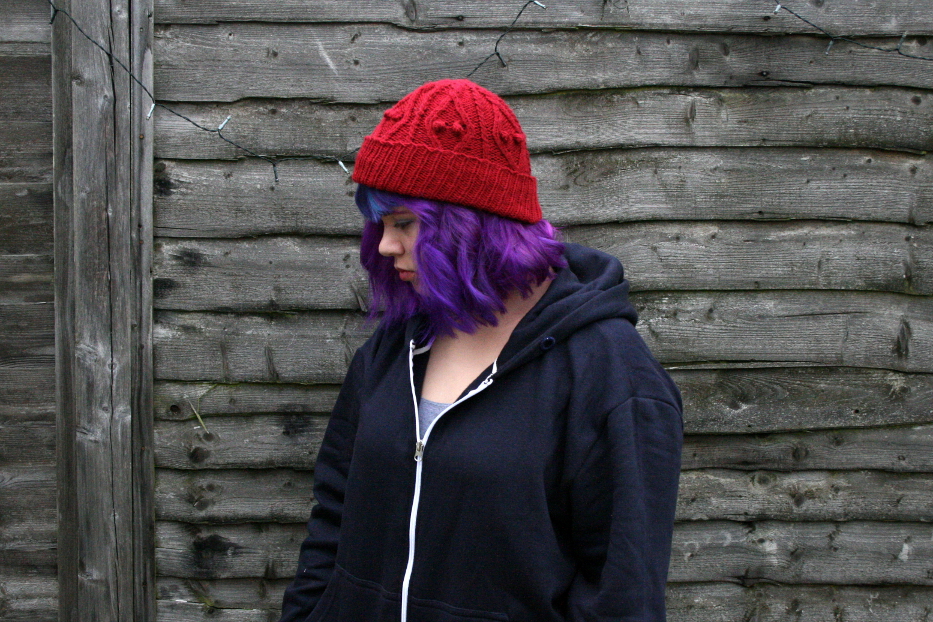
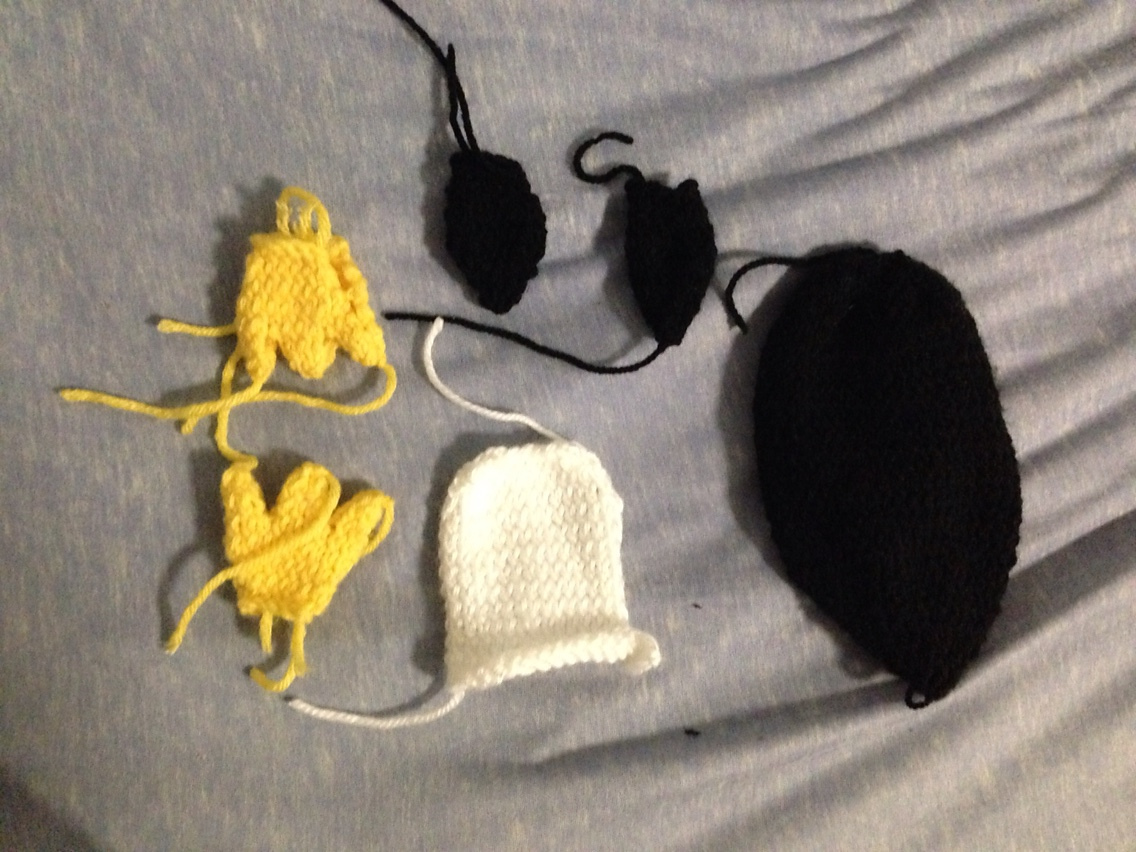
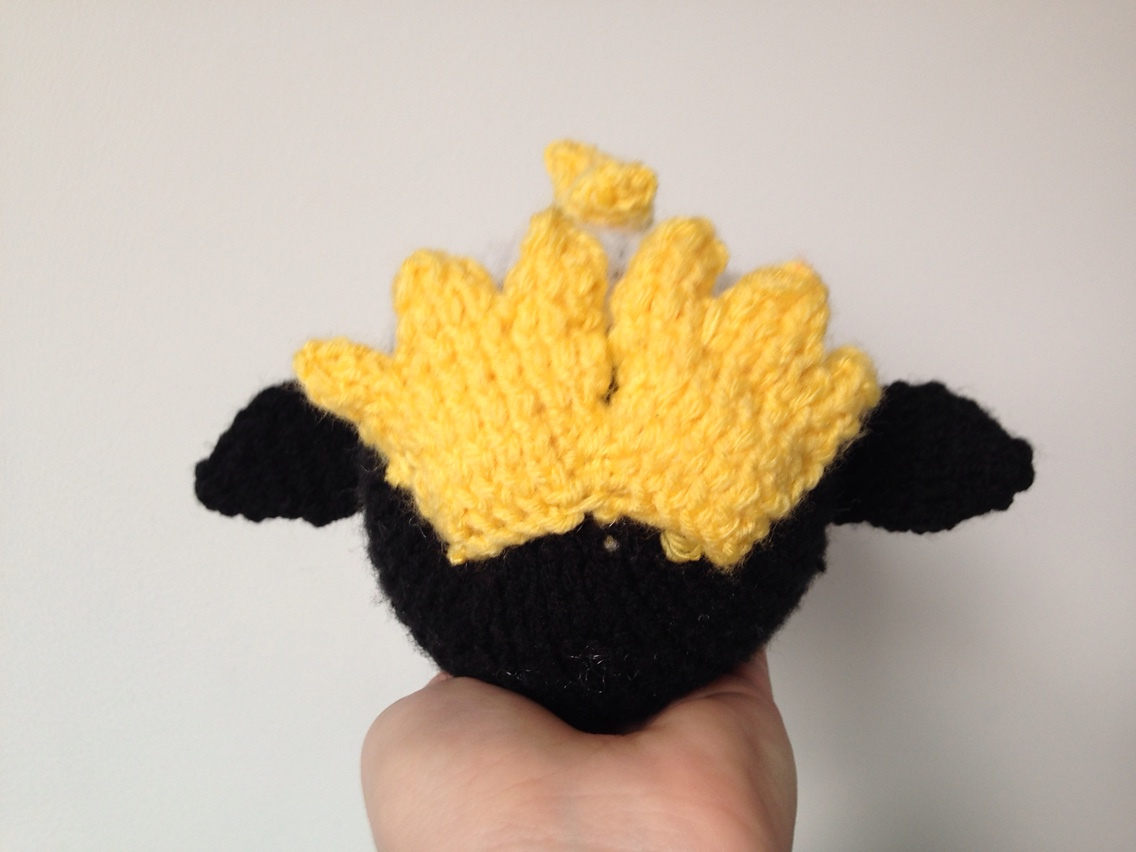
The hat I wore is one I’ve already posted about, and have actually written up a pattern for, so be sure to check that out!

This is, by far, one of the most comfortable cosplays I have ever worn. I basically got to walk around in pajamas all day, it was great!

Wilf’s Hat from The End of Time

After knitting two of Nardole’s hats, I felt as though I needed more hats. Why? I don’t know, I can’t possibly find the time to wear them all if I keep making them at this speed! This hat is Wilf’s hat from the Doctor Who episode The End of Time. I remember when I first watched the episode I noticed the hat, but I didn’t think I’d end up making it because it looked so complex.

putting on wilf's hatFast forward to a few months later, and I’ve knitted up the hat! I found a this lovely pattern by Patricia Schönhold on Ravelry. It was my first time knitting from a chart, as well as my first time knitting bobbles. The pattern was easy to understand, and I had no problems with any of it.

wilf's hat sideI knitted this hat up with Stylecraft Special DK in Lipstick (this might be wrong, I’ve lost the label) with size 8 (5.0 mm) knitting needles. I realize I’ve used Stylecraft in most of my recent projects. That’s because Stylecraft is really easy for me to get and it comes in a huge number of colors.wilf's hat topI did end up changing the pattern just a bit. Near the crown of the head, I added two extra twists in the large cables. Because of this, the number of stitches I had on my needles did not match up with the pattern and I ended up decreasing differently. I don’t remember exactly what I did, but the difference is visible.

wilf's hat front

I’m very happy with Wilf’s hat, and I definitely wouldn’t have been able to make it without the pattern I found. I am glad that Patricia Schönhold put this pattern up, and I would recommend it to anyone else looking to make Wilf’s hat.

Nardole’s Hat from The Doctor Falls

nardole hat side 2

That’s right! I made another one of Nardole’s hats! This one is from last week’s Doctor Who episode, The Doctor Falls. It was super simple to make compared to the last one!

front nardole hat
Even though I’m very happy with how my hat turned out, the pattern I’ve put at the bottom of the post is slightly different from the hat pictured here. This is because the one I made is small (it fits my head, but it might not fit yours), and I mistakenly made my hat a bit too short.

What you’ll need:

  • US size 8 needles (5mm)
  • Double knit or worsted weight yarn

I used Stylecraft Special DK in 1035 Burgundy and 1709 Gold.
side of nardole hatCast on 96 st, k1, p1, all the way around for 9 inches, then work the following rows:

It may help to divide your stitches into 6 equal sections of 16 stitches

Row 1: *p2tog, k1, p1, k1, p1, k1, p1, k1, p1, k1, p1, k1, p1, k2tog tbl, repeat from * (total of 84 stitches)

Row 2: p1, k1, all the way around

Row 3: *k2tog, p1, k1, p1, k1, p1, k1, p1, k1, p1, k1, p2tog tbl, repeat from * (total of 72 stitches)

Row 4: k1, p1, all the way around

Row 5: *p2tog, k1, p1, k1, p1, k1, p1, k1, p1, k2tog tbl, repeat from * (total of 60 stitches)

Row 6: p1, k1, all the way around

Row 7: *k2tog, p1, k1, p1, k1, p1, k1, p2tog tbl, repeat from * (total of 48 stitches)

Row 8: k1, p1, all the way around

Row 9: *p2tog, k1, p1, k1, p1, k2tog tbl, repeat from * (total of 36 stitches)

Row 10: p1, k1, all the way around

Row 11: *k2tog, p1, k1, p2tog tbl, repeat from * (total of 24 stitches)

Row 12: k1, p1, all the way around

Pull the yarn tail through remaining stitches, pull tight, and secure ends.

All that’s left is to add your pom pom on top and you’re done!

Nardole’s Hat from The Eaters of Light

This is my version of the hat that Nardole wears in the Doctor Who episode The Eaters of Light. When this episode aired last week, I immediately knew that I needed to make his hat. It was fairly simple to make, and I’ll share my process so that anyone who wants one can make one too.

nardole's hat pulled over face

This is how you wear a hat, right?

What you’ll need:

  • US size 8 needles (5mm)
  • Double knit or worsted weight yarn
  • Special Stylecraft DK in Lemon Shade 1020
  • Special Stylecraft DK in Dark Brown Shade 1004
  • Special Stylecraft DK in Green 1116
  • Special Stylecraft DK in Camel 1420
  • Special Stylecraft DK in Spice 1711

Cast on 70 stitches in the round in dark brown (must be a multiple of 10)

Rows 1-13: k1, p1 all the way around

Row 14: fold the brim to the inside of the hat attach to previous row with k1, p1

From here on, the every row is purled. (The design is worked on top after completion)

1 row in lemon, 7 rows in spice,
1 row in green, 7 rows in camel,
1 row in lemon, 7 rows in dark brown,
1 row in spice, 7 rows in lemon,
1 row in camel, 7 rows in green,
1 row in dark brown, 7 rows in lemon,
1 row in spice, 7 rows in dark brown.

On the last row, pull a piece of yarn through all of the stitches. Do not gather it yet, it is easier to work in the design beforehand.

inside of nardole's hat

Interior of the unfinished hat

The design on top is made by weaving pieces of yarn that are the same color as the single rows. They are woven around the knit stitch below this row and brought up to the stripe above at varying heights. This is difficult for me to explain, but I hope the pictures are good enough to understand what I mean. After making the design, tighten the yarn you previously pulled through the top row of stitches and secure. Make a large pom pom out of the dark brown yarn and attach it to the top.

If anyone does make this hat, be sure to let me know!

side of nardole's hat ii

Since it’s summer, I doubt I’ll be wearing the hat any time soon. As soon as cold weather hits, though, I’ll be wearing it all the time!

Doctor Who – The Fourth Doctor

Last weekend was London MCM 2017! I went all three days and had a fantastic time. I didn’t cosplay the first day, but I wore my french fry dress and got a surprising amount of complements as well as a photo request! If I am able to track down the photo, I’ll be sure to share it here!
tumblr_oqs37rABJI1ustsfxo8_1280

On the second day of MCM, I dressed as the fourth regeneration of the Doctor from Doctor Who.

Yes, those leaves are actually that size! Photo taken by: Alice the Insane

Most of the outfit is store bought, but I made both the scarf and the skirt. I knitted the scarf in fifty hours over the course of 5 months, starting on the first of January and finishing just last week on the 6th. My research for the scarf design was a combination of this site and meticulous combing through yarn websites. The scarf is a replica of the scarf worn by Tom Baker in the first half of season 12 of Doctor Who. I think I was able to find a very good color match with the yarn. It took a bit longer to make than I thought it would, and I made a few tiny mistakes, but I am very happy with it. I made it using US size 8 knitting needles.

Photo taken by: Alice the Insane

The skirt is actually one I made for my costume course at uni. It’s an Edwardian skirt with center back snaps and hook and eyes. I did a very good job of pattern matching each seam, which is especially evident in the back panel. The synthetic plaid fabric is backed on a black cotton, and every seam is piped with the same black cotton.

From left to right: 1 (Lee), 2, 3 (Lucas Hayes), 4 (me!), 5, 7, 8 (Reuben Roper), 9 (Dominic Murphy), 10 (James Sutton), 11 (Jamie Eve), 12 (Joshua Thunig)

I met many lovely people at the Doctor Who meet up, but unfortunately I didn’t take many pictures. I’m not really sure who took the above photo or who some of the people are in it, so please tell me if you know!

Photo taken by: Alice the Insane

If I end up going to LFCC this year, I’ll be wearing this cosplay on one of the days. I plan on adding a waistcoat and possibly some nice shoes to the costume before then.


Gunter

gunter front

You may recognize this penguin as Gunter from the animated tv show Adventure Time. I made this tiny knitted fellow using this Adventure Time Gunter Pattern.

gunter

I made him for my friend Scott‘s birthday. It was my first time knitting a stuffed animal, and it was a lot easier than I thought it would be, even though I don’t own double point needles and had to make him on regular needles.

gunters pieces

Since I worked him on normal needles, I had to sew up a lot of seams. Luckily, the seams are almost impossible to see on the finished plushy.

gunters feet

I also modified the pattern slightly when I made the feet, and added one row on each toe on accident. I think it worked out fine, and made his toes more distinguishable from each other.

gunter wave

Over all, the pattern was surprisingly easy to knit, and I really like the result. Thanks for reading!

Raspberry Hood

hood side view 
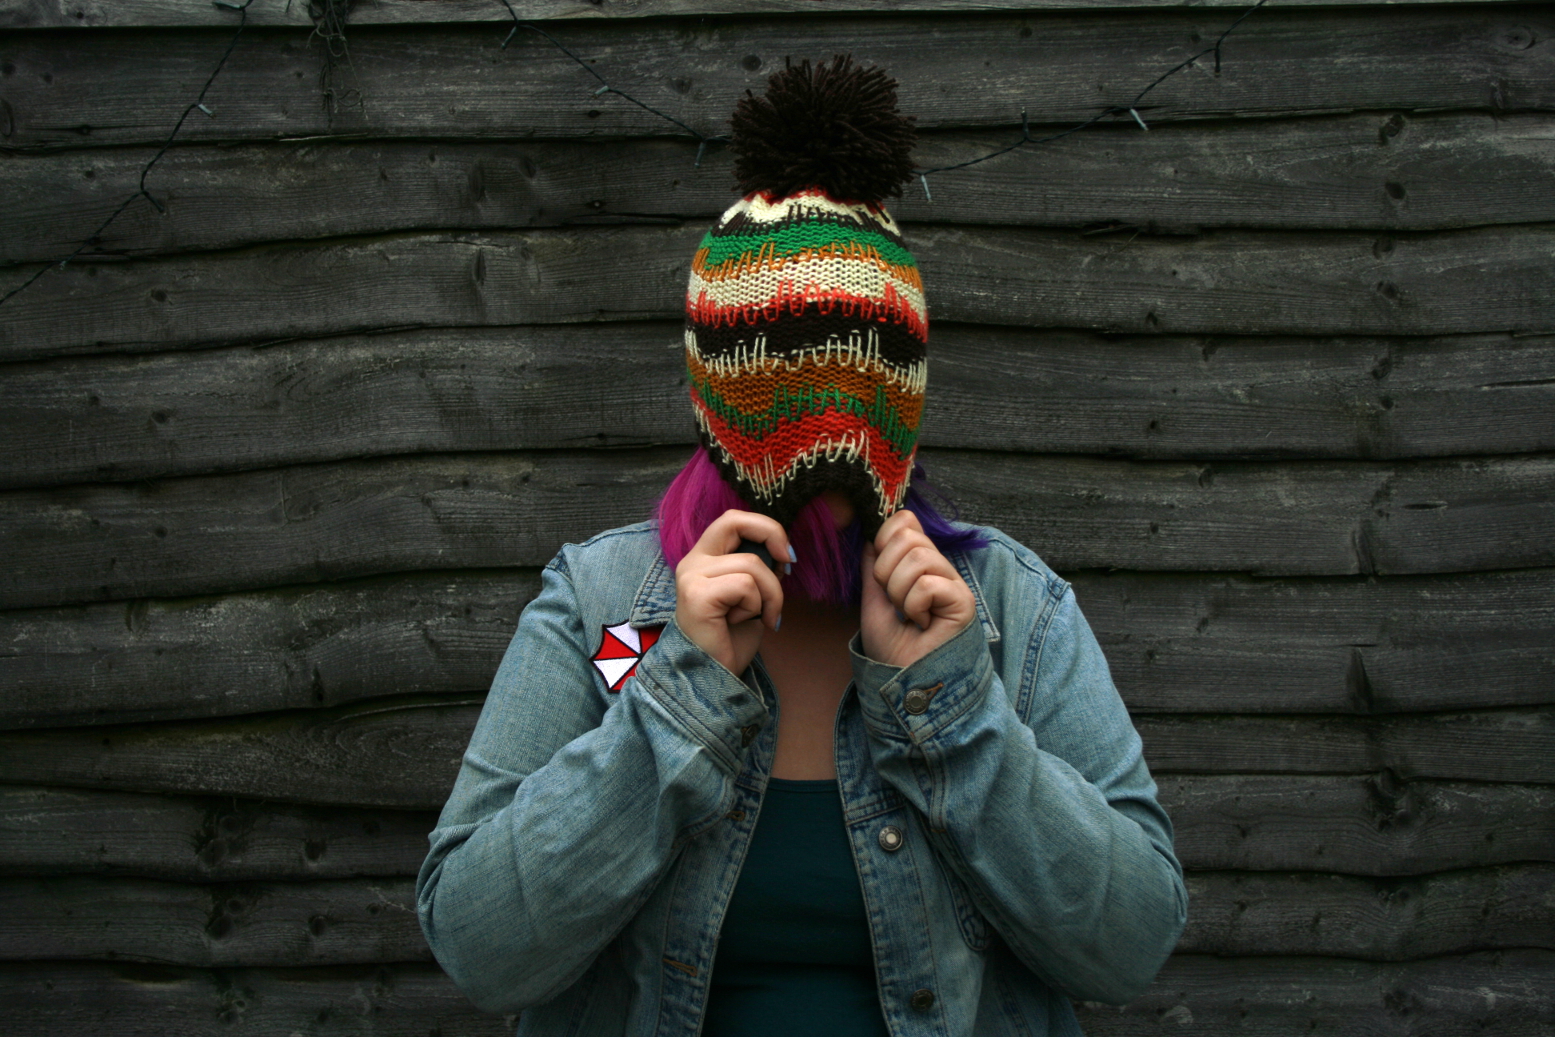
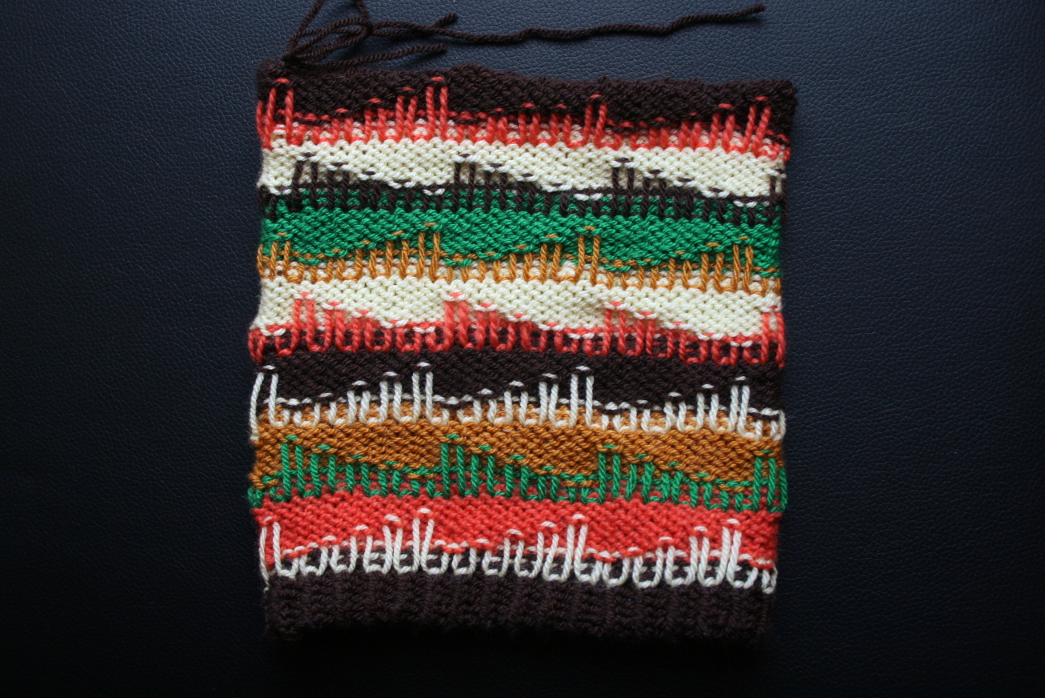
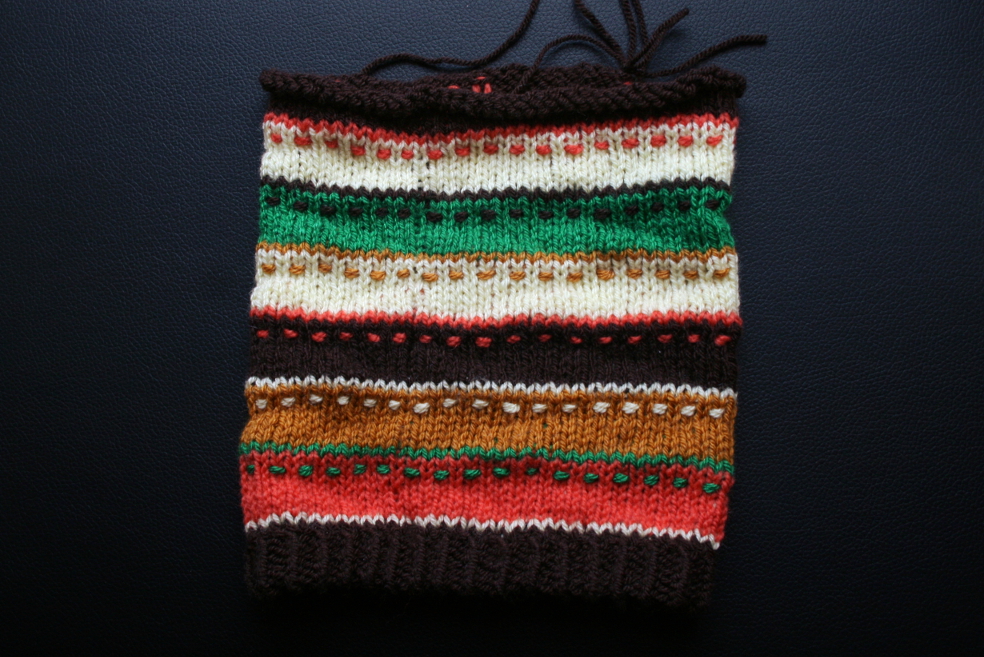
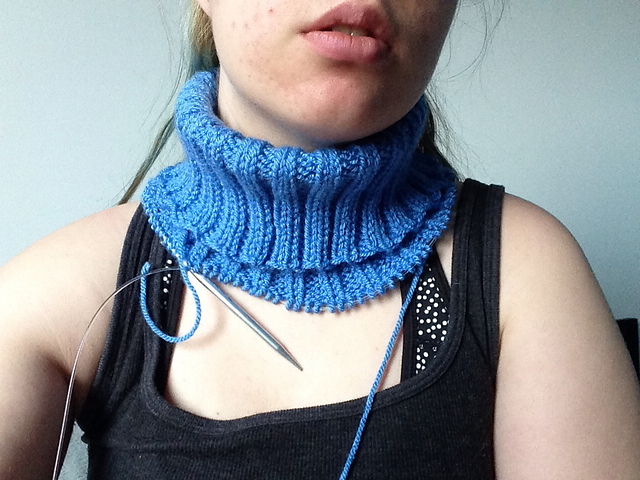
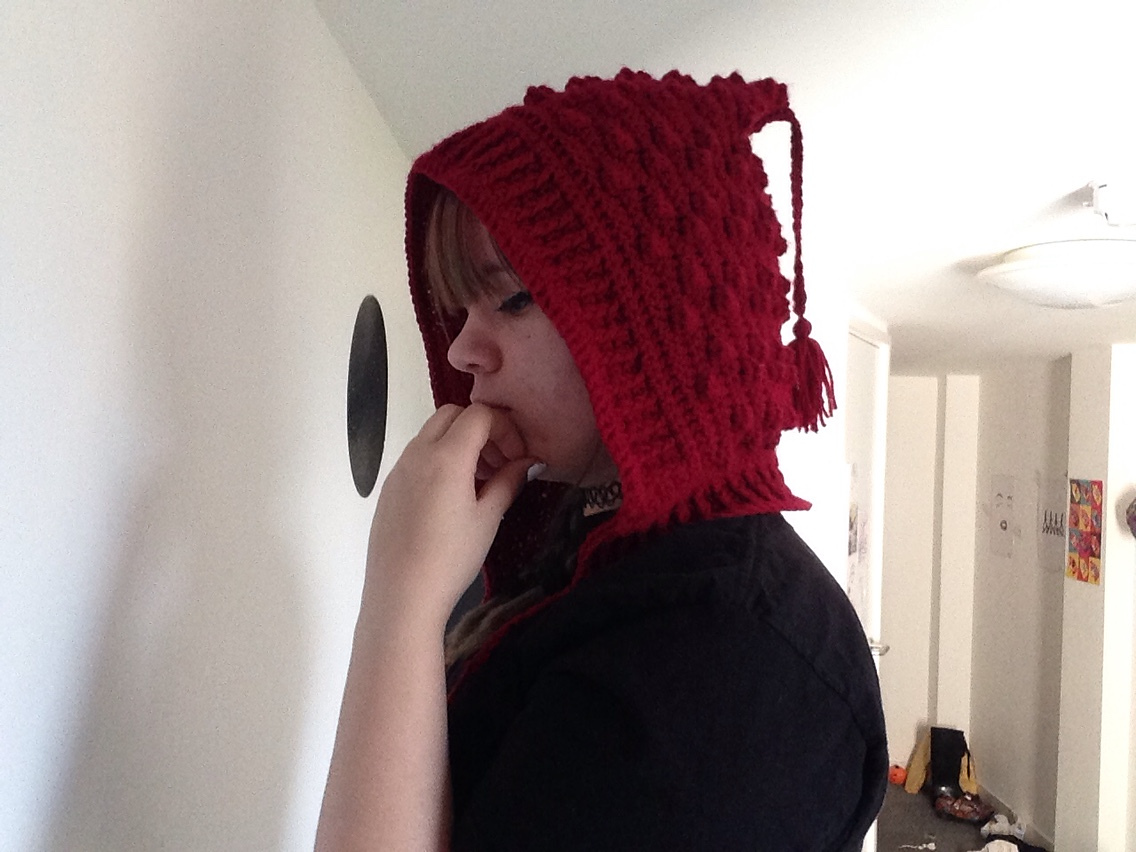
I made this hood using the Bobble Hood with Tassels pattern.

hood front

It was easy and straightforward to make,but I did have a little trouble with the borders. I somehow messed up the back post single crochet so that it was on the wrong side of the piece, and had to match that when I made the second portion of the edging stitch.

hood full

Looking back at the pattern, my hood appears to be a bit smaller than the original, and the bobbles are in slightly different places. I’m not entirely sure what I did to cause this.

side hood

I am happy with the hood I ended up with, but I’m not sure it was the one that I was trying to make. I’ve received a lot of compliments on it, and might make another one. Next time I’ll pay closer attention to the pattern to figure out what I did wrong.

Hamburger and Fries

sweater collar

I started working on this sweater exactly two weeks ago, and I’m really proud of how much I’ve made so far, even if I’m not finished. Eventually, the sweater should be a replica of the Hamburger and Fries sweater that Mabel Pines wears in the television show Gravity Falls.

sweater third

I used the Laura Sweater pattern and also drew inspiration from this version of the sweater. (The second link is only visible to those with a Ravelry account.) I made the collar 9″ instead of 12″. I added six rows to the raglan part of the sweater in order to make the armholes fit my arms better.

sweater half

In the pattern, the body of the sweater is 12″ long before the bottom ribbing is worked, but I made mine about 16″ long.

sweater full torso

I’m only about halfway done with one sleeve and it’s a little tight, but still wearable. If I were to make this sweater again, I would modify it so that the sleeves would start out wider. The torso of the sweater fits perfectly, except for the very bottom edge where I cast off. I used the slip slip knit method, thinking that it would be super stretchy, but it is not. I might go back and redo my cast off row if I can find a stretchier cast off.

If anyone has any super stretchy cast off methods, please share them with me!


Pink Cable Knit


I’ve been doing a lot of projects with time restraints and projects for people, and I decided to take a break from that and make something for fun!

tumblr_o500s8X8X71ustsfxo1_1280

I made knit this hat from a pink yarn so bright it looks like it’s glowing. It was super difficult to photograph and I apologize for the grainy photos. I made up the pattern as I went along, and although it isn’t perfect, I can type up a version of the pattern if anyone wants to make this hat. Let me know if you’re interested!

Make sure to check out my facebook page if you haven’t already!

tumblr_o500kbK40e1ustsfxo1_1280


Grandpa Vicki

vickis hat

My friend’s friend Vicki asked me to make her a hat that said ‘Grandpa Vicki’ on it. I made this one the same way that I make all of the knitted slouchy beanies, but with the addition of a simple pom-pom. If anyone is interested in the basic ideas behind it, I can make a post about them.

grandpa vicki inside of hat

I designed these letters the same way as I did the ‘ANGEL’ hat, using this knitting graph stitch template. I also used the same method to write the letters, and remembered to take a picture of the inside this time!

If you haven’t liked my facebook page yet, you should! I’ve been writing about the cosplays I did for Bournemouth, and I will be posting about my costumes in detail next week!