I wore two cosplays for Bournemouth Film and Comic Convention (BFCC), and wore the same dress for both characters.
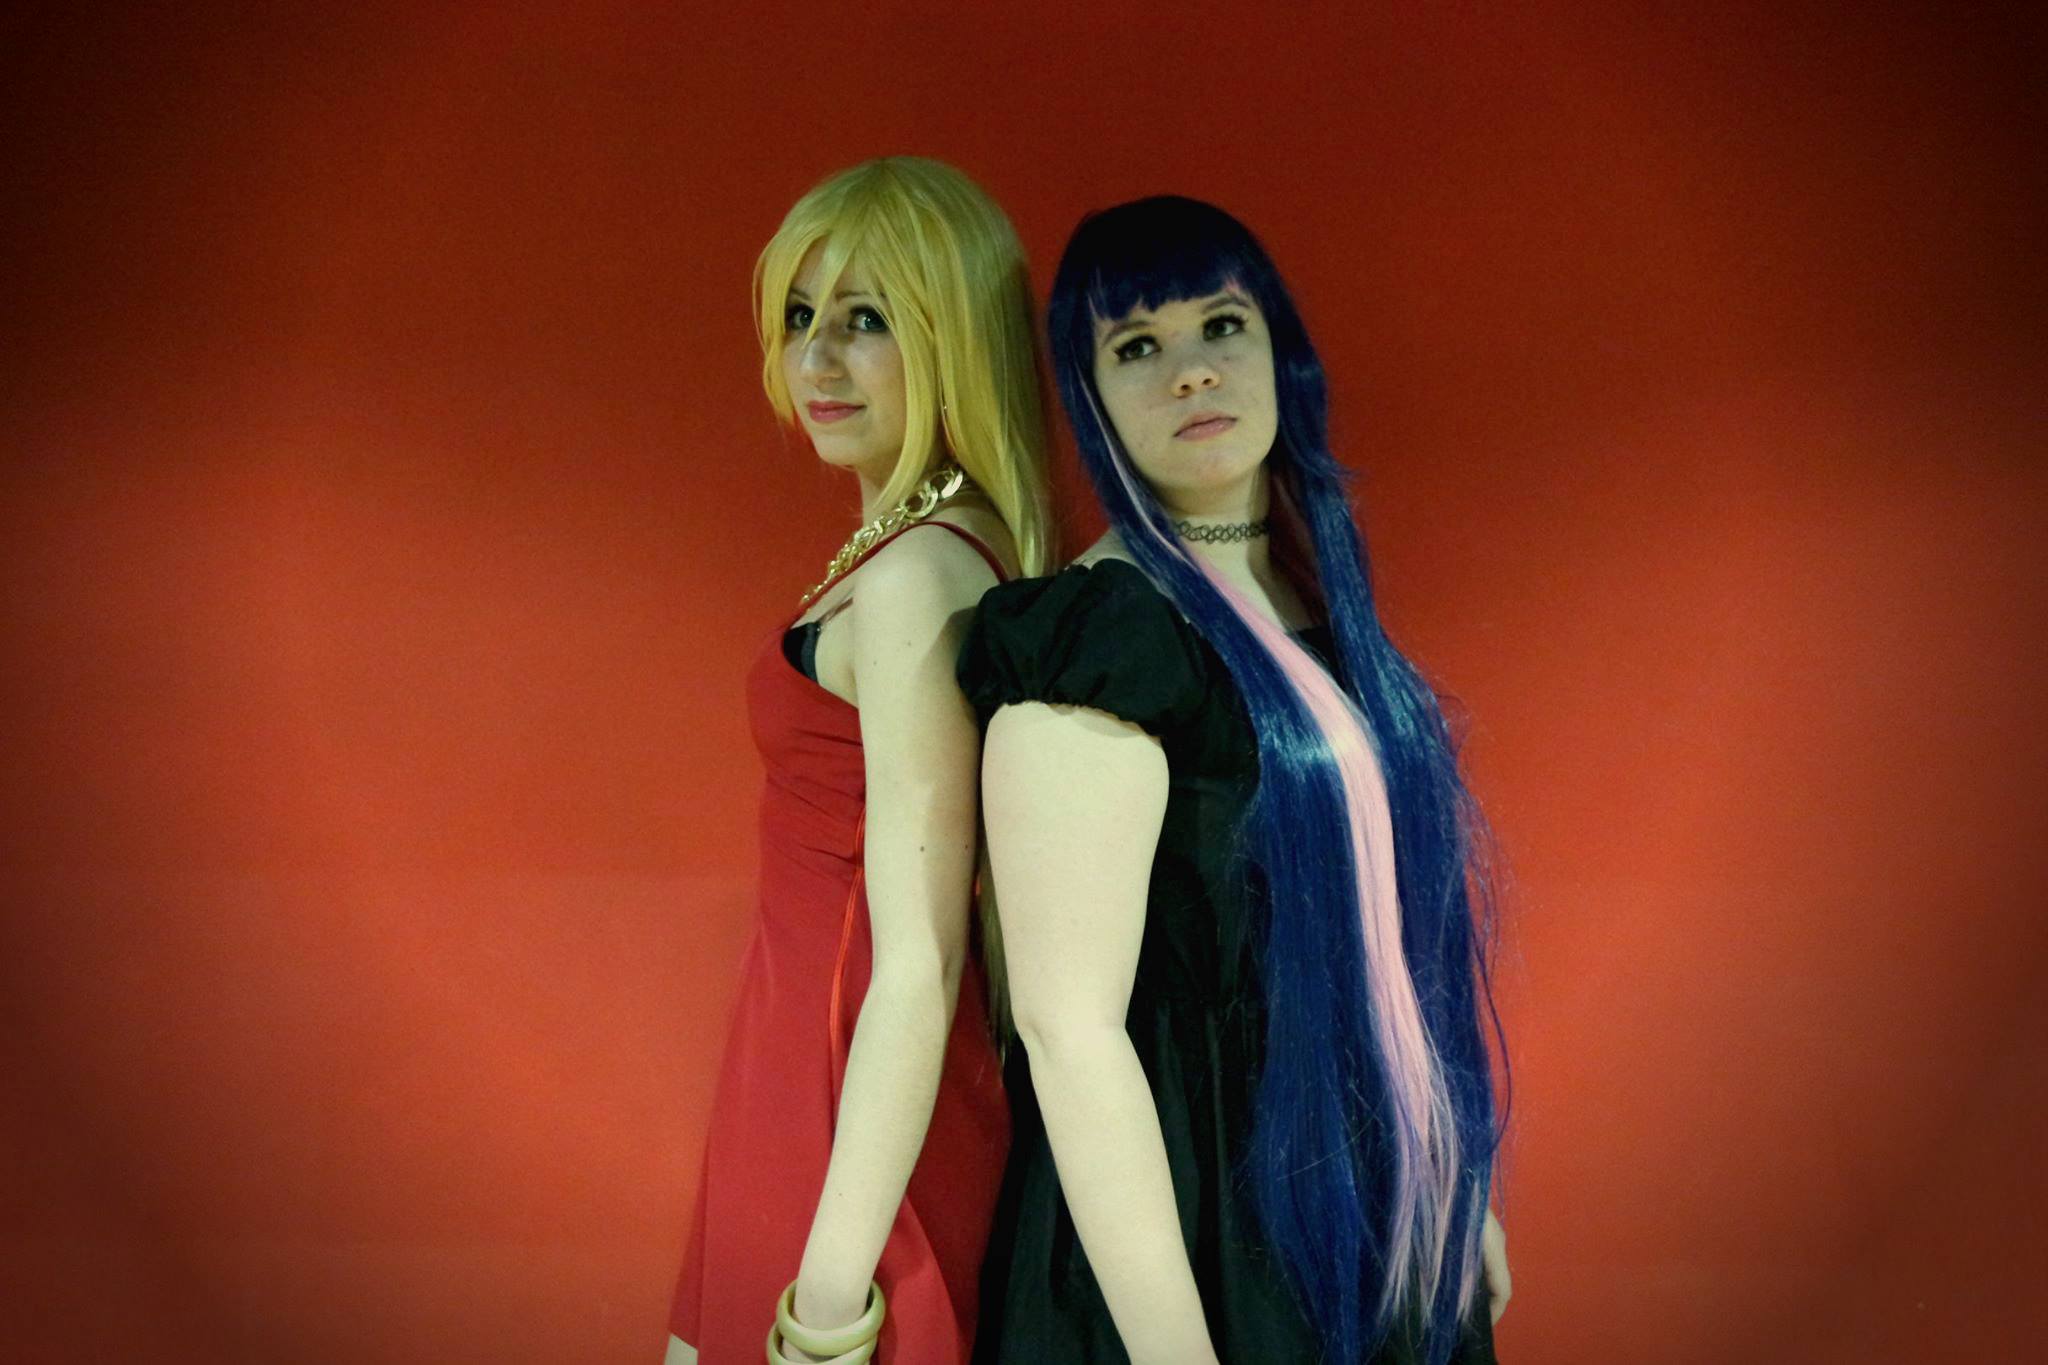
Panty and Stocking Photo Taken by Nicole Cuddihy
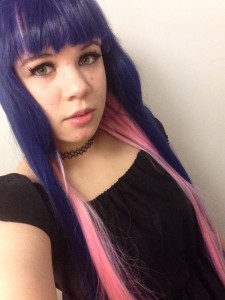
The first day of BFCC (Saturday) my friend Ruth cosplayed Panty from Panty and Stocking With Garterbelt, and I cosplayed Stocking.
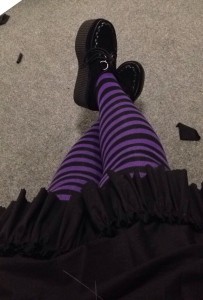
I wore those platform shoes both days of BFCC, and both days the shoes broke. The sole of the shoe tore off of the main shoe part, and I had to glue it back on. I did find out that using liquid super glue would permanently hold the shoes together after trying shoe glue and a different super glue that was more of a gel. I think the glue I used will hold up much better than the original glue on the shoes, and I’ll be wearing the same shoes to MCM in May.
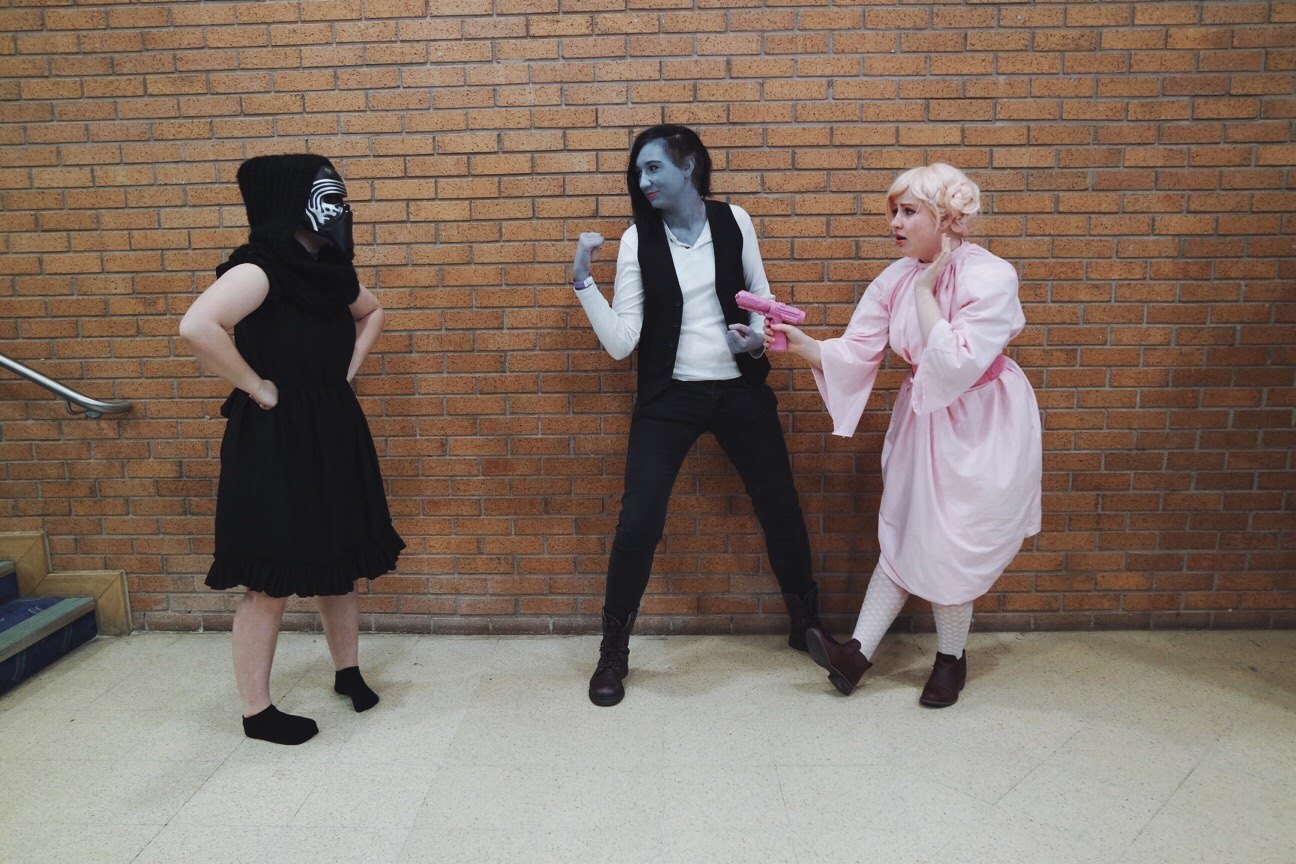
Kylolita, Marsolo, and Bubbleia
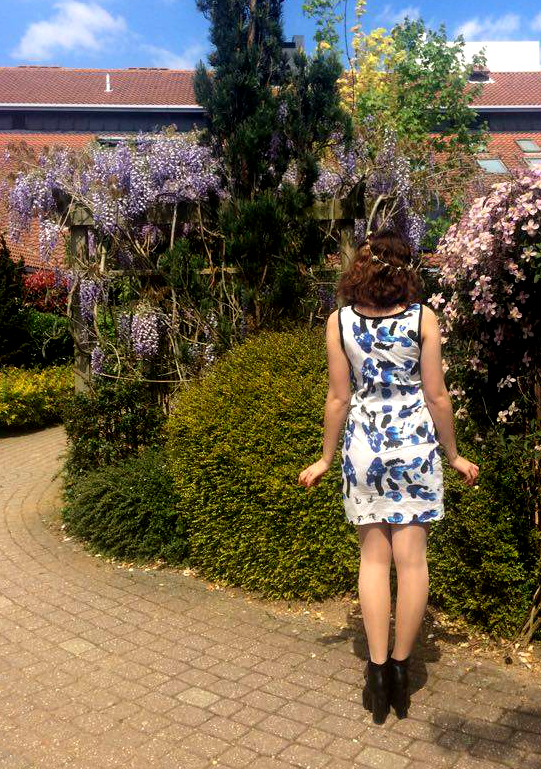
On Sunday, I wore my ‘Kylolita’ cosplay, a lolita version of Kylo Ren. I’m not sure who took the above photo, Kris is dressed as Marsolo (Marceline/Han Solo) and Nicole is dressed as Bubbleia (Princess Bubblegum/Princess Leia).
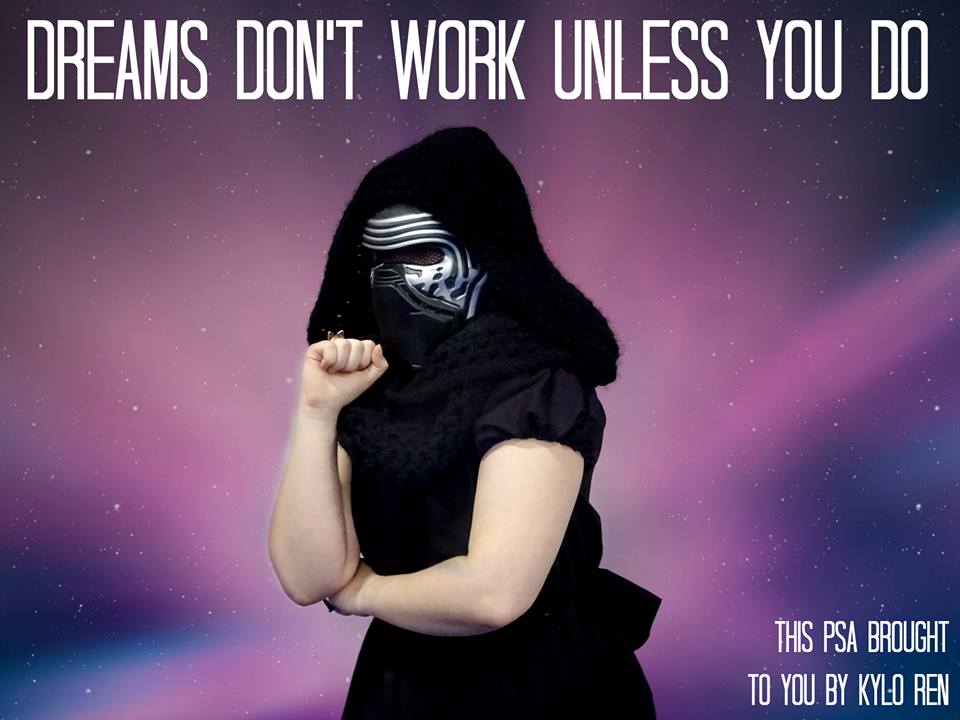
Photo by Ruth Doulgeris/Alice the Insane
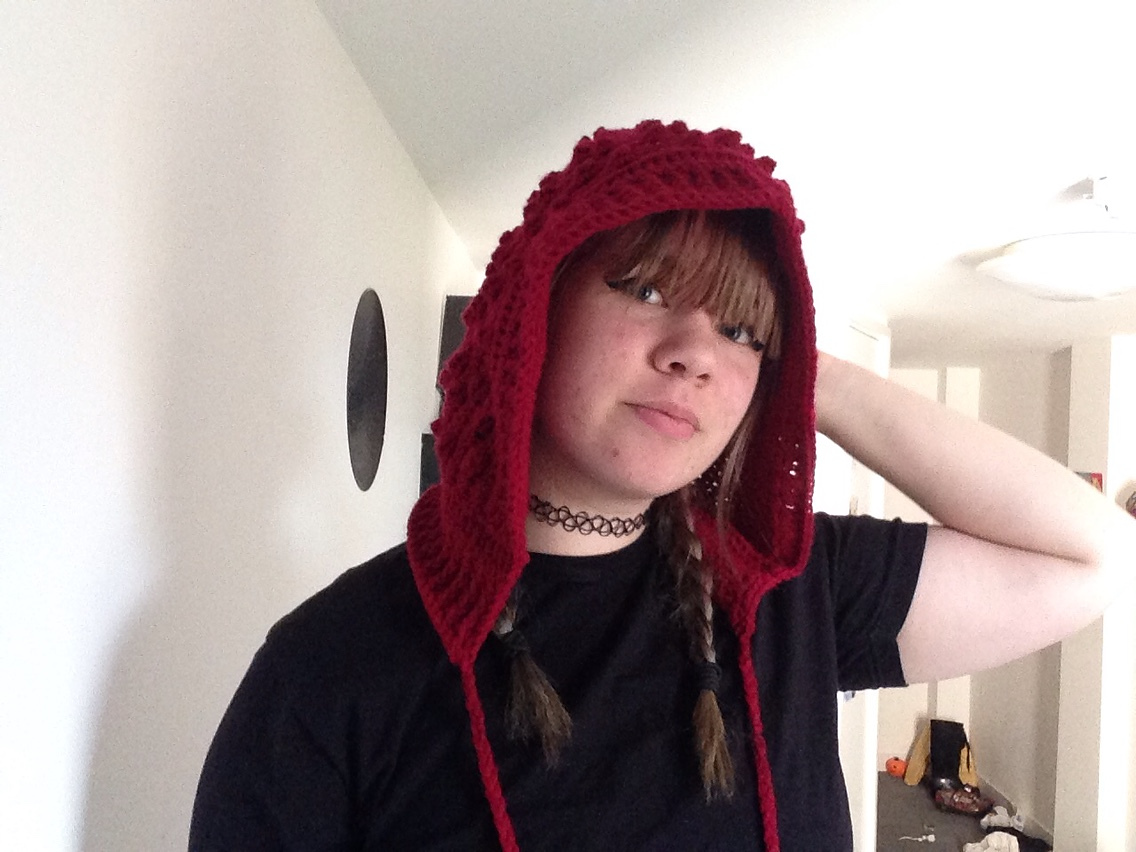
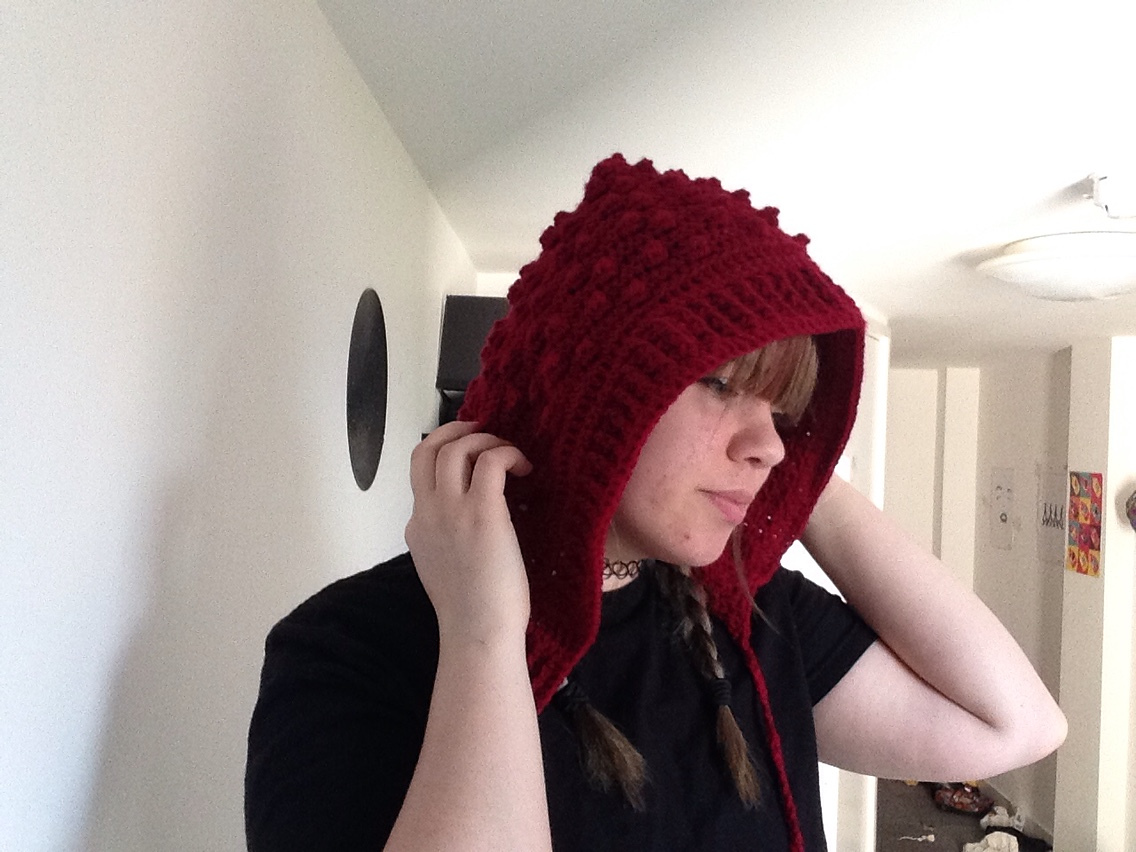
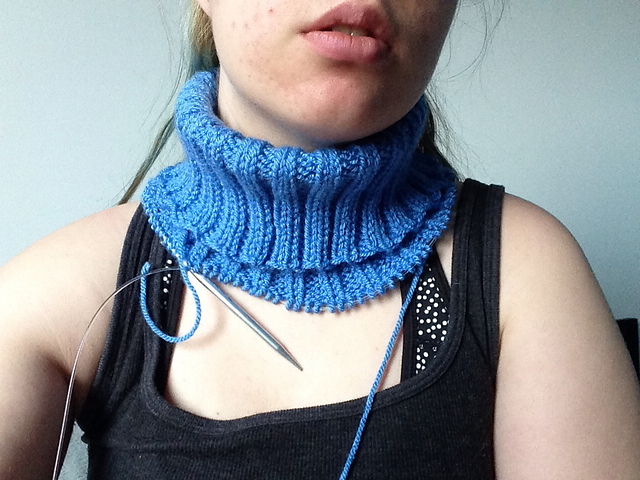
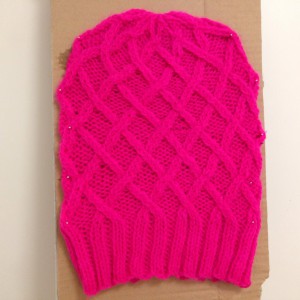
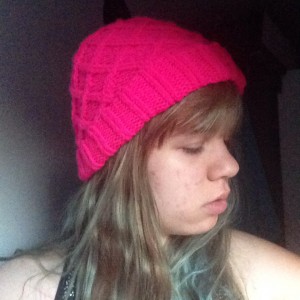
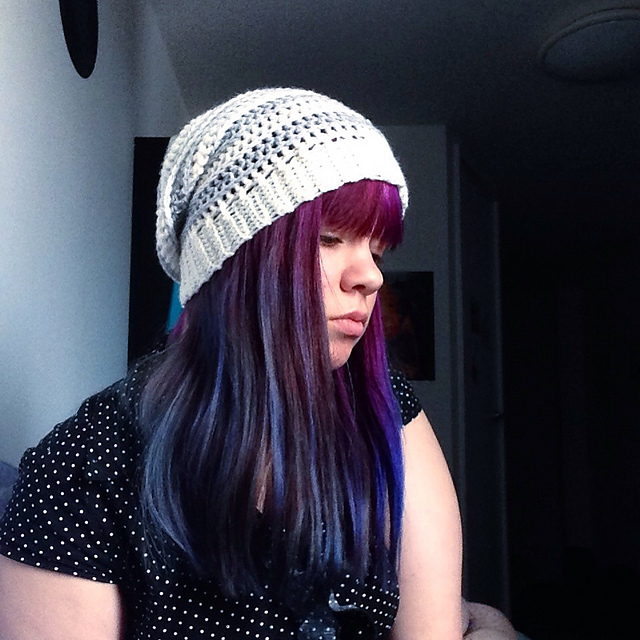
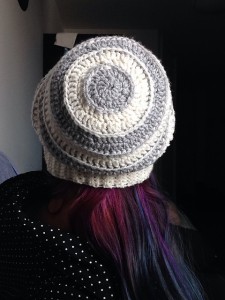
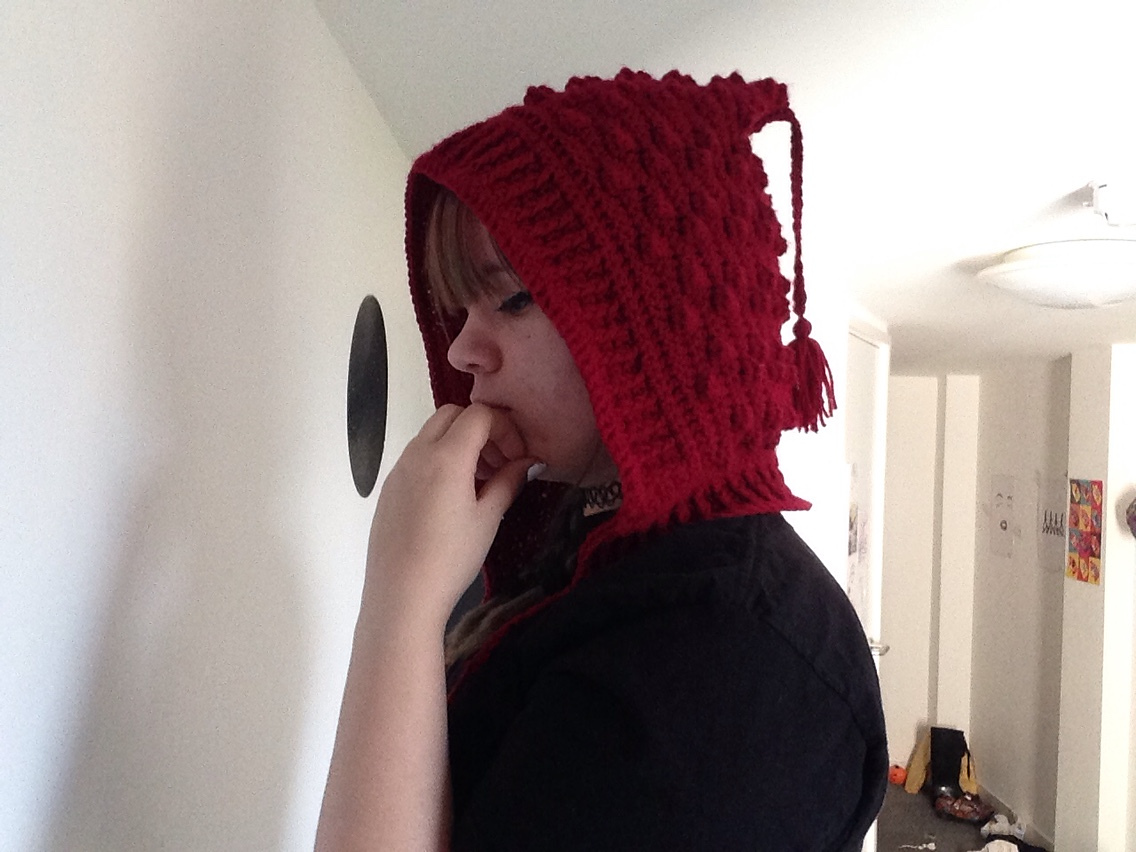
I had minor issues with the mask and hood – my neck kept showing and it was difficult for other people to hear me through the mask. I think I can fix the first problem by making a stretchy black tube to put around my neck, but the other problem can really only be fixed by taking off the mask or yelling. You might recognize the hood I’m wearing as the scoodie I made back in March.

Photo by Ruth Doulgeris/Alice the Insane
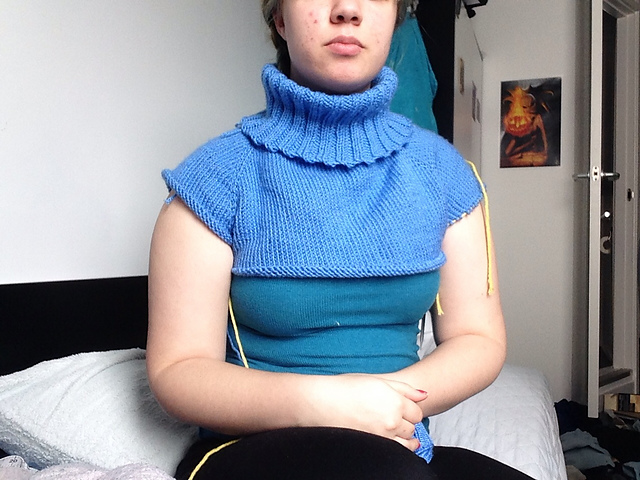
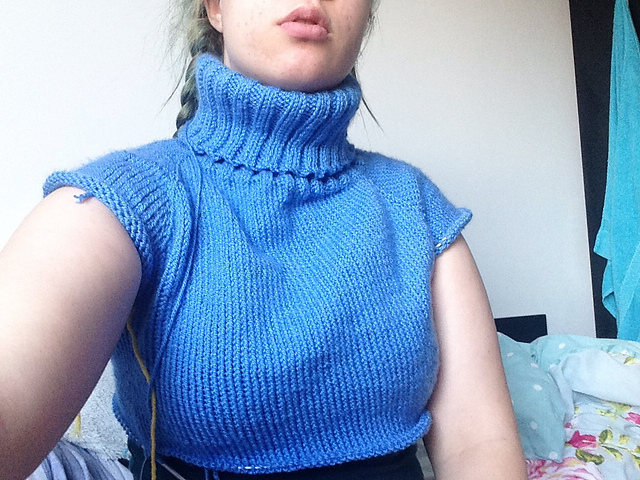
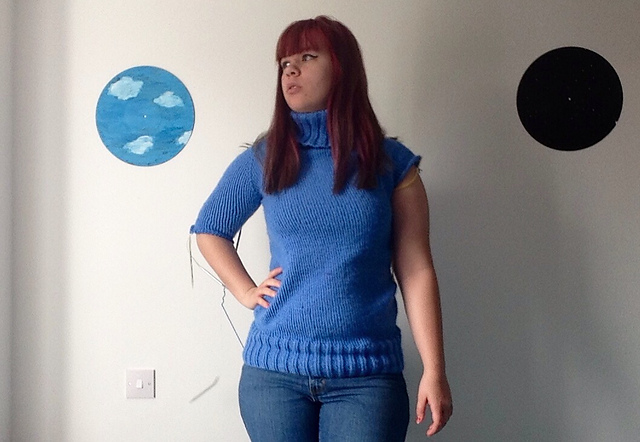
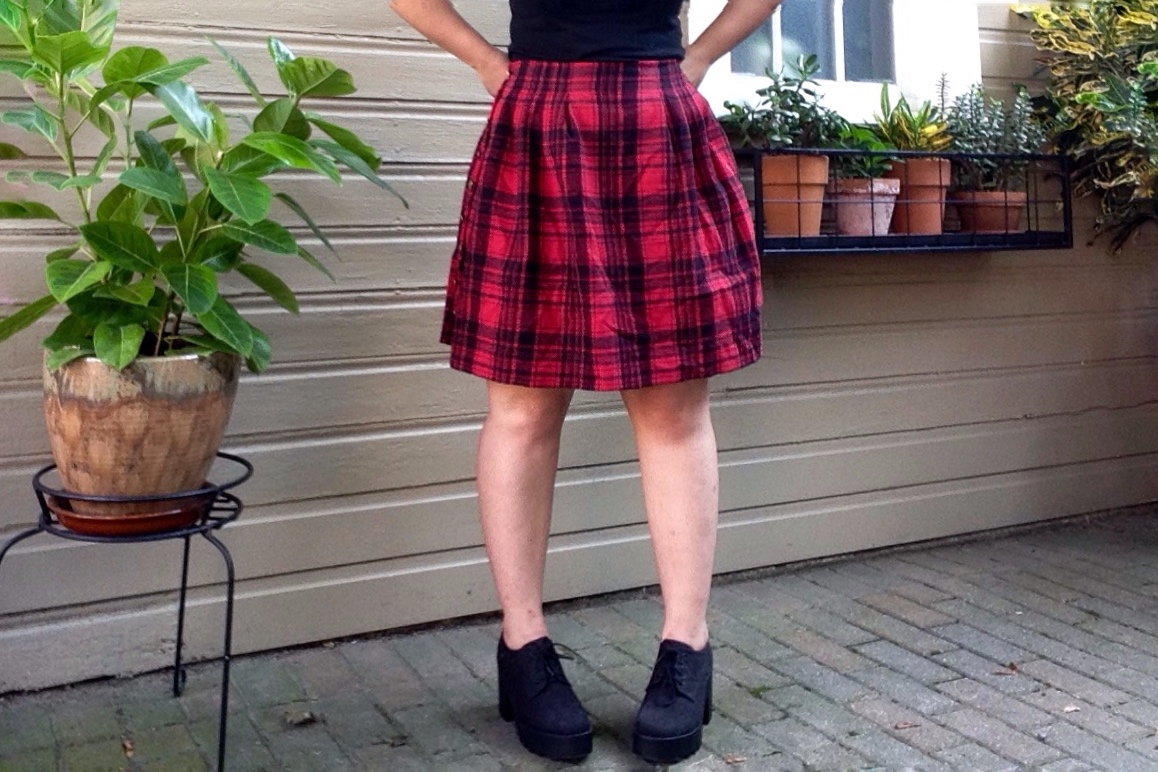
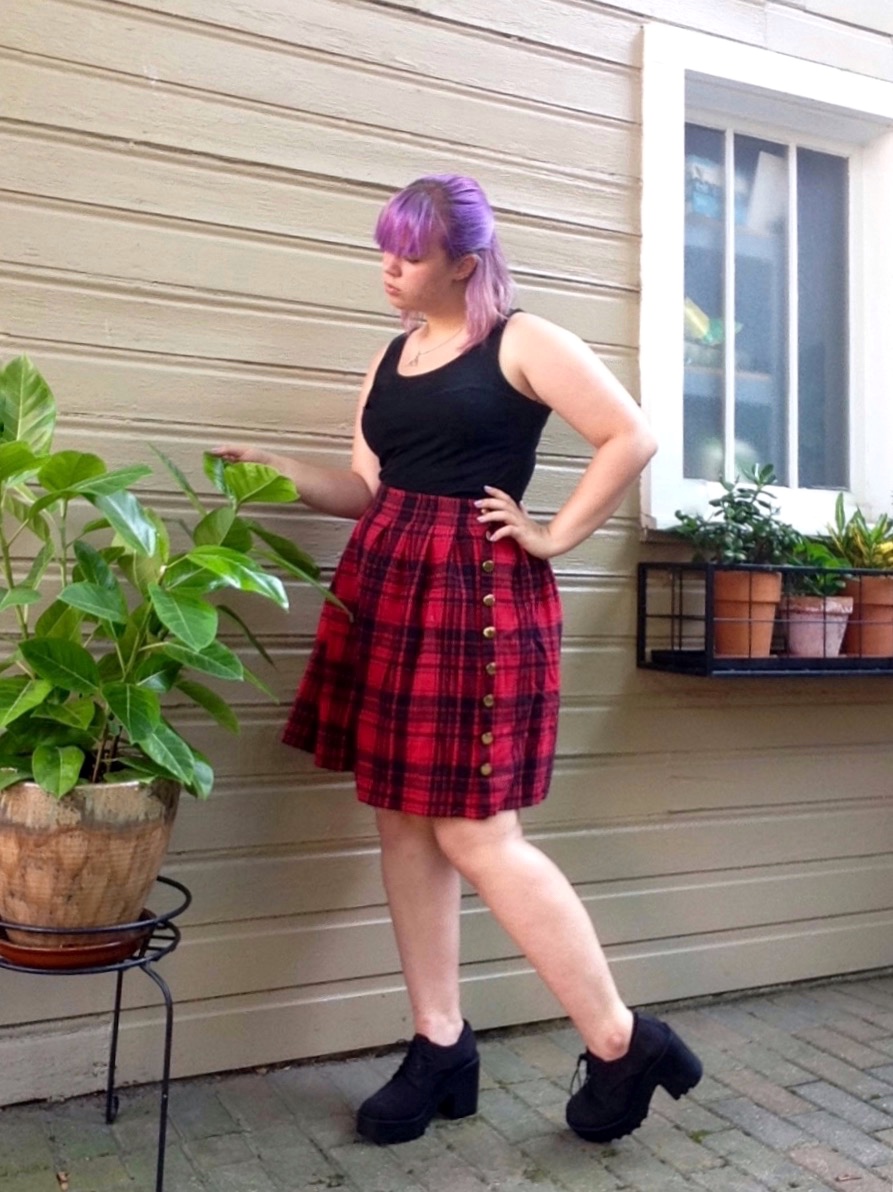
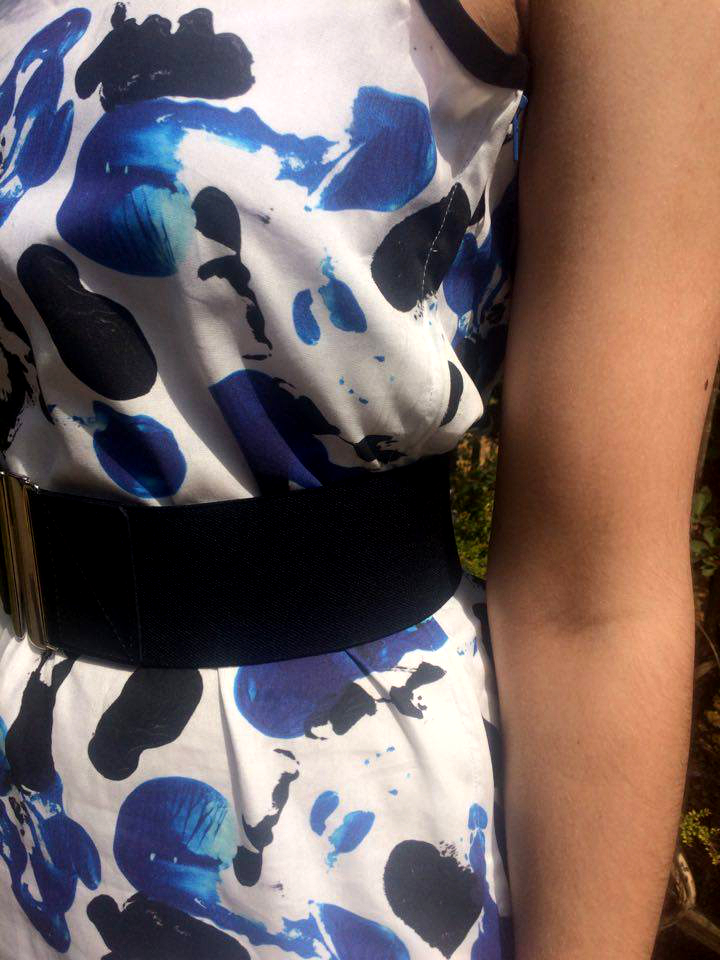
I made the dress using a plain black cotton. It was super simple to make and only took about two days to hand sew the entire thing. The reason the dress was so easy to make is because the entire thing is rectangles and elastic. It took about 11 rectangles in total: two for the skirt, four for the ruffles, one for each sleeve, two for the bodice, and one for the bow on the back of the dress. I sewed elastic in the neckline, the hem of the sleeve, and the waist of the dress.

I used herringbone stitch for the hem, but did not hem the ruffle, and instead cut it with pinking shears to keep them from fraying. The edges of the neckline and the sleeves are just folded around the elastic and stitched down. I was having some issues with the raw edge of the fabric flipping to the outside of the dress, but I discovered that the edge can just be tucked under the elastic and it will stay in place.
Be sure to like my Facebook page to keep up to date on what I’m making!
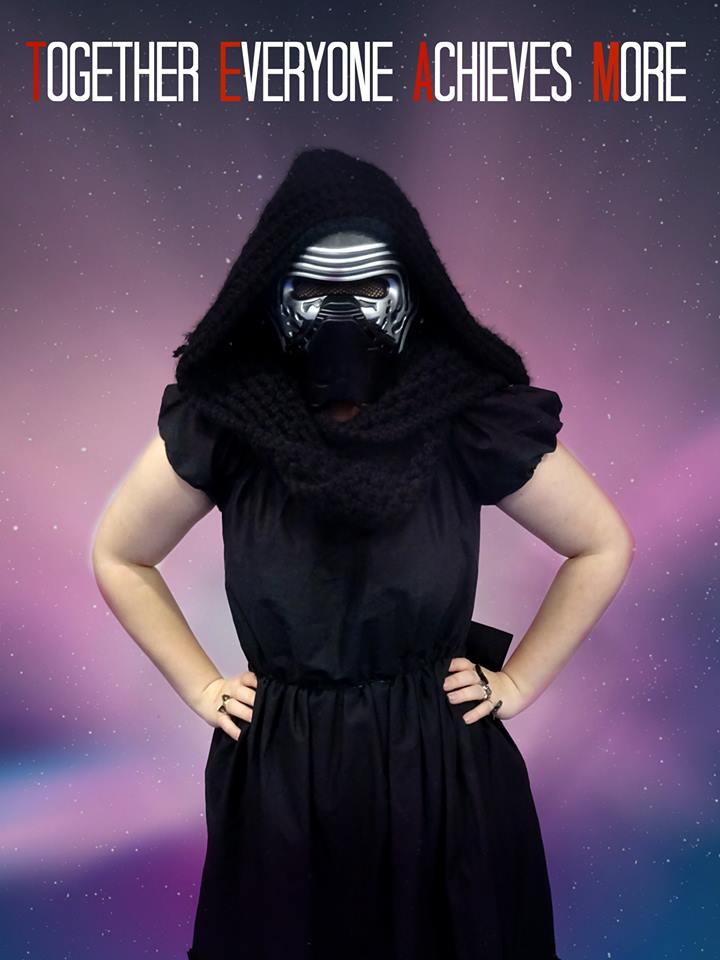
Photo by Ruth Doulgeris/Alice the Insane


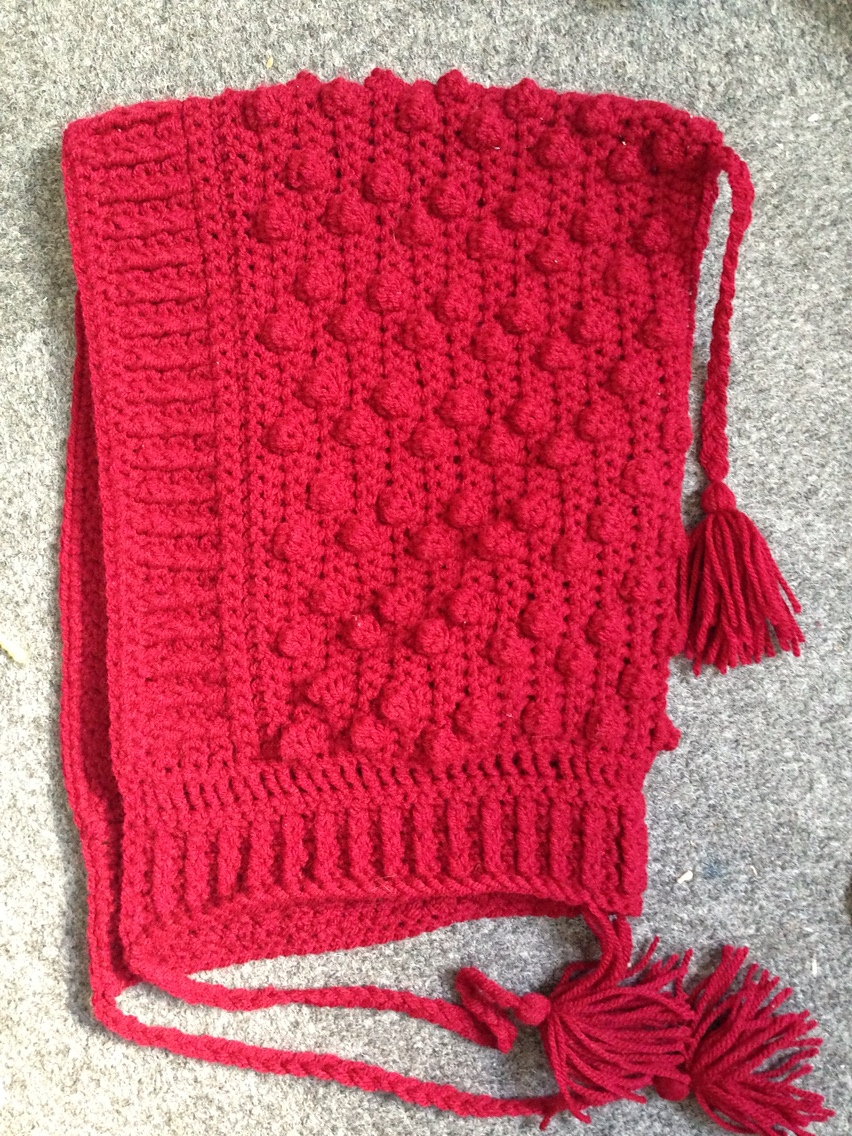
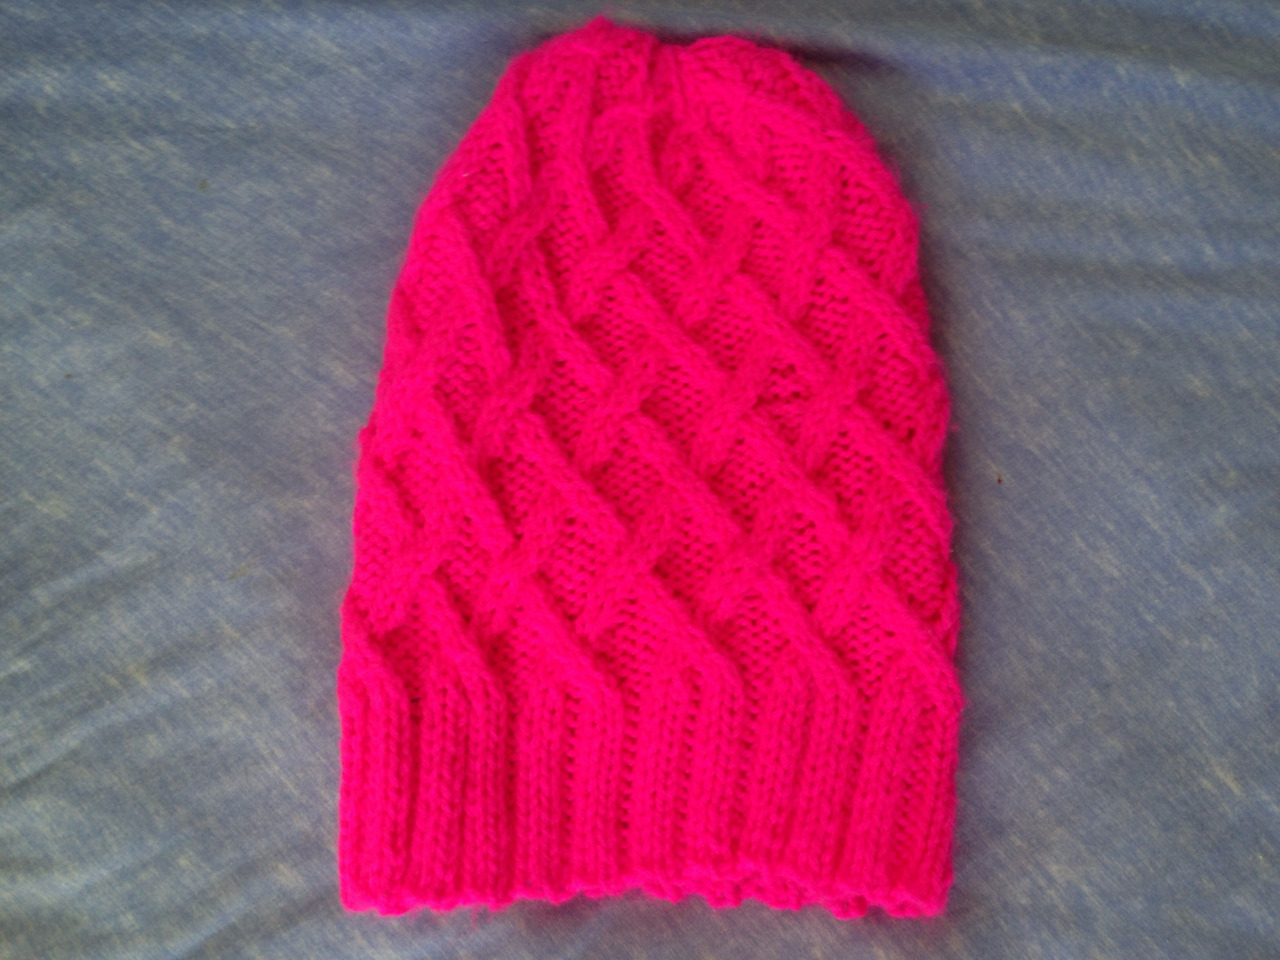
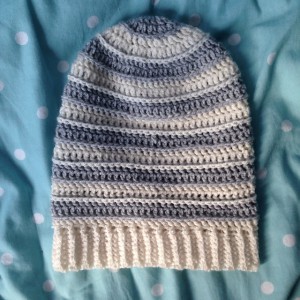
 I made this hood using the