All Grown Up Slouched Hat

file_medium2

I made this hat using the All Grown Up Striped Slouched Hat pattern. The pattern calls for the hat to be made using an aran yarn, but I used a double knit (a double knit is thinner than an aran). In order to be able to make the hat to fit my head, I only needed to change the length off the hat. I used a 5.5 mm (I) crochet hook and made the small adult size. I crocheted about 6 more rows in the stripe pattern than the pattern asked for.

The pattern was fairly easy to make, and I learned a new stitch as well as the best method (in my opinion) of making a brim. The pattern calls for the brim to be simultaneously made and attached to the hat, thus eliminating the hassle of sizing the brim to the hat and attaching it. I will definitely be using this brim method for all of my future crochet hats!

Devil or Angle?

tumblr_o351lrkW0Y1ustsfxo3_1280

Why yes, that is a Kylo Ren mask! I made this combination hood and scarf using this scoodie pattern. From my calculations, I thought the scoodie would take about two balls of yarn to make, but it ended up taking six.

It’s difficult to photograph without it looking faded or without all of the detail disappearing, but I hope these photos give an idea of what it looks like. The pattern was a video pattern, which I personally do not like as much as a written pattern, but the scoodie was very easy to make. I would definitely suggest this pattern to people learning to crochet, because of its simple design with great visuals in the instructional video. It worked up very quickly because of the thickness of the yarn, and the scoodie is very warm – perfect for cold days!

12784532_10205579260351768_525346012_nI made this hat for my friend Nicole, who told me to make her a hat that “has a random word on it that you think describes me”. Of course I went with ‘★ANGLE★’, a reference to my friend being an angel, and to an image that went around ages ago that said “I can be your devil or angle” on it. All of the pictures of the hat (with Nicole in it) were taken by Nicole. 12767546_10205579260831780_1235226791_nI tried to use a couple websites I found through google that translate images to knitting patterns, but I found it difficult to get the patterns to look how i wanted it to. Instead, I printed out a knitting pattern template, which is basically a grid of rectangles roughly the same size and shape of stitches, and drew out the letters and stars on that. The knitting method I used for the lettering is called stranded knitting technique, and involves ‘floats’ of yarn to be left on the back of the work. My tension for these floats were off in the space behind the stars, which resulted in them puffing out quite a bit. My tension in the lettering, however, is much better, and that section is very flat. I think I just need more practice in order to fix my tension issues. Overall, I do like the hat a lot, and I think it’s perfect for Nicole.

Hats for Trade

Since my visa doesn’t allow me to do freelance work and I’ve been making hats like it’s what’s keeping me alive, I’ve been trading hats with my friends for different things. I believe I’ve mentioned this before, when I talked about my Ugly Hat Trade with my friend Katie.

My friend Scott, who takes the same course at uni with me, requested that I make him a ‘cat beanie’ in trade for a drawing, so I present you with the Witch’s Cat Hat. The hat is a simple knit base with a half inch of rib stitch at the brim. The ears are two identical crocheted triangles which were then crocheted together using black yarn.

This hat was traded with my friend Luc for food. It was made using the Hella Gay Hat pattern, which I lengthened to make a beanie. I made the larger size, and it ended up being too big. I tried a new technique on this hat, double knitting, which causes the design to be knit on both sides of the piece at the same time, just in opposite colors. It was a little difficult to start out, but easy to pick up. This method takes a lot longer than just creating ‘floats’ in the back of the work, but the tension is much better. Since there is essentially two layers of work, this makes the hat warmer and squisher, which is nice, but since I only double knit a small portion of the hat, it ends up looking a bit odd when placed on the head.

file_medium2 (3)

I am very happy with the pom pom.

Christmas Presents for Relatives

All of these scarves were made over the summer before I moved for some of my relatives.

This cowl was knitted using the Infinity Trinity Cowl and Wristers pattern. I only made the cowl. It was an easy pattern to do, and an easy pattern to memorize, which made it nice to work on while watching TV. The only thing I’m not happy with is the seam joining the ends together. It’s a solid seam that won’t tear apart, but it’s very obvious.

This is based off the Broomstick Lace Infinity Scarf, but I lengthened the pattern so that it is instead a regular scarf. Another super easy pattern good for doing in front of the TV, although holding a huge knitting needle and trying to crochet around it at the same time takes a little focus.

This crocheted cowl has Abstract Crochet Cats and pom-poms! What’s not to like? This design was fairly easy to make, and my mom convinced me to add the pom-poms as a fun addition. I discovered that to make the cats look more like cats, the stitches done ‘in between the ears’ should be done AROUND the stitch instead of through it.

cat scarf 3

Can you see the cats?


Hats!

These are the two hats I knitted for my friend Ruth for Christmas. She asked for a Where’s Waldo Hat, and I messed up the first hat, which is the one on the left. It is clearly not a Where’s Waldo hat, and is instead a Santa hat. I realized my mistake too late, and so finished the Santa hat before moving on to the Where’s Waldo one.


This is the Deadpool hat/balaclava I made for Ruth’s sister. The base is knit in red following the Jackyll & Hide pattern, and I hand sewed on black shapes to outline the eyes, and then put white netting underneath so that it could be used as a mask.

I made this hat for a knitting trade with my friend Katie. We wanted to do a trade of ‘ugly hats’. I worked with both colors at the same time from opposite sides of the hat to create a striped pattern that spirals to the top, where I made the biggest pom-pom I could.

This zig-zag scarf was made for my friend Nicole’s birthday.

I decided on each row’s color by flipping a coin for each row, resulting in a lovely, truly random pattern.

That’s right, it’s an R2D2 hat! I made this to celebrate the new Star Wars movie, and used the Star Wars Droid Beanies pattern. I modified the hat a little bit by adding two extra rows, one where the hat is solid grey, and one at the bottom.

bb8

Yes! Another Star Wars hat! This one is BB-8, a character from Star Wars: The Force Awakens. I used a BB-8 Droid Hat Pattern, and modified the circles to be smaller, and looking at the robot in order to judge where to put them.

santa deadpool

A New School Year

Sorry, it’s been quite a while since I’ve last posted. Since then, I have moved to England and started my first year studying costume design and construction at a university level. I’ve been working very hard in class, and so kept forgetting to post. (oops!)

During winter break, I went to Austria with my friend Ruth and stayed with her family. While in Austria, Ruth and I visited her photographer friend, Bildersanatorium, who was kind enough to take photographs of the many pieces I have made since September.

Slytherin Hat

I had made this hat to match a scarf I’d made, but I lost the scarf almost immediately upon its completion.

This hat was the second thing I made after moving to England. It’s a very simple earflap hat made from double crochet and single crochet, with braided tassels and a pom-pom.

In most of the photos I look very serious.

I actually look happy in this photo.


This dress is made from a very nice stretch velvet I picked up from BSP Haberdashery. I felt it, and I just had to take it home with me. I made up the dress pattern as I went along, copying one of my tank tops for the bodice, and gathering two rectangles for the skirt. The dress is so simple that I was able to hand sew the entire dress in one night.

Ruth with Red hat and Harley Quinn Scarf

Ruth with Red hat and Harley Quinn Scarf


This is my friend Ruth in cosplay as Mavis from Hotel Transylvania. She is modeling a knit hat and a crocheted scarf. The hat is a super simple pattern, I just altered knit and purl stitches until it reached the length I wanted, and then decreased. The scarf is made from the basic tunisian crochet stitch, which ended up making the fabric very thick and warm, but also caused a strange drape. I started making the scarf in red, but switched to black when I ran out of red.

Green Hat Front Green Hat


I made this hat for Ruth’s dad for Christmas. It’s a plain knit hat with a ribbed cuff.

Purple Cat Hatpurplecathat2


This hat is made for Ruth’s mom using the Kitkat Hat Pattern. The pattern was super easy to make, and I love the result!

Blue Cable Hat Blue Cable Hat 2


This is my favorite hat. It was my first time working with cables in a pattern and I love it so much! I used the Traveling Cable Hat Pattern and I found the instructions very easy to follow, although I did get confused while I was making the ribbing and messed up a bit. If you want to see in progress pictures of my hat, please click this link.

maroondress3 maroondress1


This dress is actually a project from spring of last year. It’s made from the same pattern as the French Fry Dress out of a soft woven plaid fabric. I did not match the plaid because it is a very small print, and I lined the bodice with the same fabric used in the rest of the dress.

I am planning on posting more often this year, and hopefully I’ll stick to that promise!


Rainbows and Scarves and Hats (Oh my!)

I’ve made a lot of stuff in the past few months, so I’m going to try and separate it all into manageable posts.

In February, I was comissioned to make a rainbow scarf for my friend Marzena.

DSC01065

I accidentally crocheted the scarf a few feet longer than I had meant to, mostly due to the chain stitch stretching.

DSC01062

It’s pretty simple, made only with double crochet, each color being three rows wide. This was probably one of the biggest projects I’ve crocheted.

DSC01069

Then, one of my other friends asked me to make a rainbow cowl.

adelaide scarf

The first one I made in February, (pictured above) but it was too small, so I made another one that was longer in March.

DSC01133adeliade again

I forgot to take pictures of the second one, however. My apologies!

More recently, (last week!), my friend Claire, who also knits, asked me to knit a hat!

Rainbow knit hat

Claire outlined a pattern for me verbally, saying I should start the hat with 54 stitches, and then decrease by six once it was the desired length.

rainbow hat inside

I forgot Claire’s instructions, and instead started the hat with 64 stitches, on needles that were two sizes too big.

Claire in hat

Luckily, I knit extremely tightly, so the hat fit just fine!

That just about sums up all the rainbow stuff I’ve made since February. Look out for more posts containing more recent makes!

Uchi-Con

Hello!

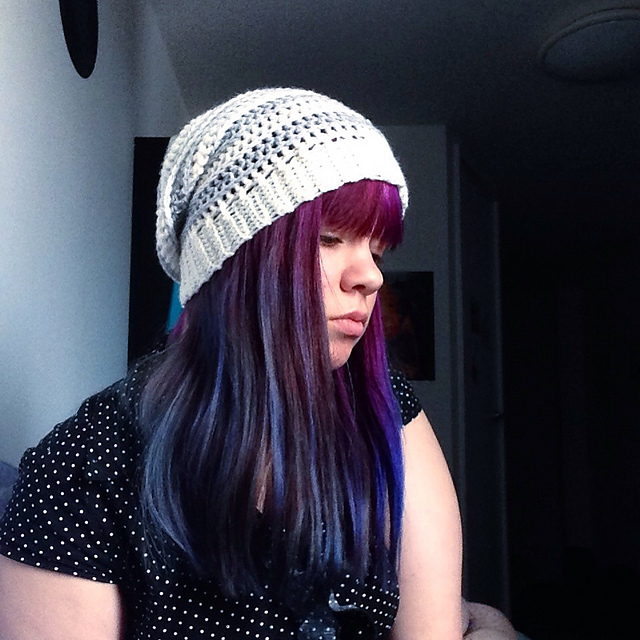
Sorry for the lack of posts, I’ve had a lot to work on! I just finished my portfolio for costume design, which can be viewed right here or by clicking on the link labeled ‘portfolio’ at the top of the page. Some of the garments are unblogged, but I hope I can put some information about them up eventually.

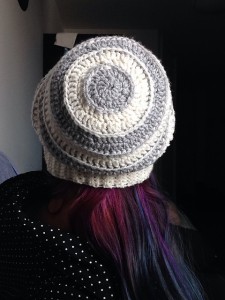
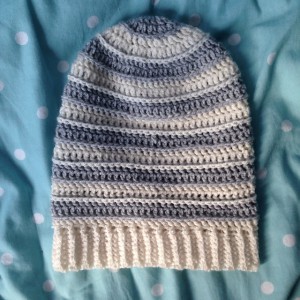
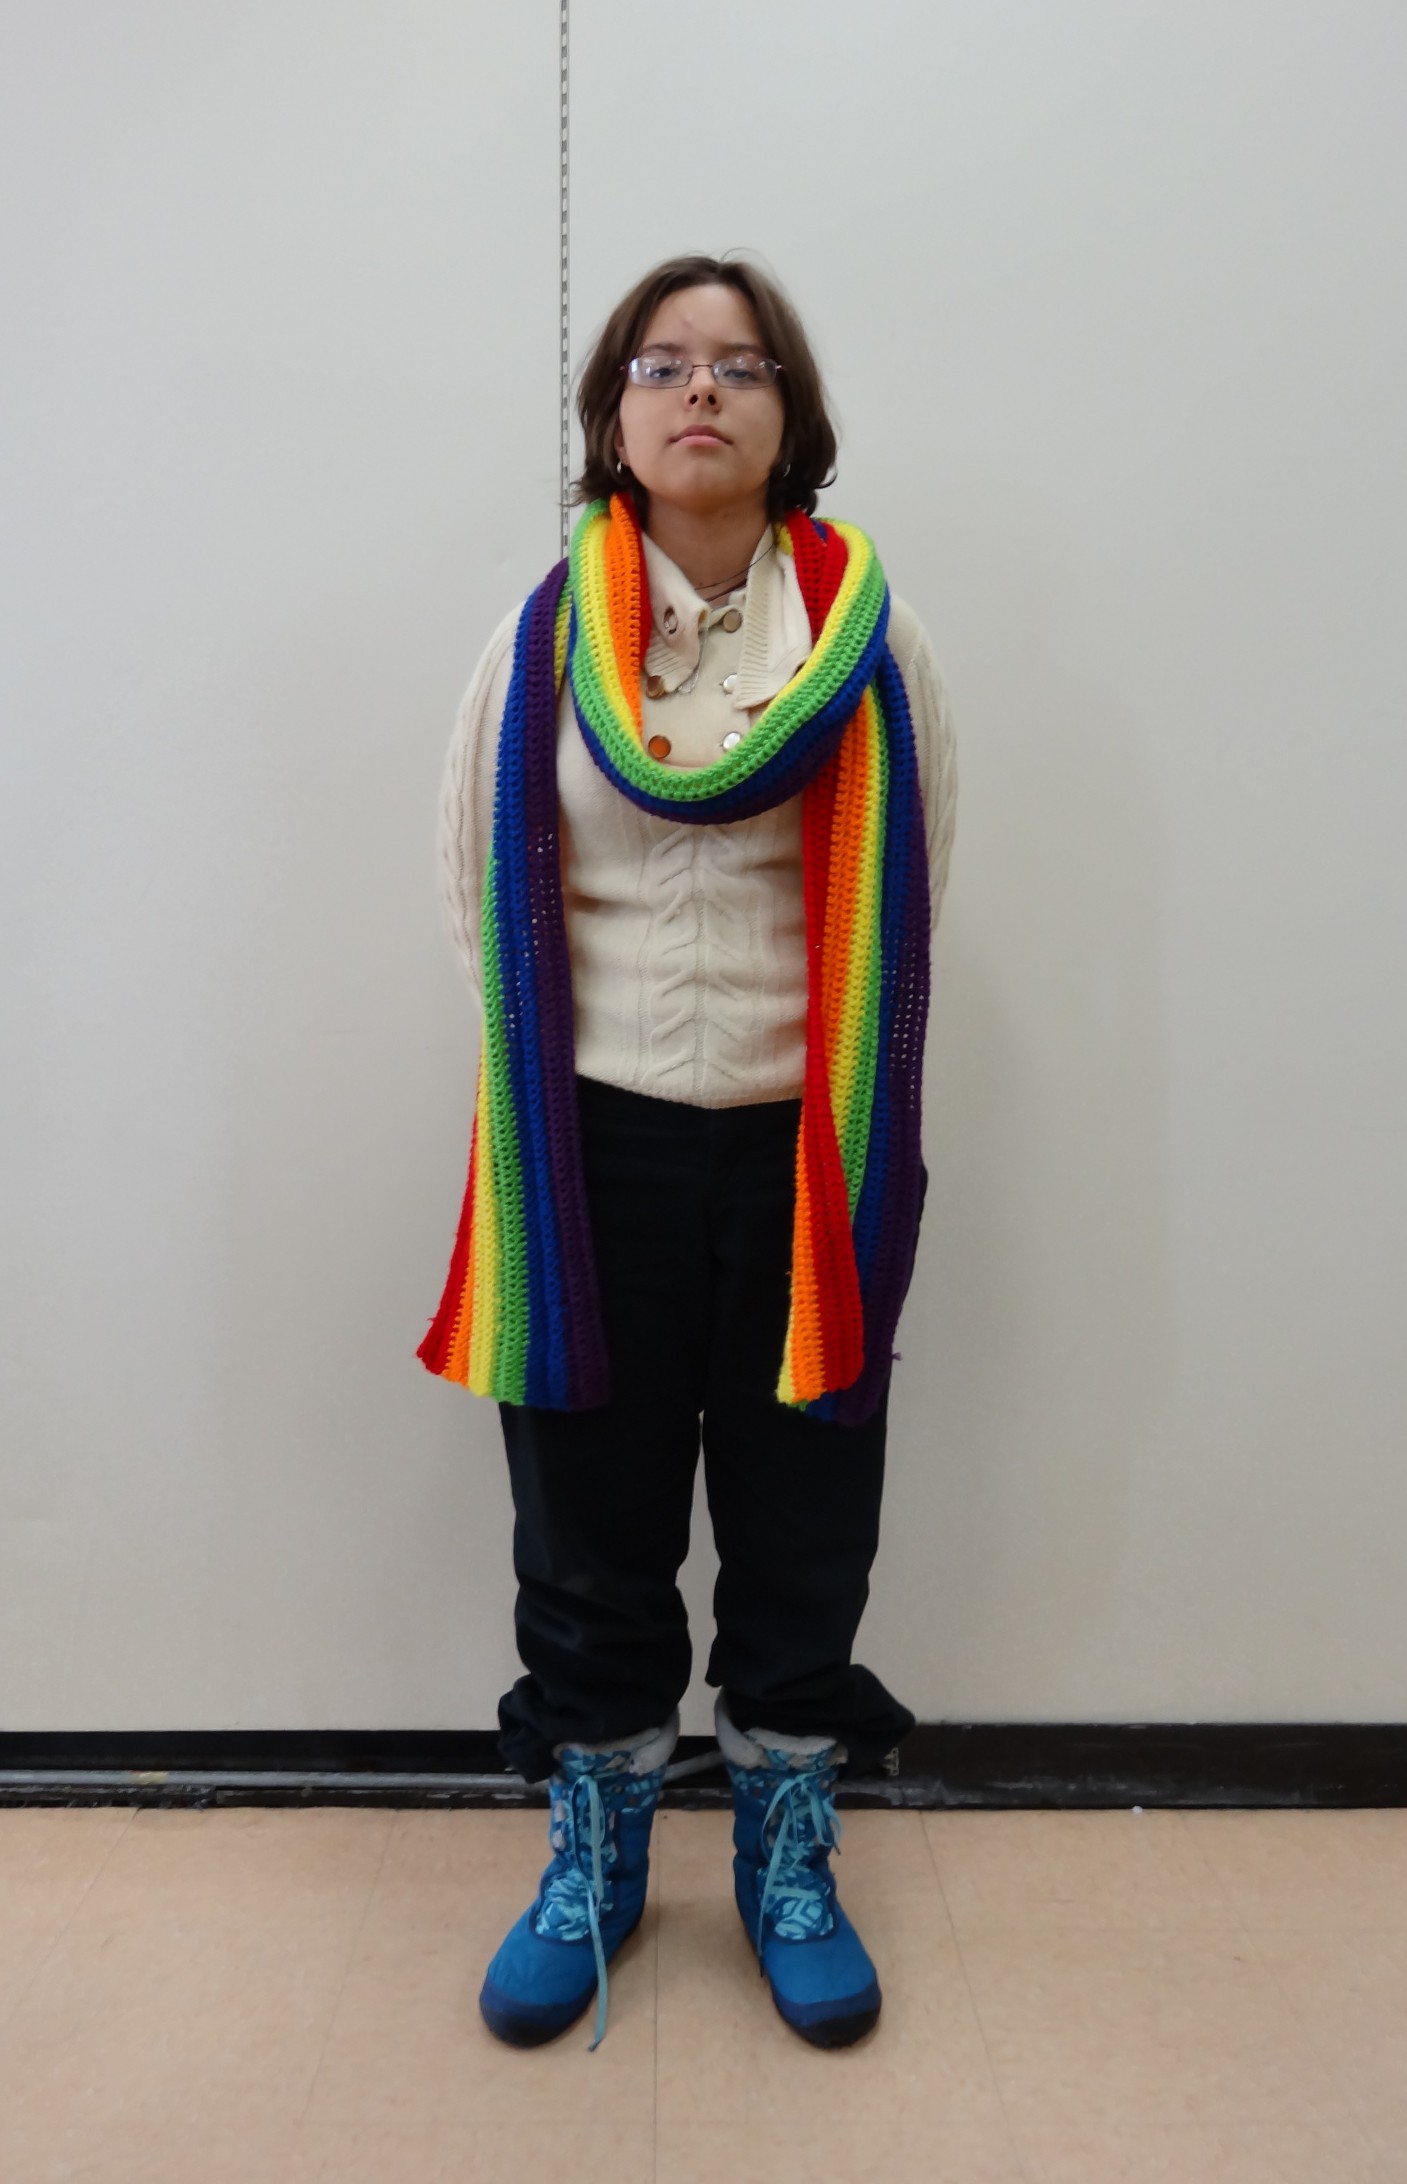
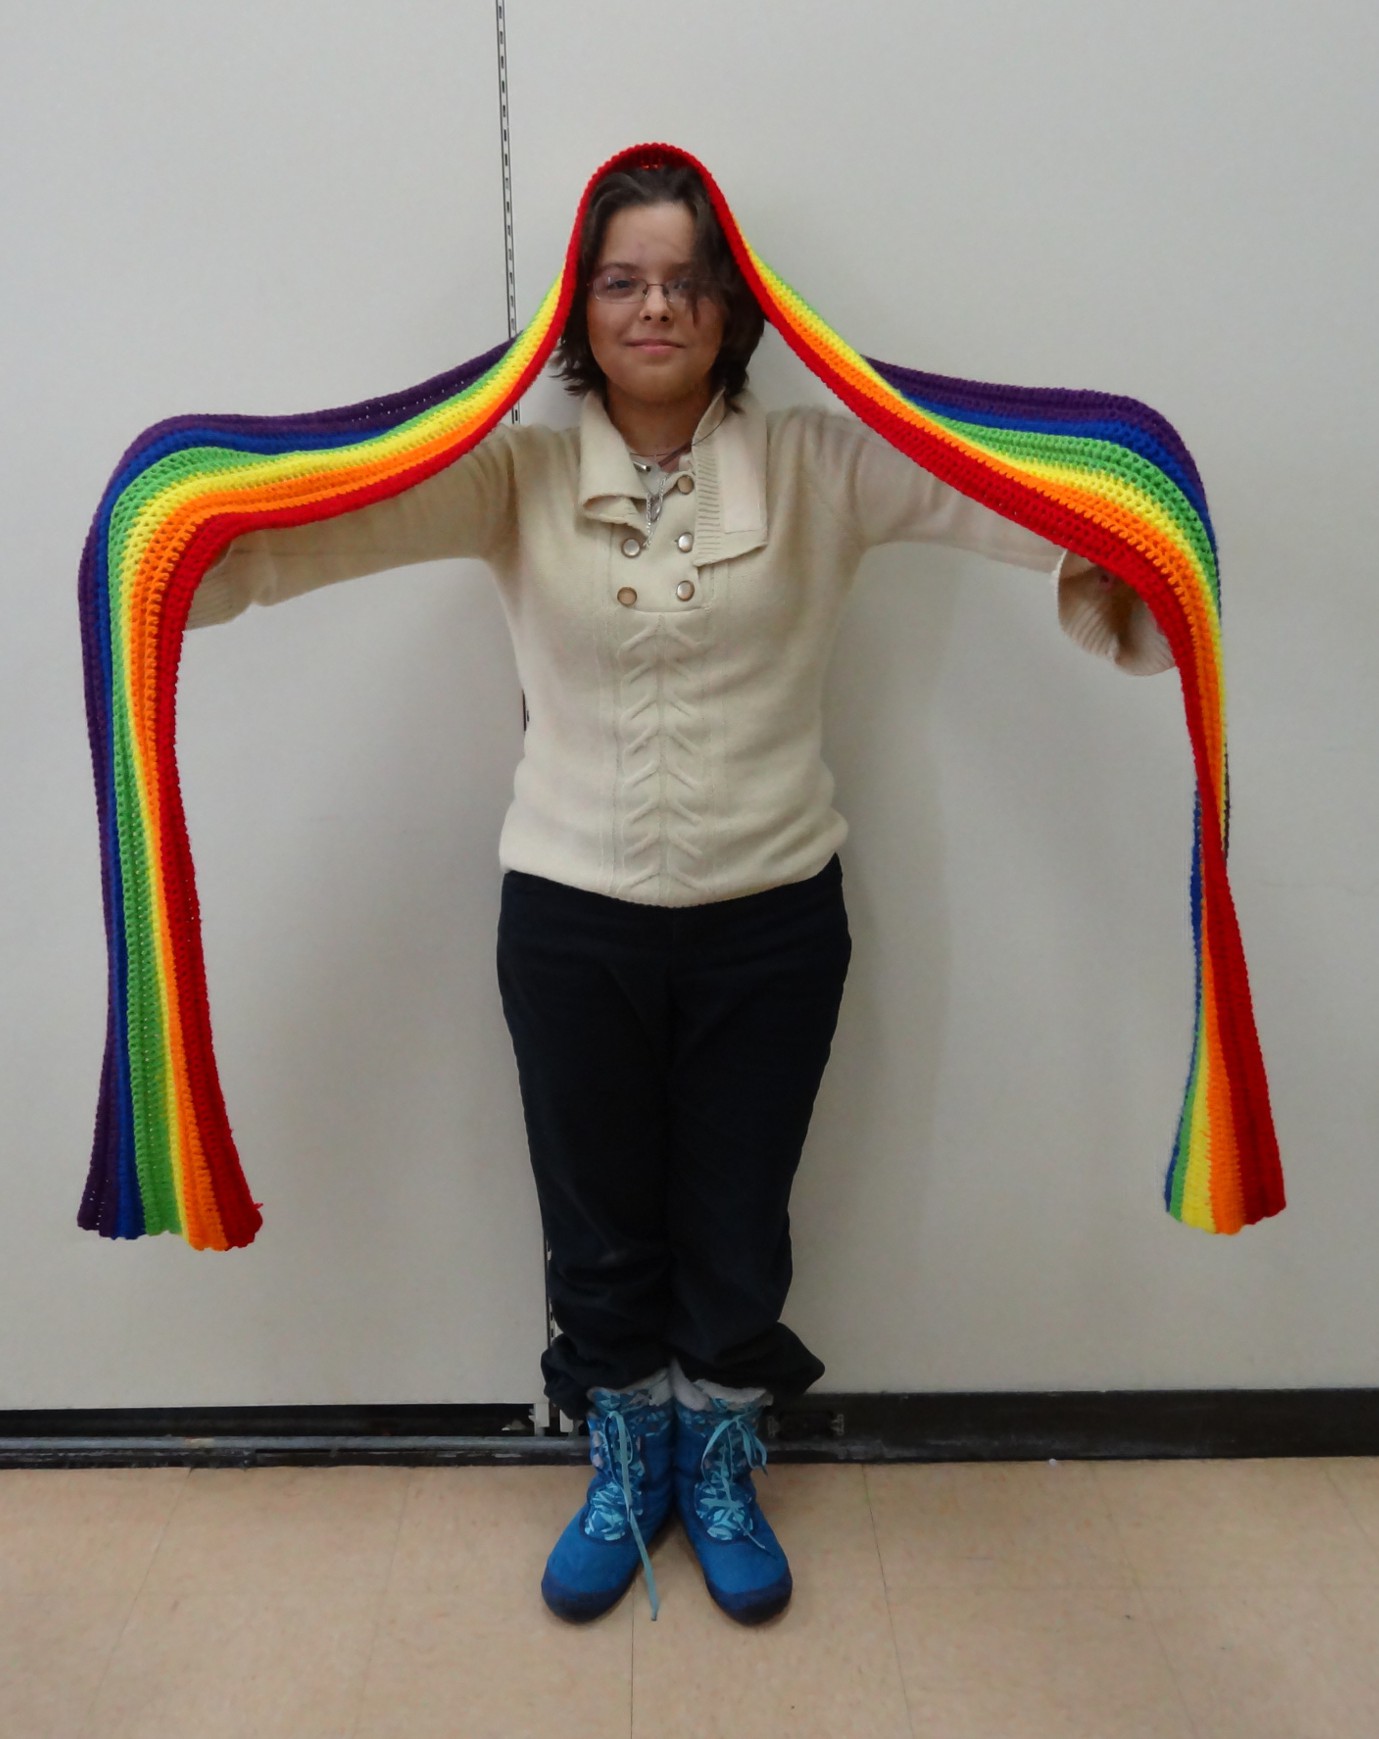
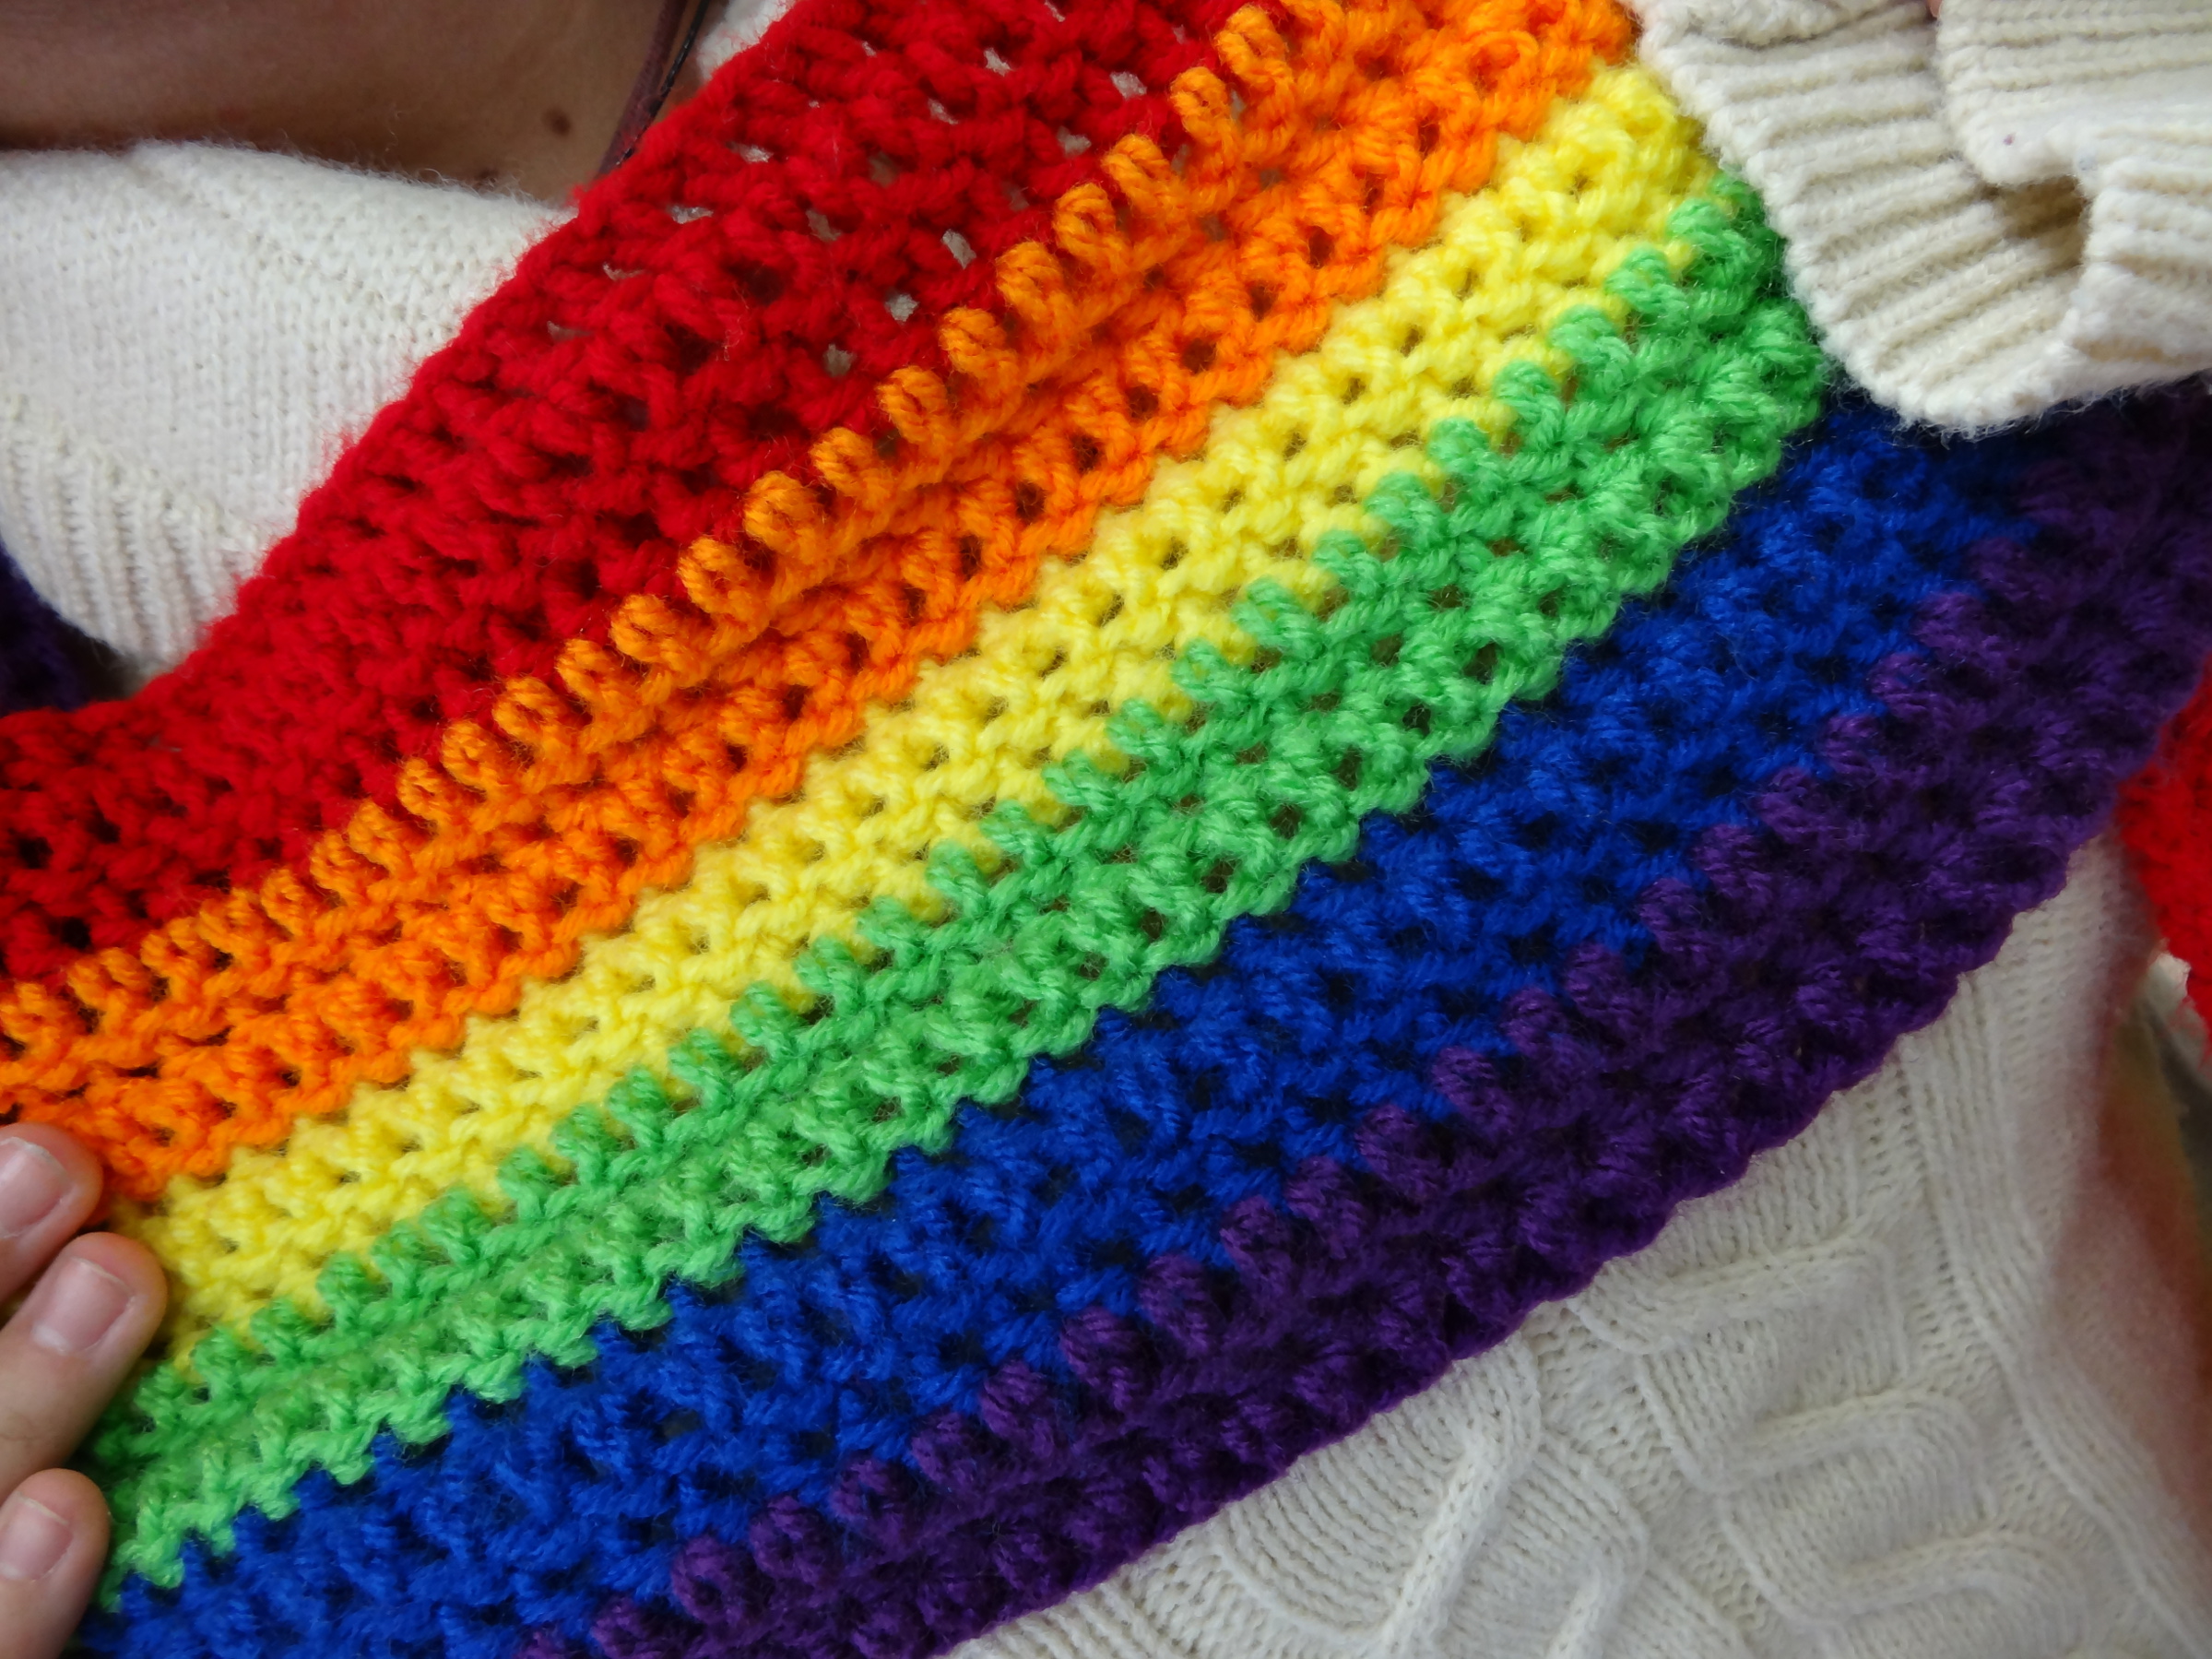
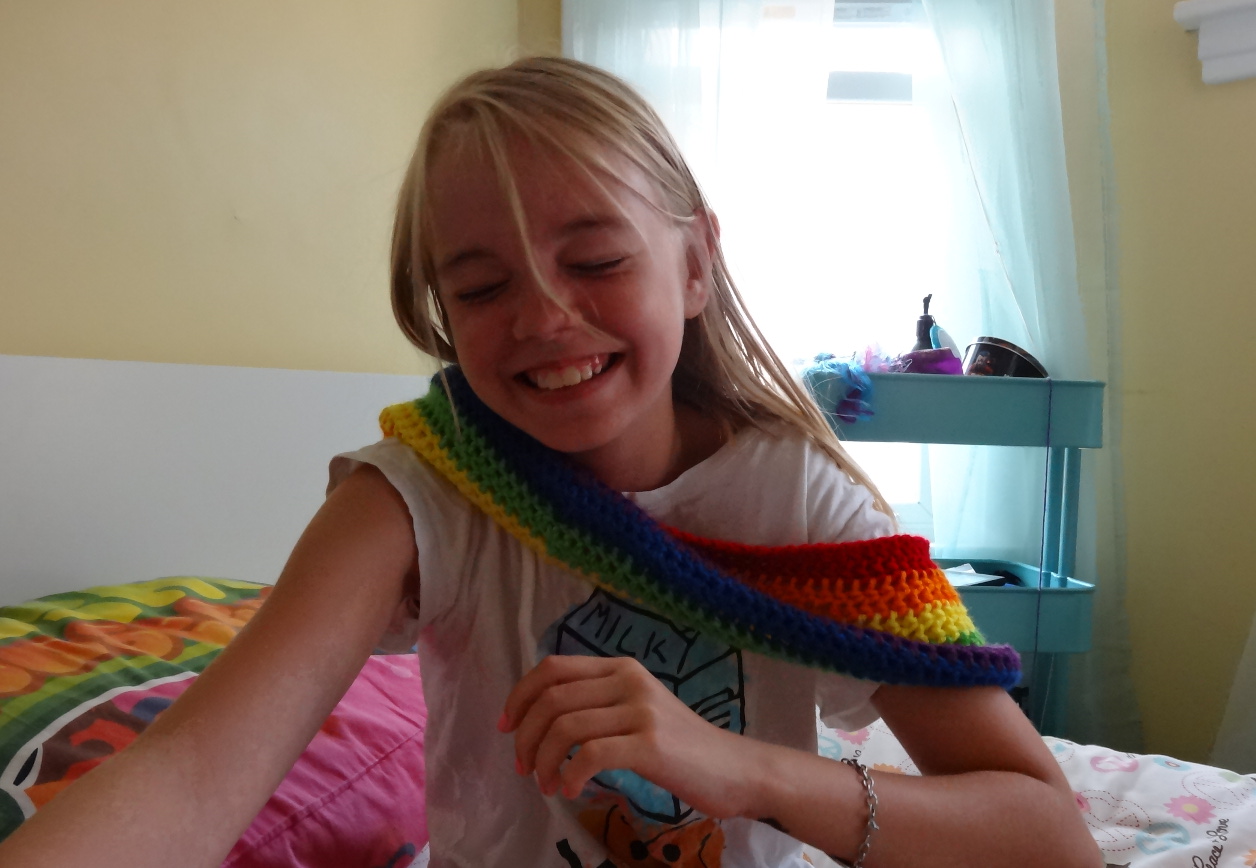
In addition to creating this portfolio, I have been preparing for Uchi-Con, which I went to yesterday. According to ravelry, I have spent about two weeks furiously crocheting hats for this convention.

view-of-the-table

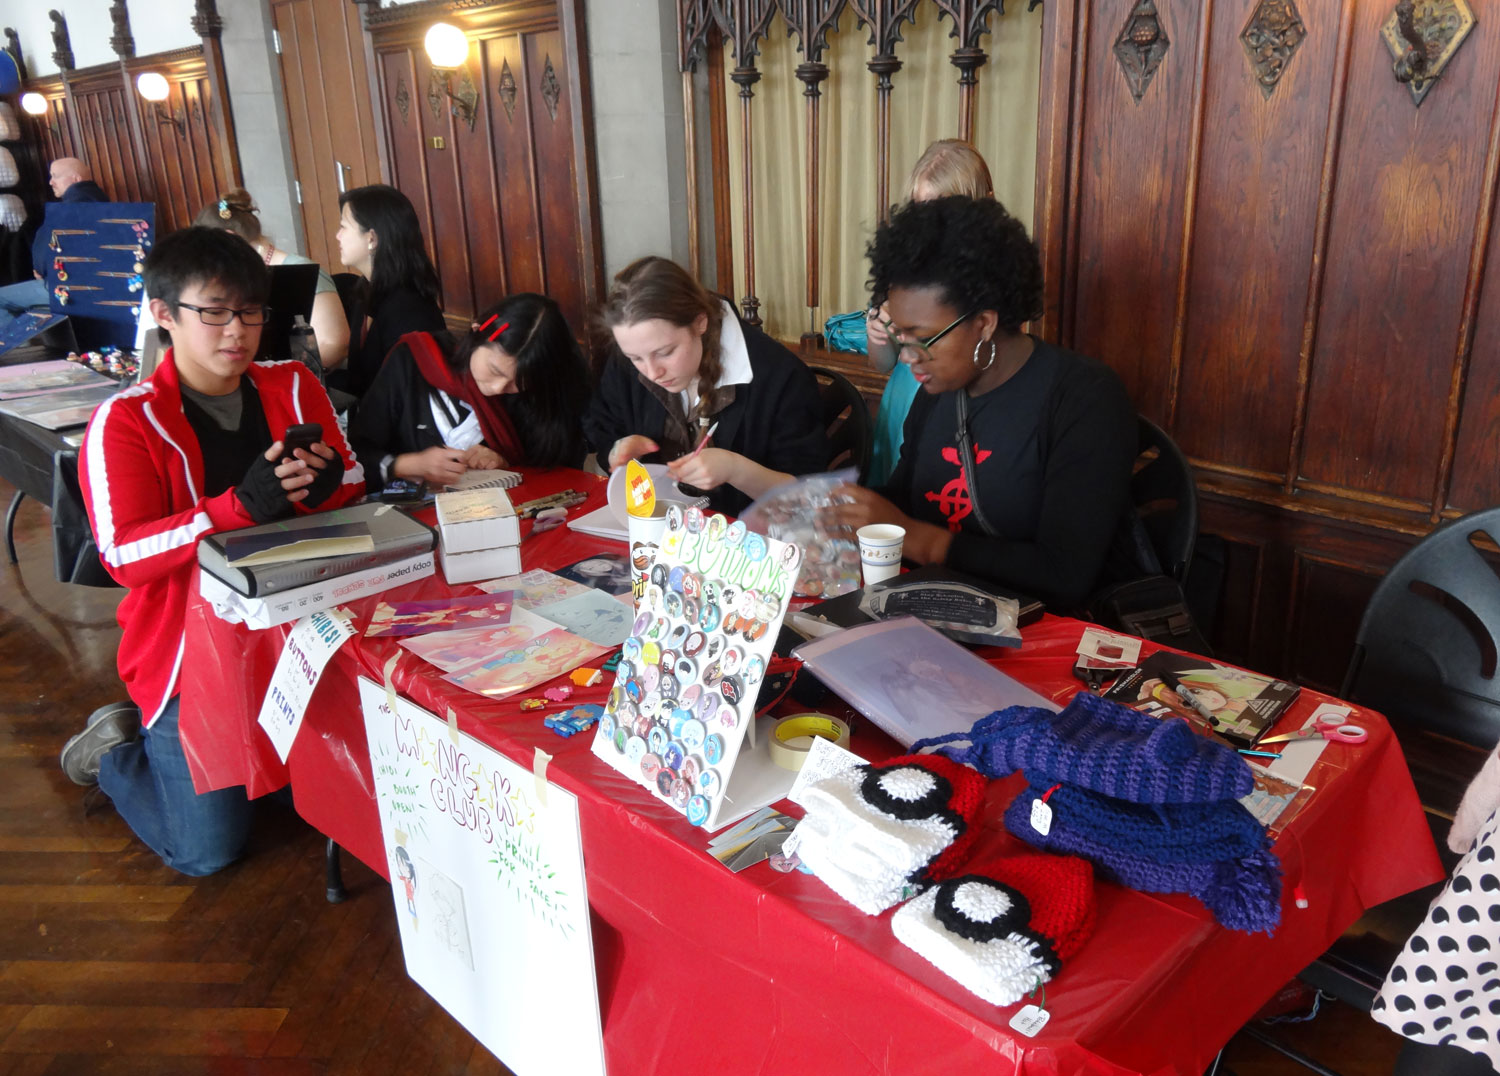
Our table right before the con opened

I shared a table with the Mangaka club from our school. They took up most of the table and sold buttons, prints, and commissions. I sold the hats that I had made over the past couple weeks, and I worked on crocheting more items while sitting behind the table.

view-from-the-table

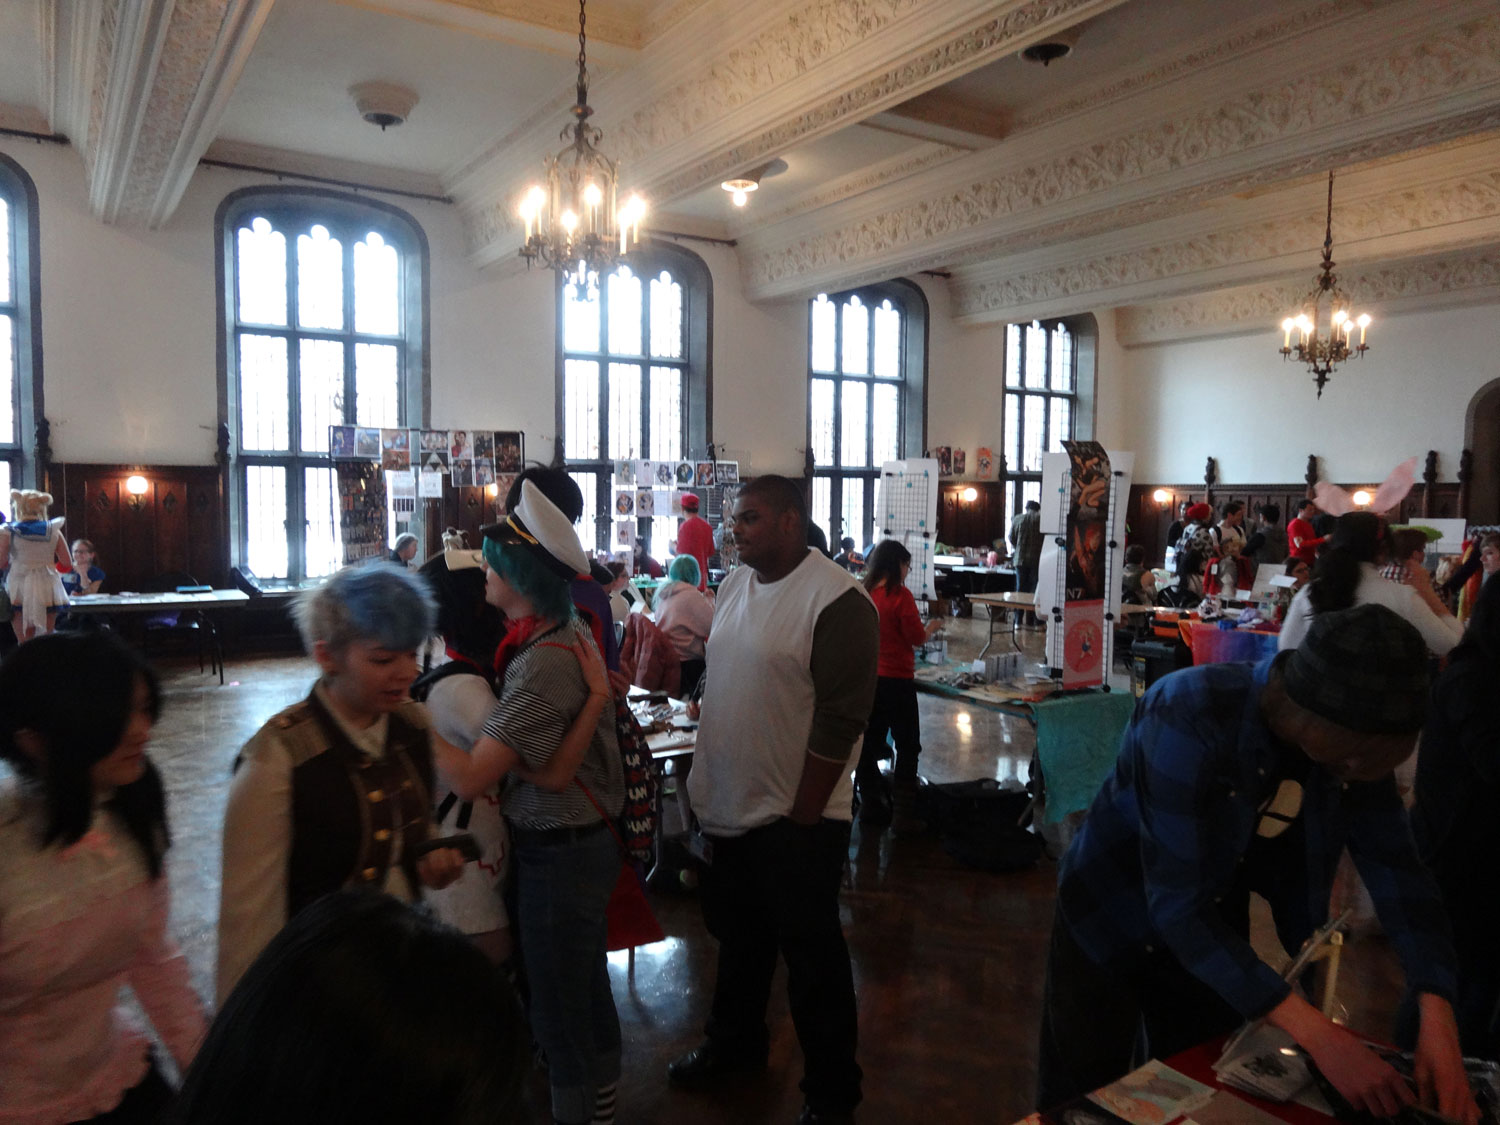
The view from our table (if you look closely, you can see cosplays of the Gorillaz)

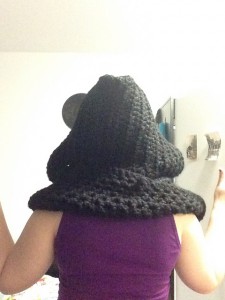
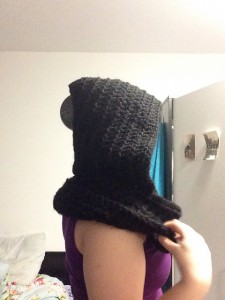
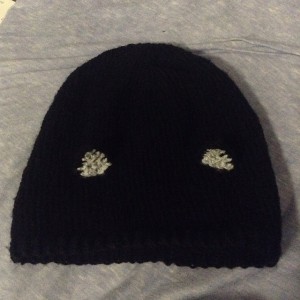
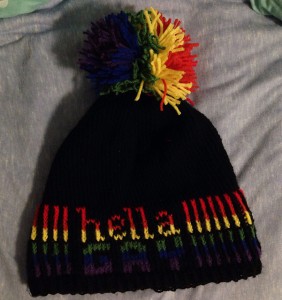
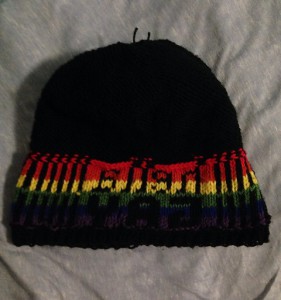
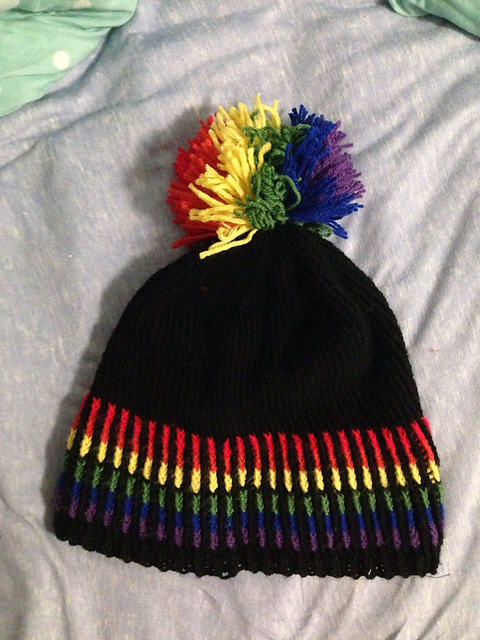
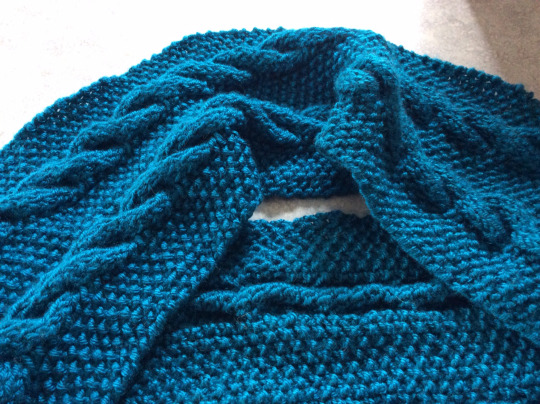
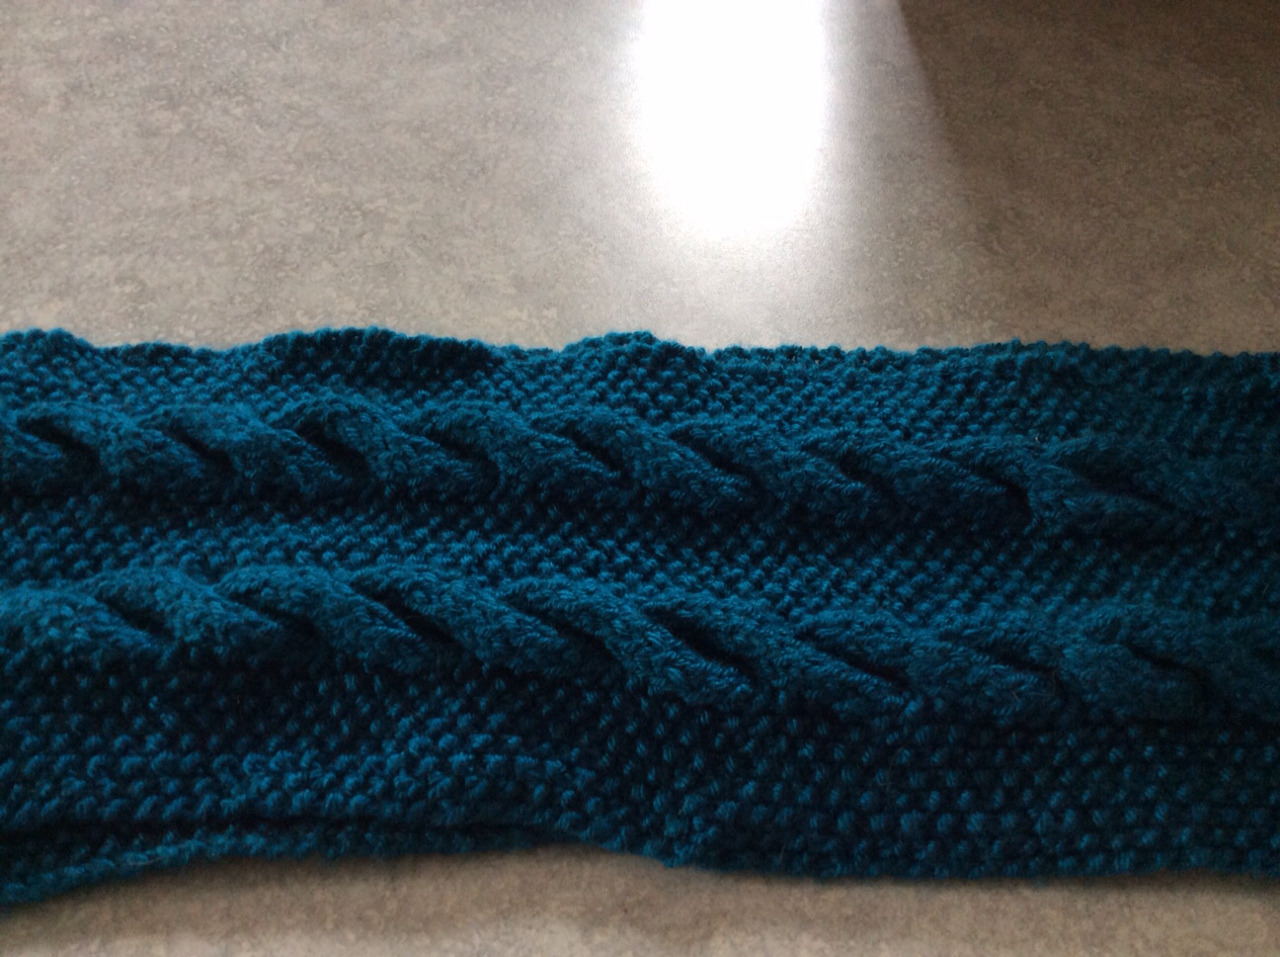
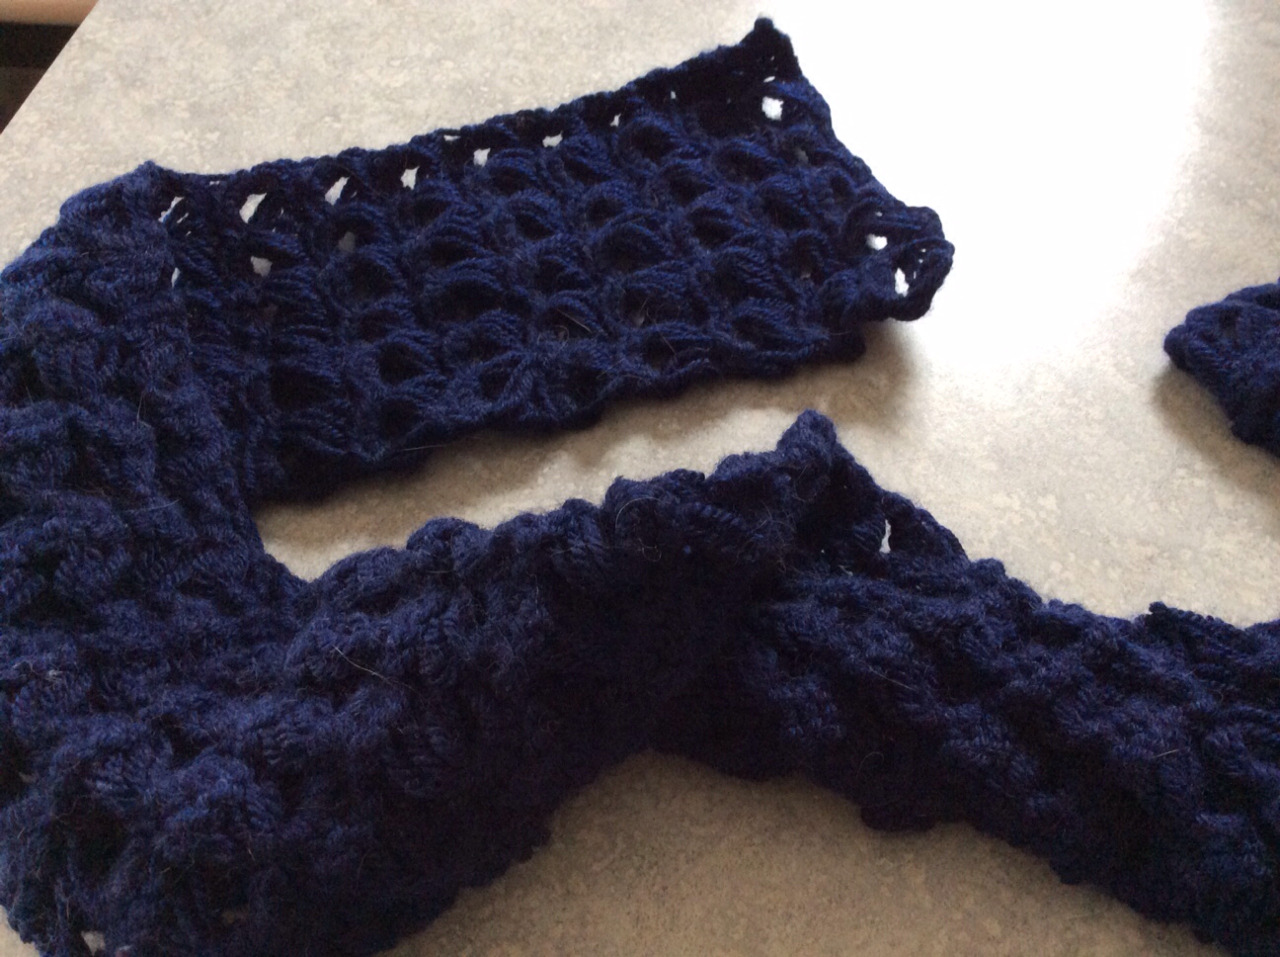
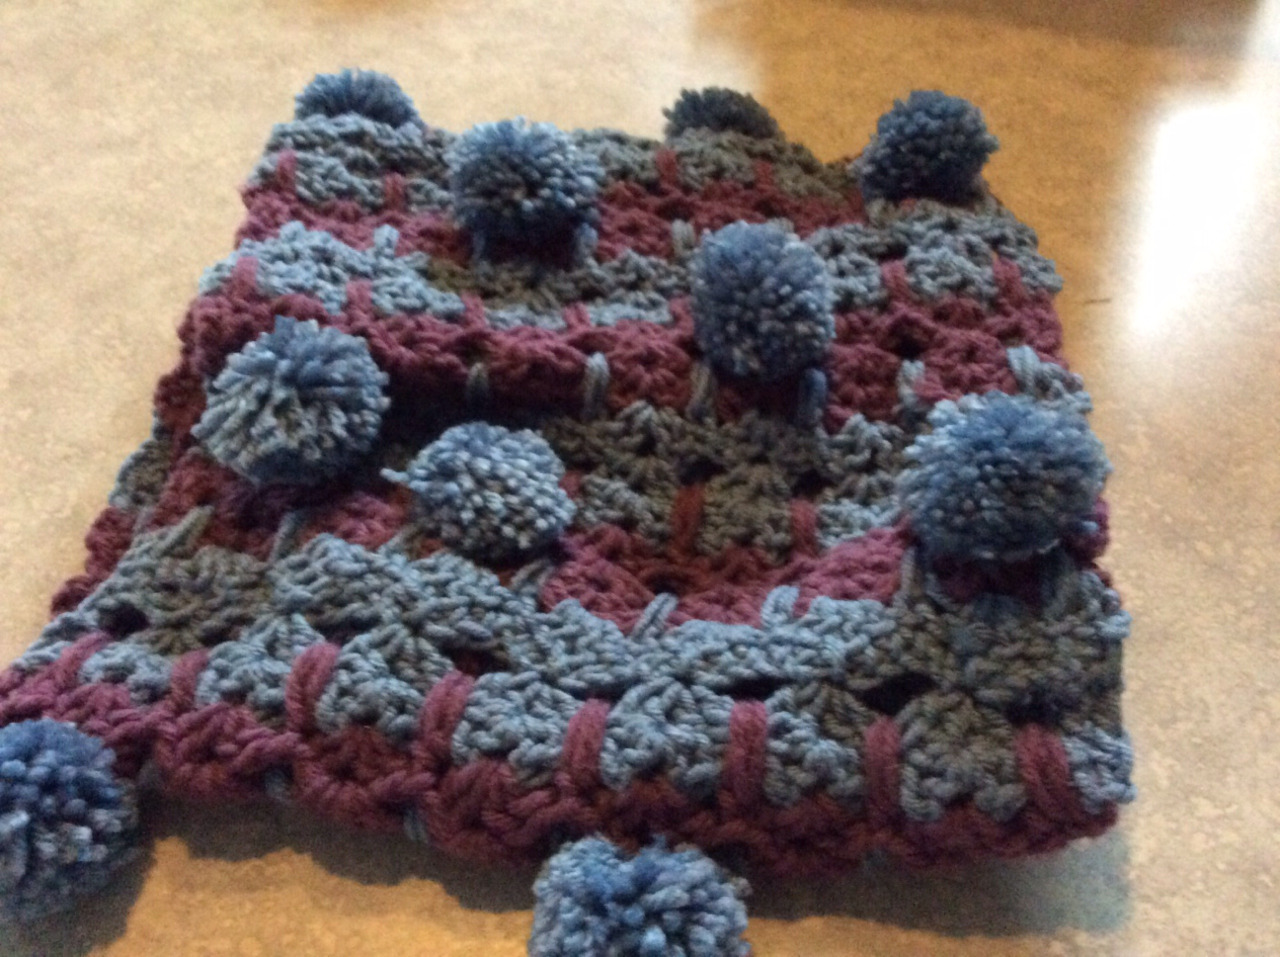
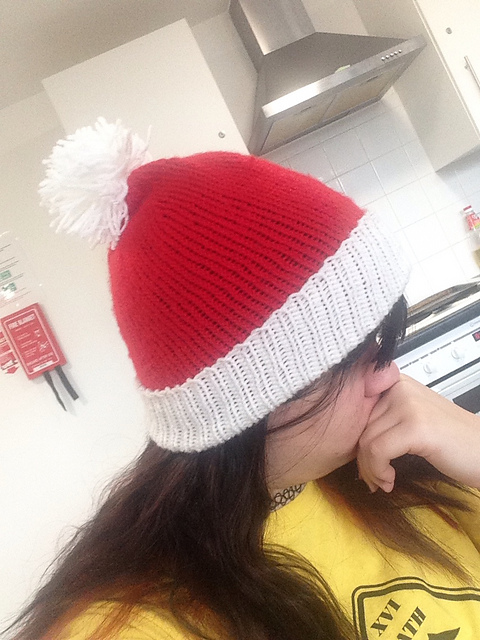
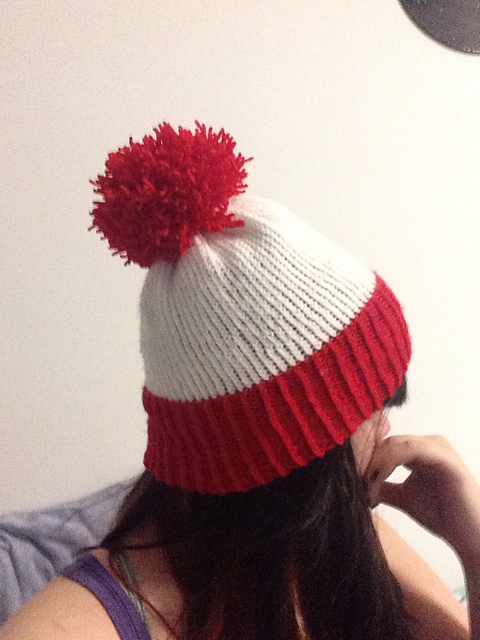
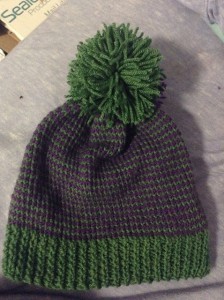
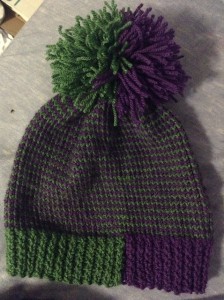
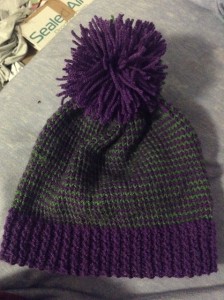
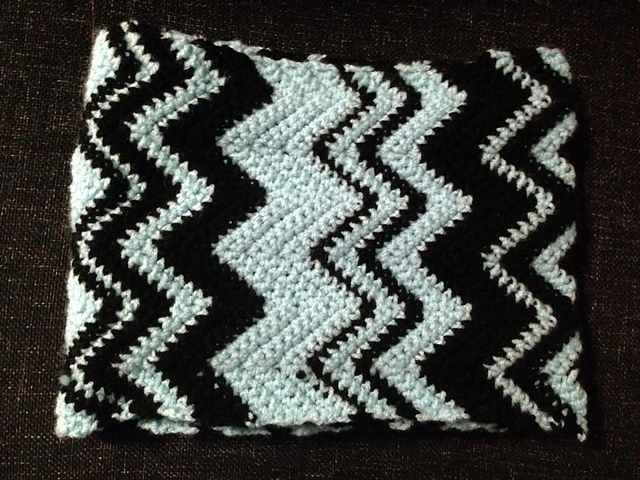
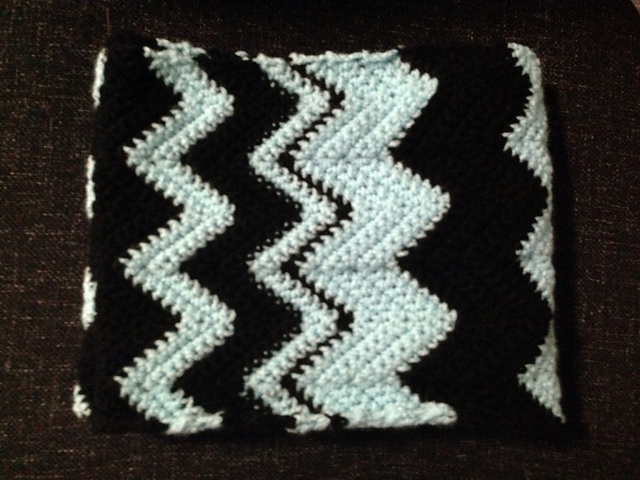
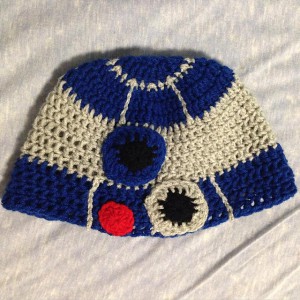
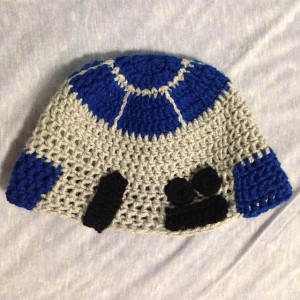
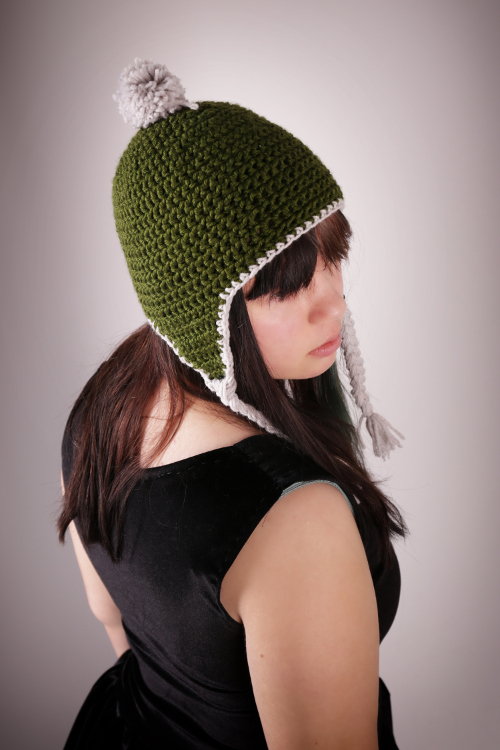
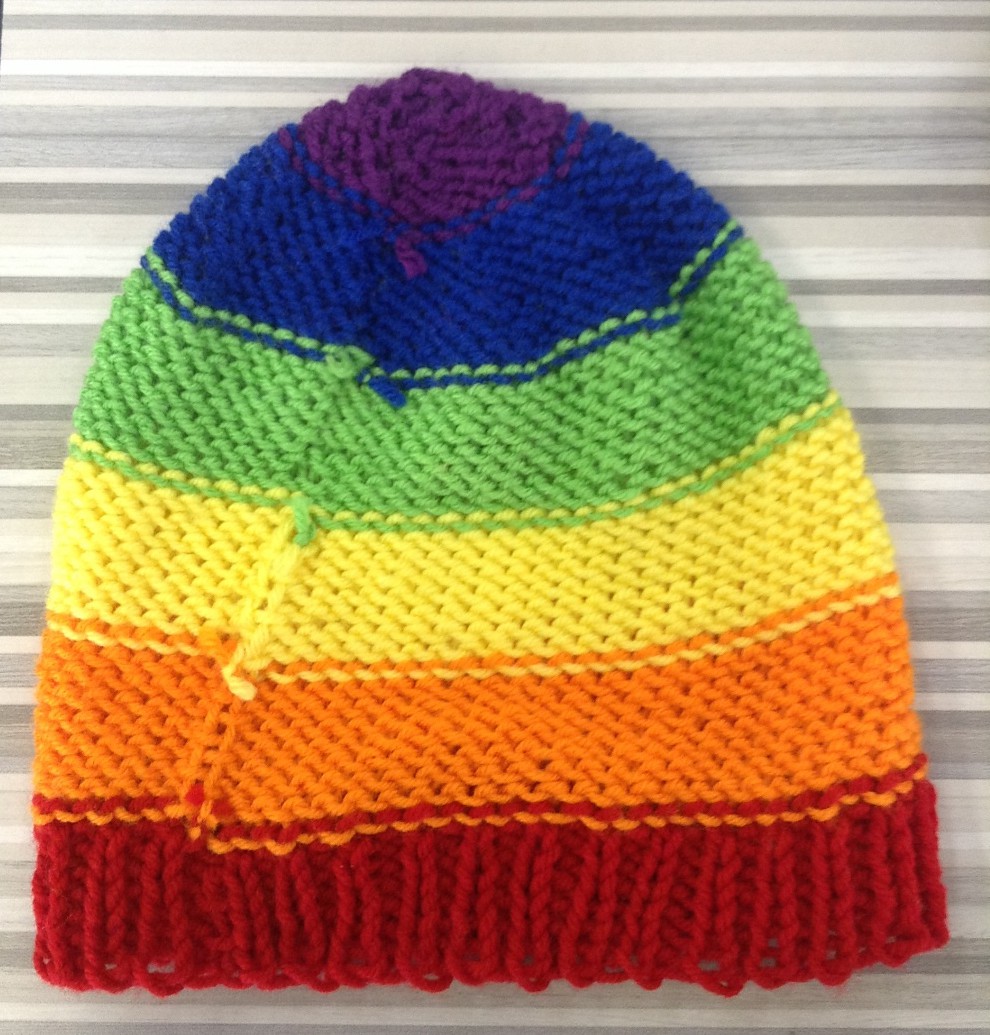
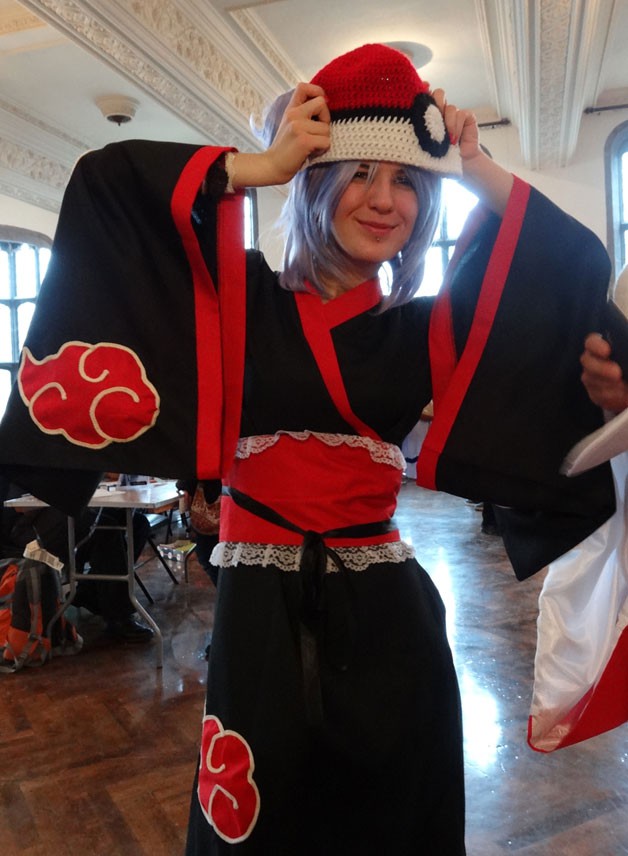
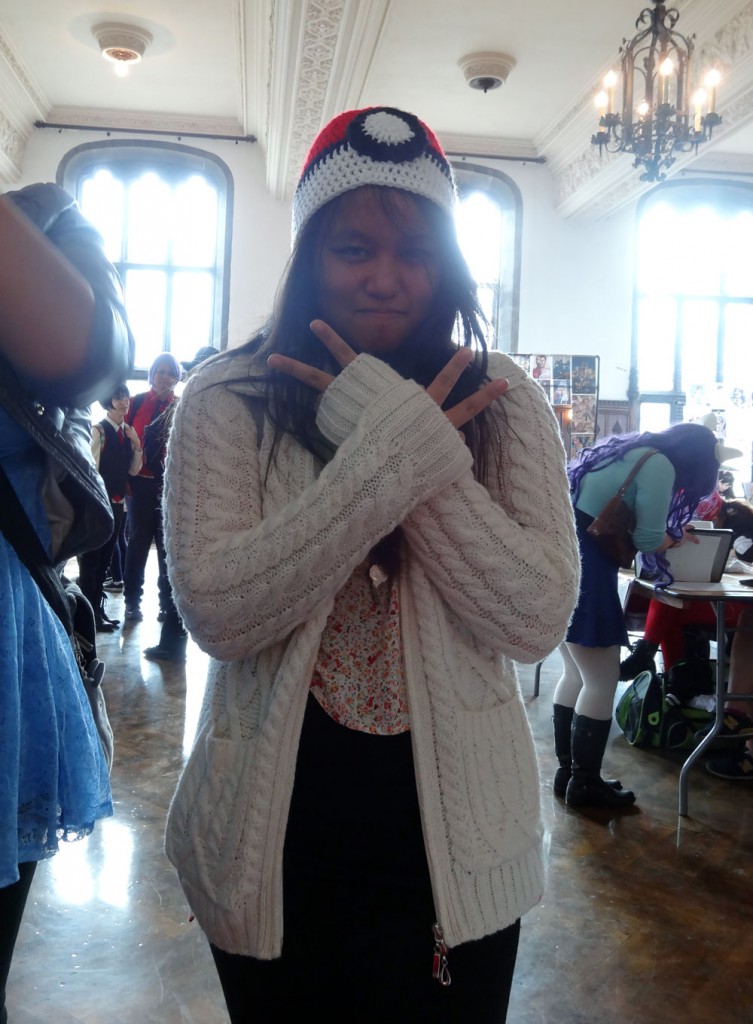
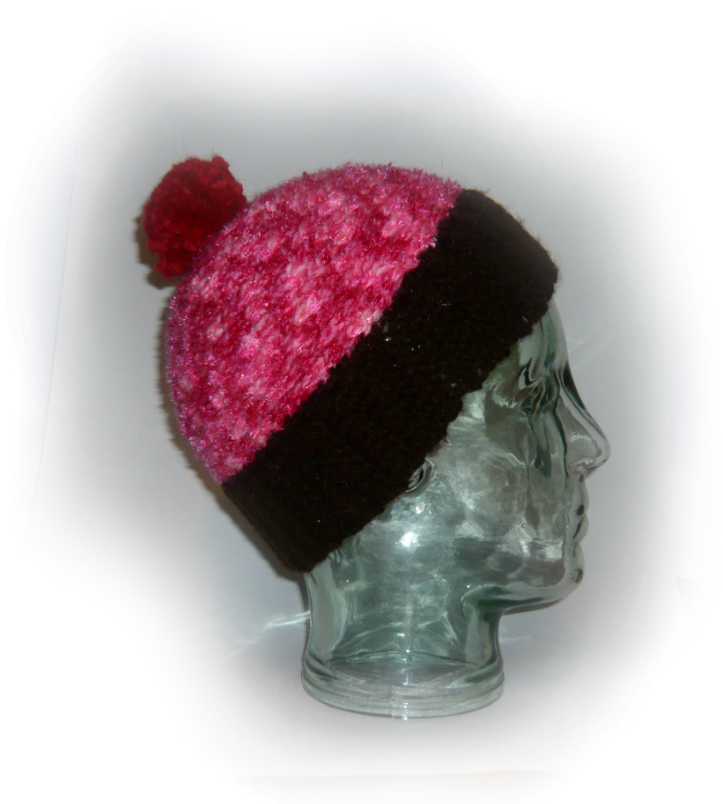
I completed a total of five hats before the convention, and then I completed another hat at the beginning of the convention, making for a total of six hats up for sale. All of the hats were patterns that I free-handed, meaning I didn’t use a pattern and just made to fit my head. Three hats were pokéballs, one had cat ears, one had earflaps and bear ears, and the last one had a brim and a pom-pom at the top.

view-of-the-table-busy

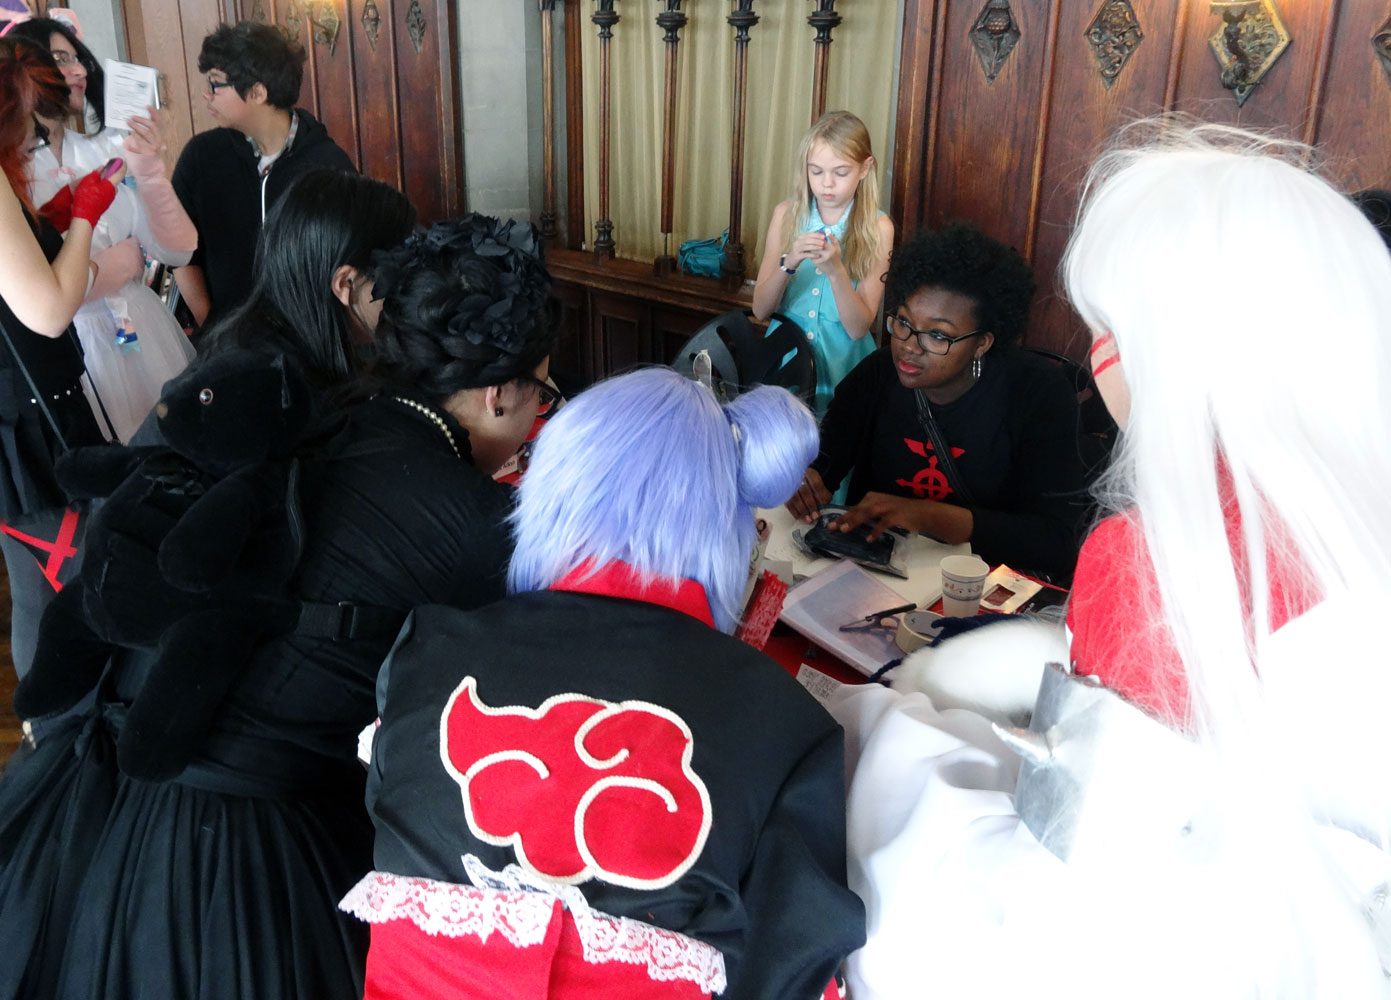
Our table was pretty busy, and we often had big groups of people around our table. Many people stopped by to complement my work and to buy buttons.

Before the convention began, I was concerned that I would run out of hats, but in the end, I only sold two hats. The pokéball hats were my most popular item, and I’m thinking about opening an online store to sell these hats as well as other items that I have made.

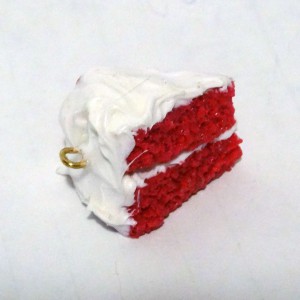
I had a couple chances to walk around Uchi-Con during the day, and since this convention was kind of small, I was able to stop by every booth (there were about fifteen). I ended up buying a super cute cake charm from Dreaming Wings and a soft pastel barrette from Colour My World Creations. It was really hard to chose!

The Gorillaz

I don’t have a link for these guys, but if anyone knows a website to link this to, please let me know!

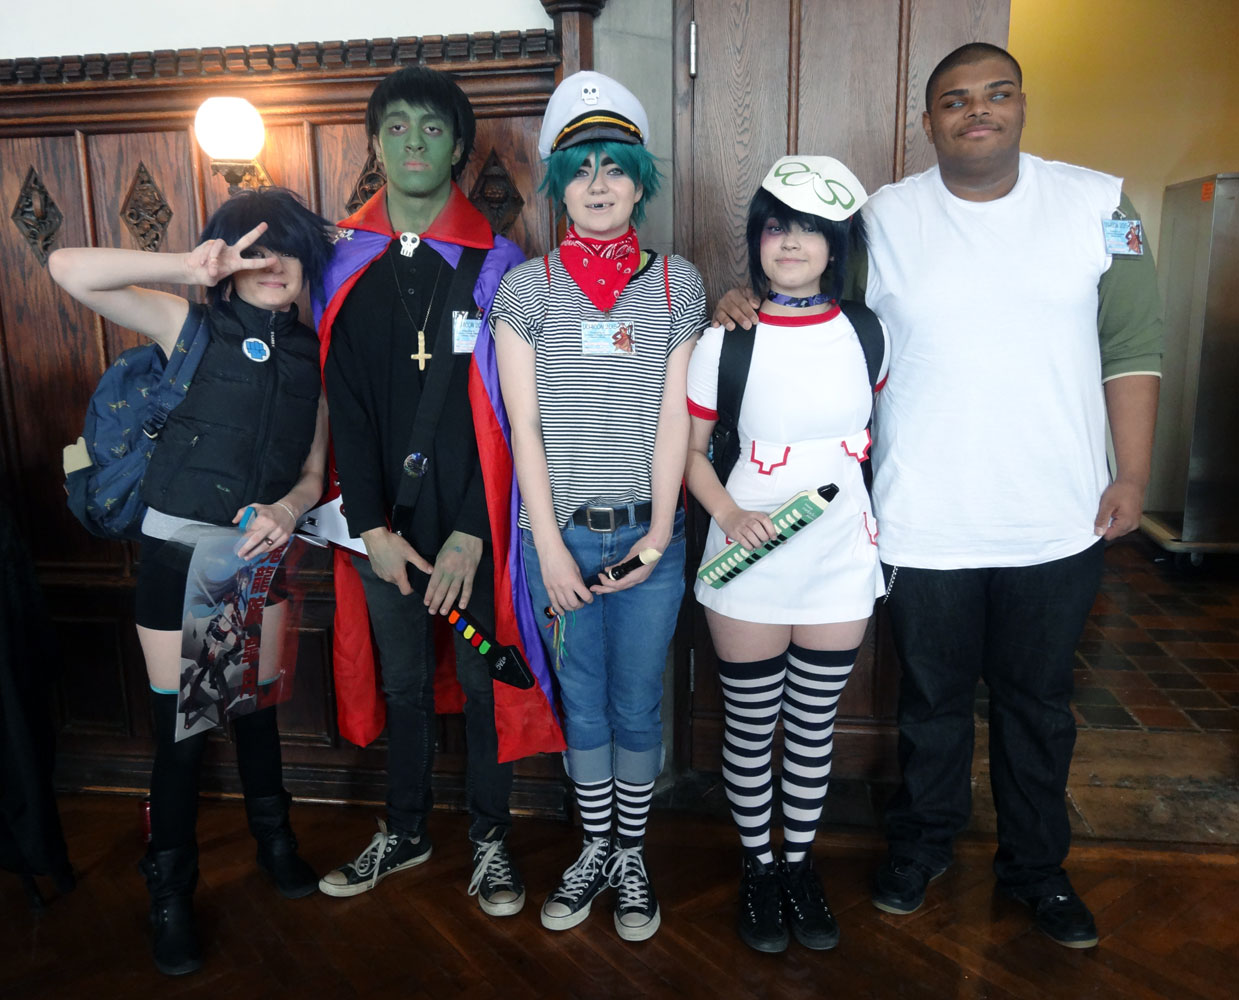
Overall, Uchi-Con was really fun and I loved seeing all of the cosplays and the work that the tables had on display. I would definitely suggest going next year!

The Three Year Scarf

In the beginning…

By my calculations, I started knitting this scarf in 2011. I’d wanted a really wide, long scarf that would keep me warm all winter, and I wanted it to be easy to make.

When the scarf reached about four feet, I ran out of yarn, and I looped it around into a cowl. I wasn’t completely happy with this and would check every yarn store for another ball of the yarn.

I’m not sure where I finally found the correct yarn. I think my Grandma might have given it to me, but I’m not sure. I immediately tore out the line of stitches keeping the cowl in place, and began knitting the rest of the scarf as fast as i could. The official completion date was June 8, 2014.

adelaide-in-scarf-on-railin

Adelaide was really reluctant to be in these pictures.

Overall, I am really happy with this scarf. It’s all made with the same stitch, so it’d be really easy to make again (although it did take a long time to make).
adelaide-in-scarf

It turned out exactly the size I wanted it to be: about 6 feet long and 10.5 inches wide. Although there’s about half an inch of difference between the widths on each end, it is my favorite scarf, and I will definitely get a lot of wear out of it as soon as it starts getting cold again.


Winter Gifts! (Part Two)

I apologize for this post being so late, I did not have all the pictures until recently.

P1010683For Christmas,  my friend Hilary gave me some beautiful red alpaca yarn, which I quickly made into fingerless mittens from this pattern. The pattern was quick and easy to make, and looks beautiful!monkeyIn return, I made Hilary a knitted reversible cowl, called the Boomslang, in dark pink and white yarn (modeled by my sister). This cowl worked up fairly quickly for a cowl but still took quite a bit of time. I’d intended to give her the cowl before winter break, but I ran out of time and instead had to give it to her after break.cupcakeFor my cousin’s birthday on January 13th, I made her a hat! I based it off off of this pattern. I had to heavily modify the pink cupcake shape in order for it to curve properly, and then I ran out of yarn and was unable to make the icing ruffles around the edge, but I’m still pretty happy with how the hat turned out.