Pleated Plaid Skirt

I made this skirt using just a little over a yard of plaid flannel fabric and about 18 gold buttons. The flannel had been purchased so that I could make a nightshirt for my dad. However, when I had finished making him a nightshirt, I had just enough fabric left to make myself a skirt.

Plaid Skirt Front

The skirt was pretty simple, made from just two rectangles pleated in the front and the back. I didn’t even make a waistband!

Plaid Skirt Side

The most difficult part of the skirt was probably trying to get all of the buttonholes to line up properly. I would have used a simple side zipper, but I did not have one and I had just been to the fabric store. Since the skirt is made from flannel, it is very warm, which will be great for the fall and winter.

Plaid Skirt Side 2

Laughing Cat Skirt

About a year ago, I bought a yard of my Laughing Cat fabric on Cotton Poplin. It sat in my room, almost 4,000 miles from where I go to school, until I came back for summer break and pulled it out, determined to use it for SOMETHING.

A yard of this fabric wasn’t enough to make anything for me, so I made my sister a skirt!

xev skirt full body

I made her a simple gathered skirt with an elastic waist. It’s probably one of the easiest things I’ve ever made, but it shows the pattern well.

xev skirt header image

If you want to make one, you just need to take two rectangles of fabric, sew them together on the sides, zigzag stitch one side to a loop of elastic, and then hem the other end. Super simple!

xev skirt end photo

New Fabric Designs!

If you have a Spoonflower account and follow my account, you’ve probably noticed some new designs. I’ve been working on a fabric collection based on paint.

fabric photo bllue and black splatters

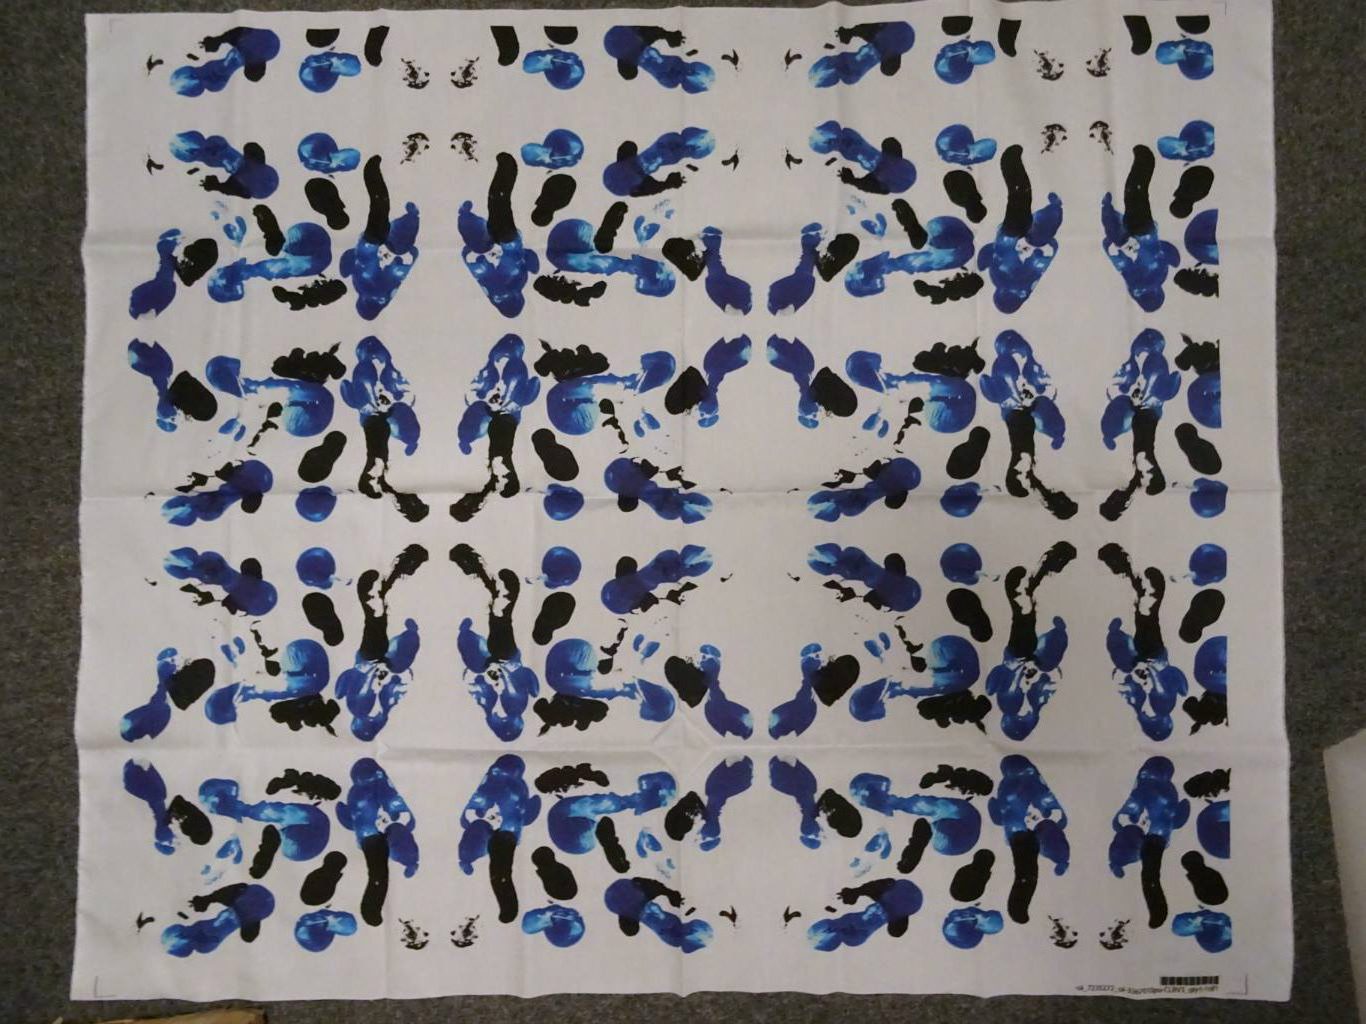
The first fabric, called Black and Blue Mirrors, is a simple black and blue repeating pattern. I created this design using acrylic paint and paper. I then scanned the painting into my computer and cleaned it up as much as I could before I ordered a yard of fabric from Spoonflower.

Why did I order a yard of fabric, you ask?
13235751_1279093012118230_1632974195_n
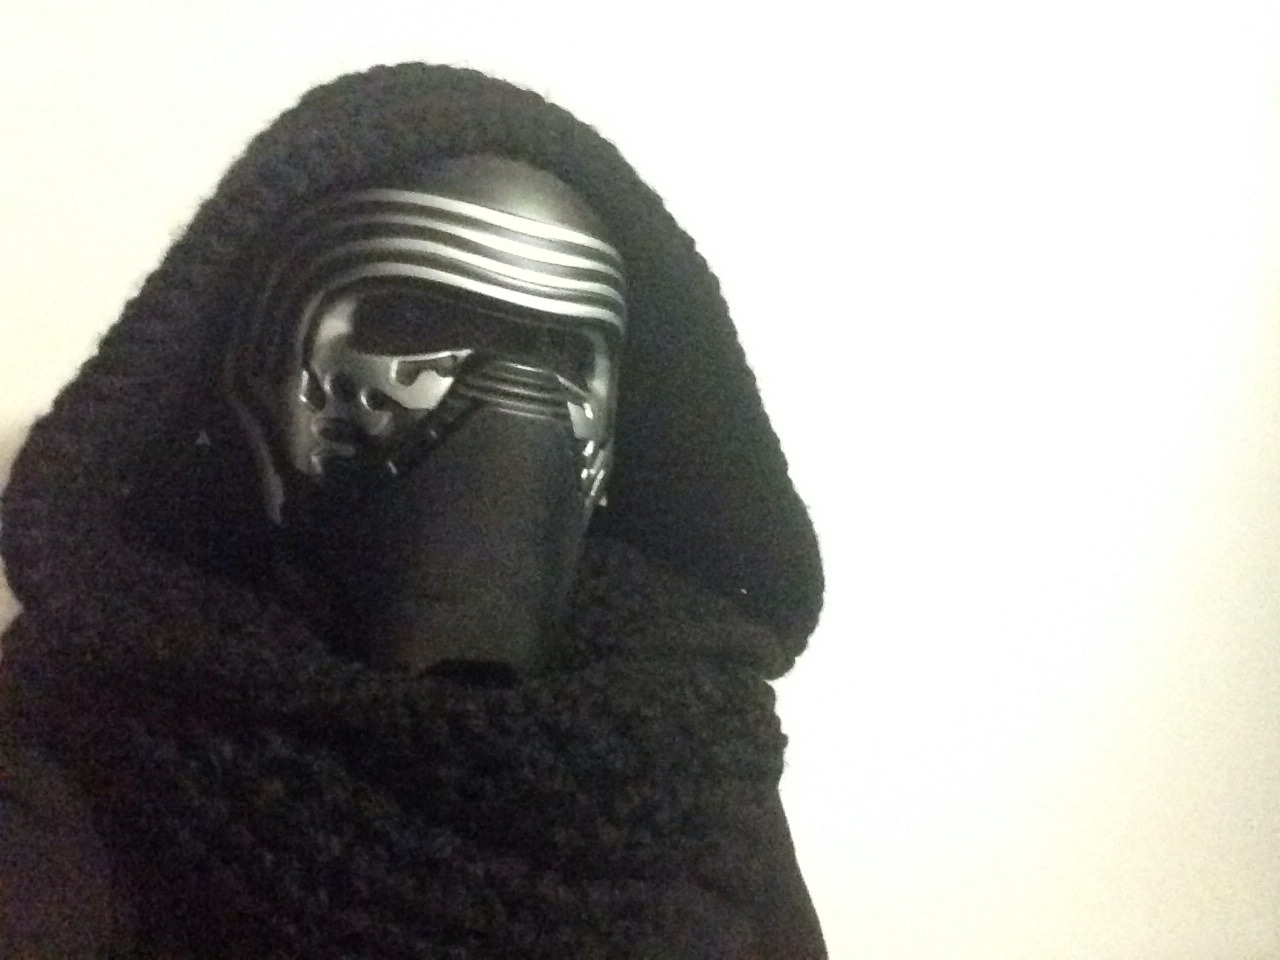
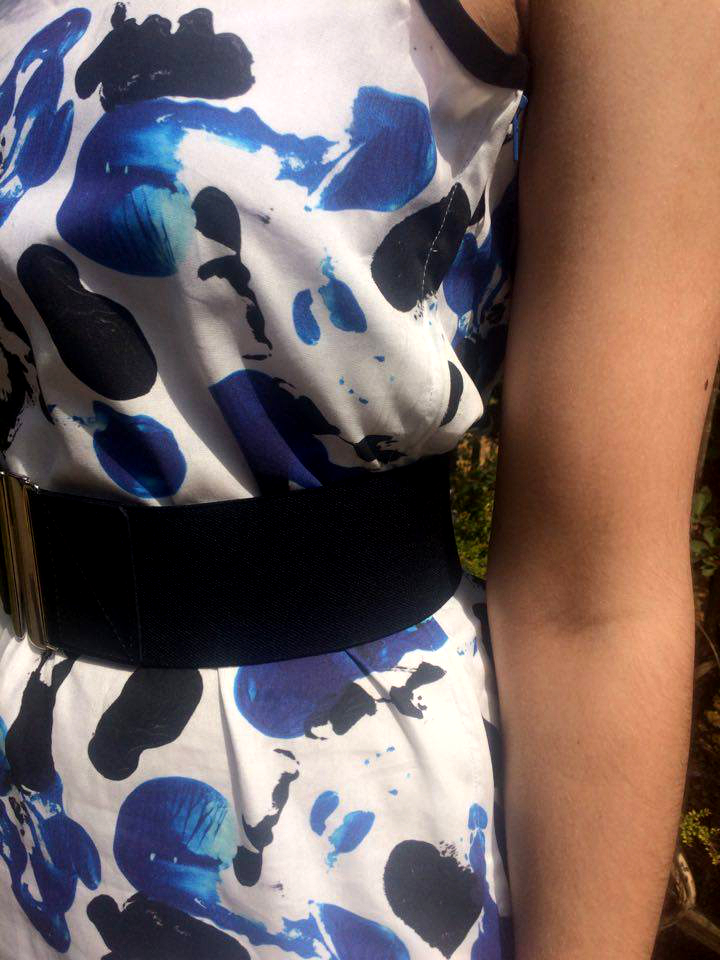
For a swap with Alice the Insane, of course! I gave her a yard of my design printed on cotton poplin ultra in trade for a super cute bag that she made to match our Kylo Ren and General Hux cosplays that we wore to MCM London. 

13444170_490185707847044_1883455511_n

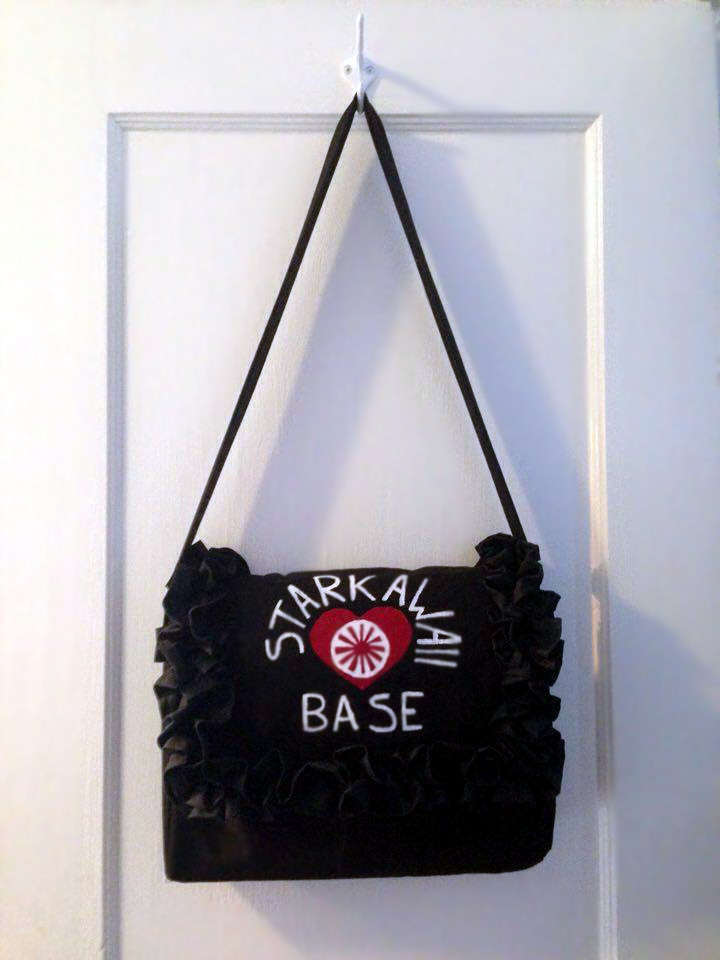
I really like the bag she made, and I’ve been using it so much! It’s a really good size for everything I need with me on a daily basis.

13250474_1279092878784910_492591044_n 
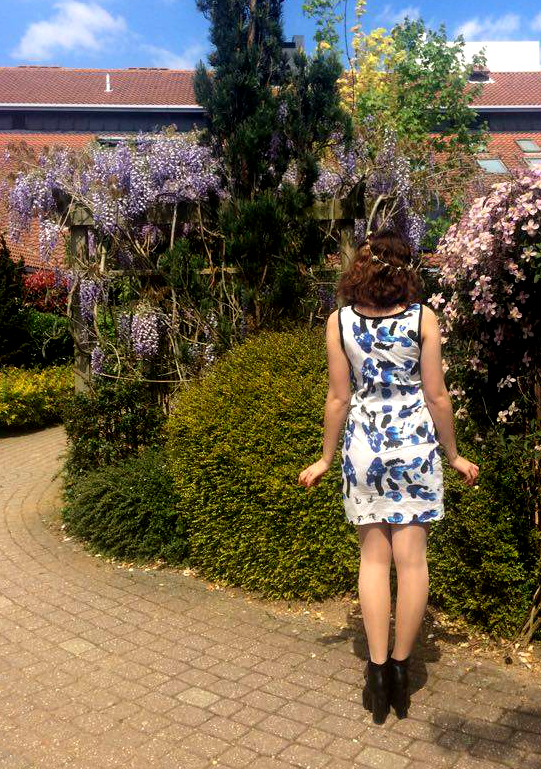
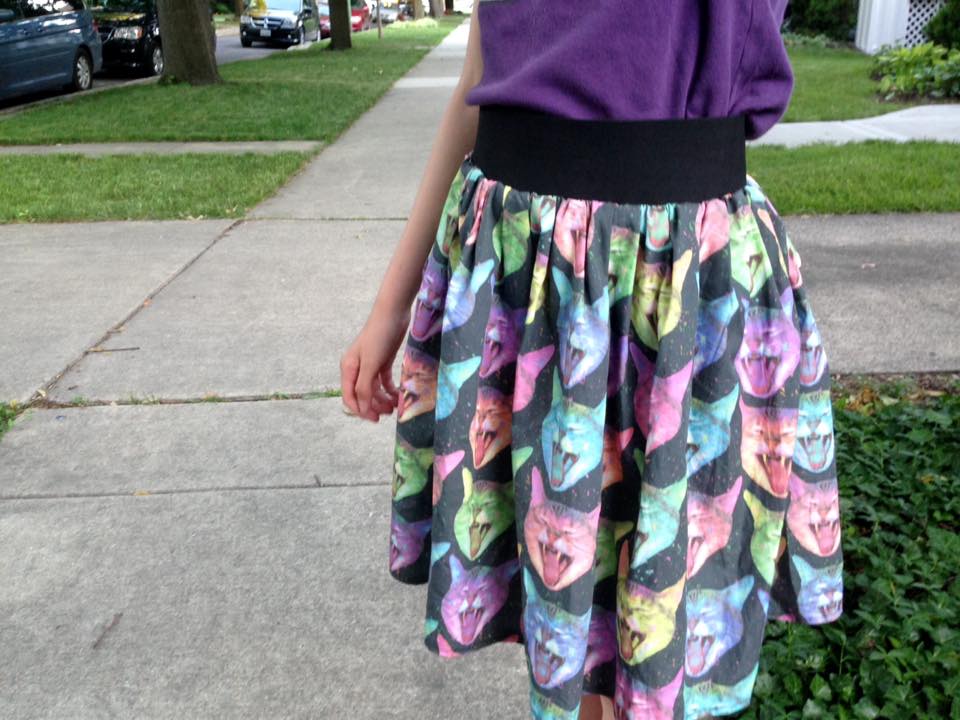
I love the dress she decided to make from the fabric, I think she did an amazing job keeping the pattern intact and that having the design off center was fresh and different.

13249616_1279092972118234_616445597_nShe added bias binding to the neck edge, and the dress opens at the side with a zipper. Isn’t it lovely?

painted stripes fabric sample

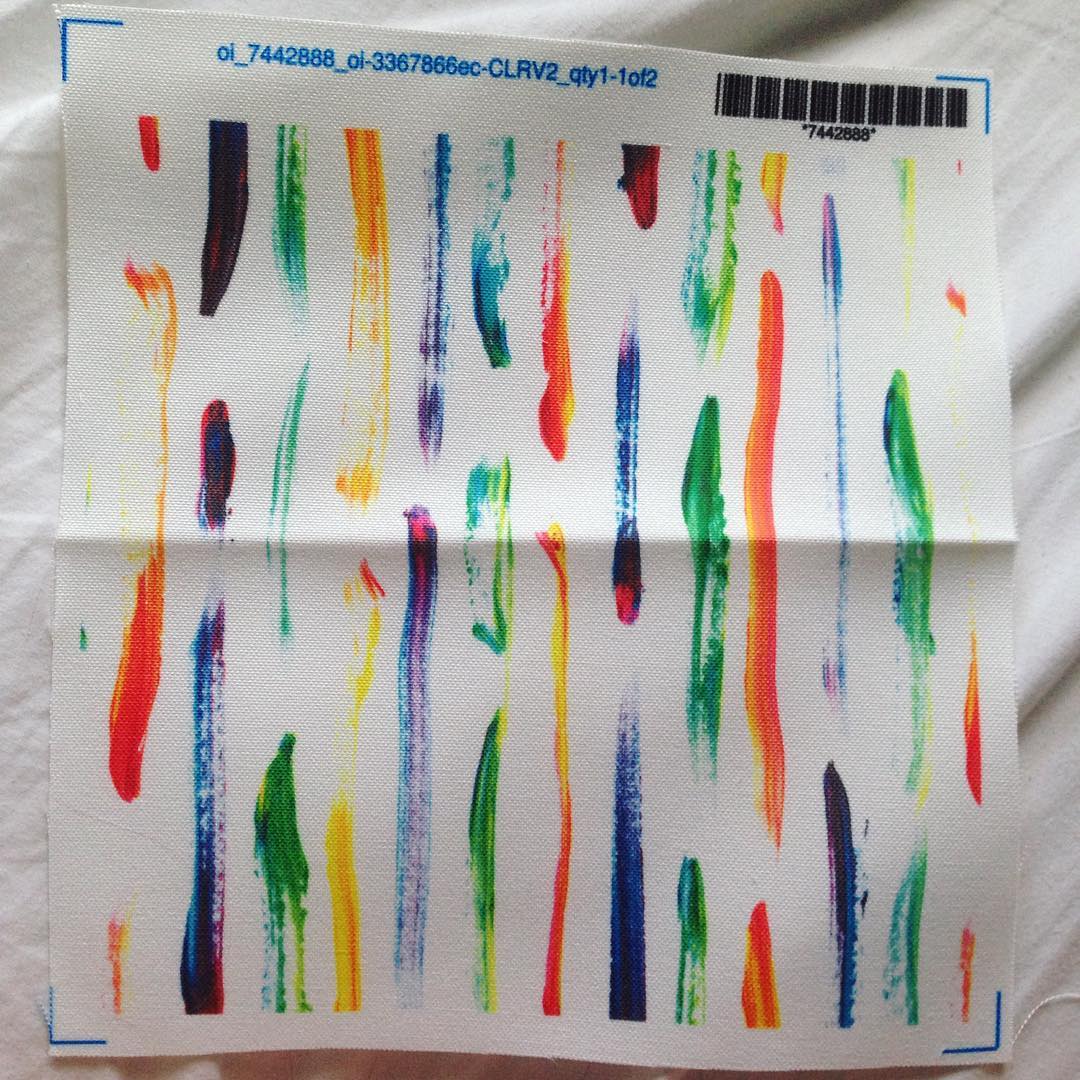
This is the other fabric that I designed, also made using acrylic paint, paper, and a scanner. It’s only the second fabric in my ‘Paint’ fabric collection, and I’m hoping to add at least two more painted fabric designs over the summer.

13236295_1279093835451481_50537210_n

Be sure to check out Alice the Insane’s facebook page!

If you’re interested in purchasing either of these fabrics, they are available here.

Raspberry Hood

hood side view 
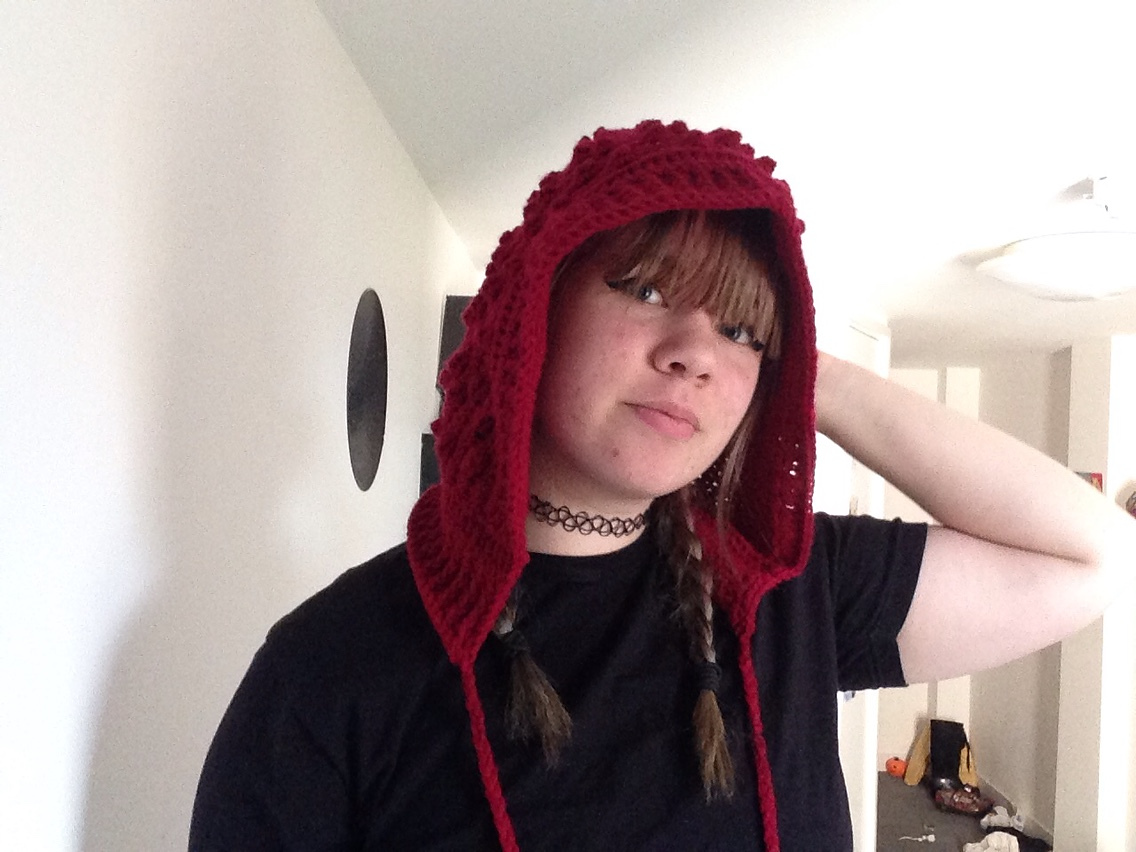
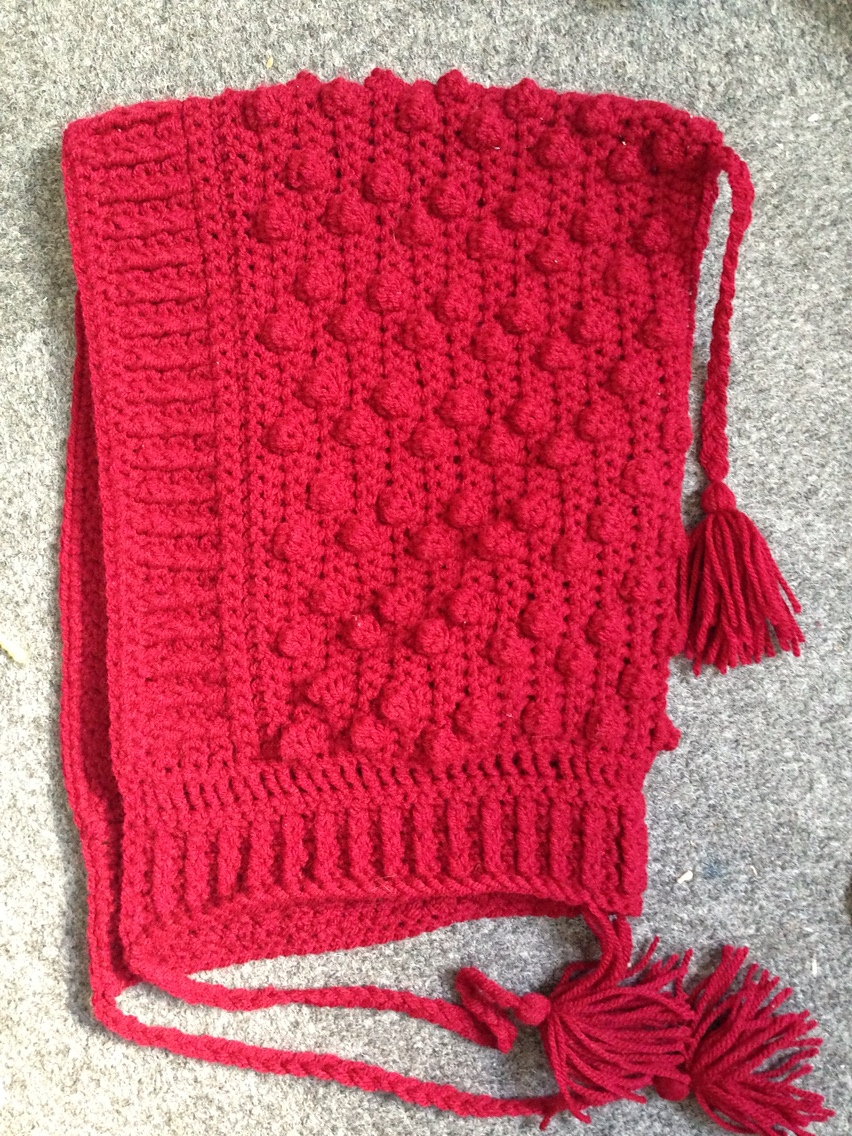
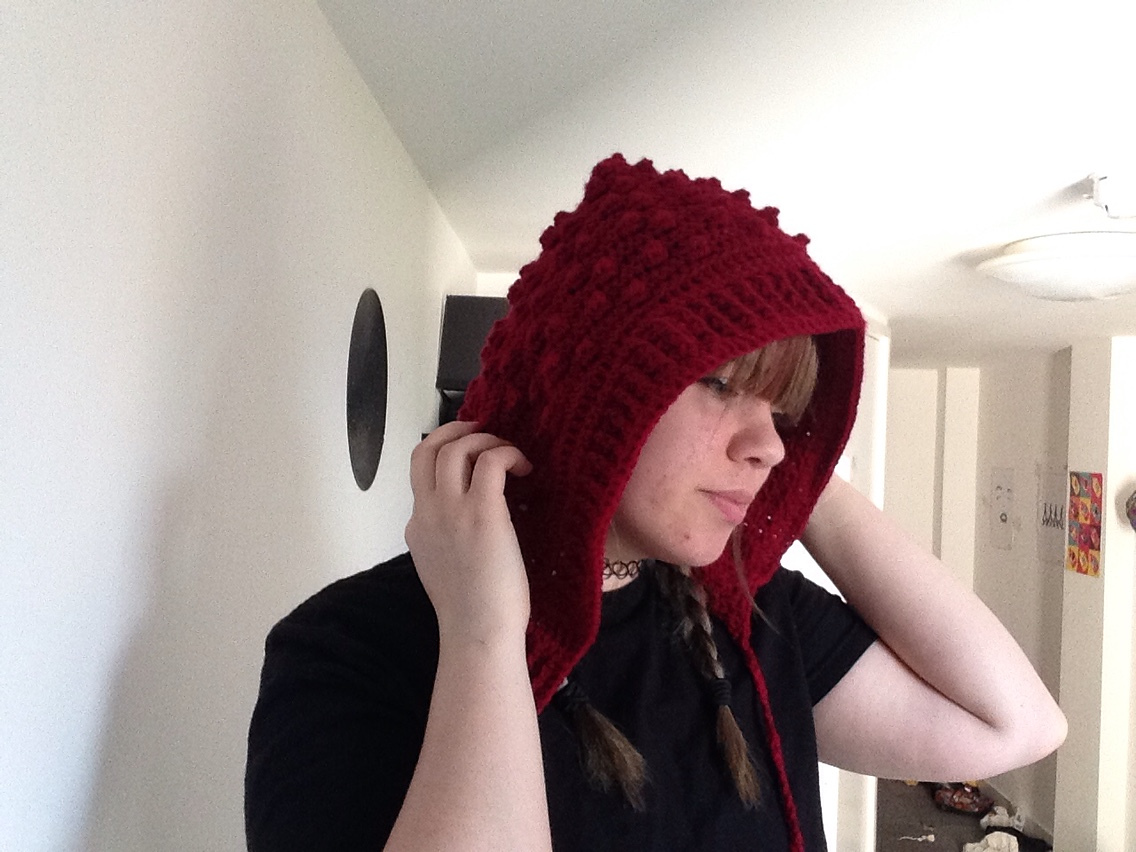
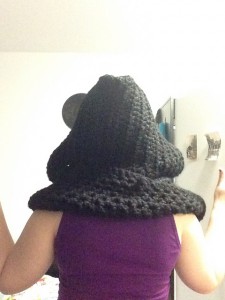
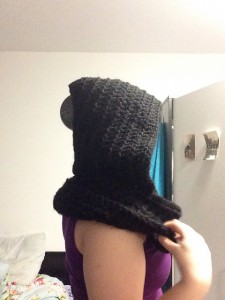
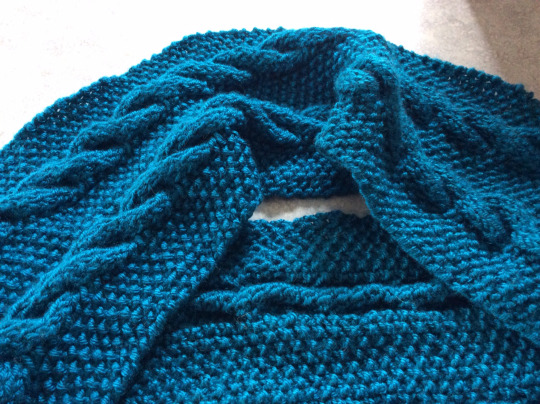
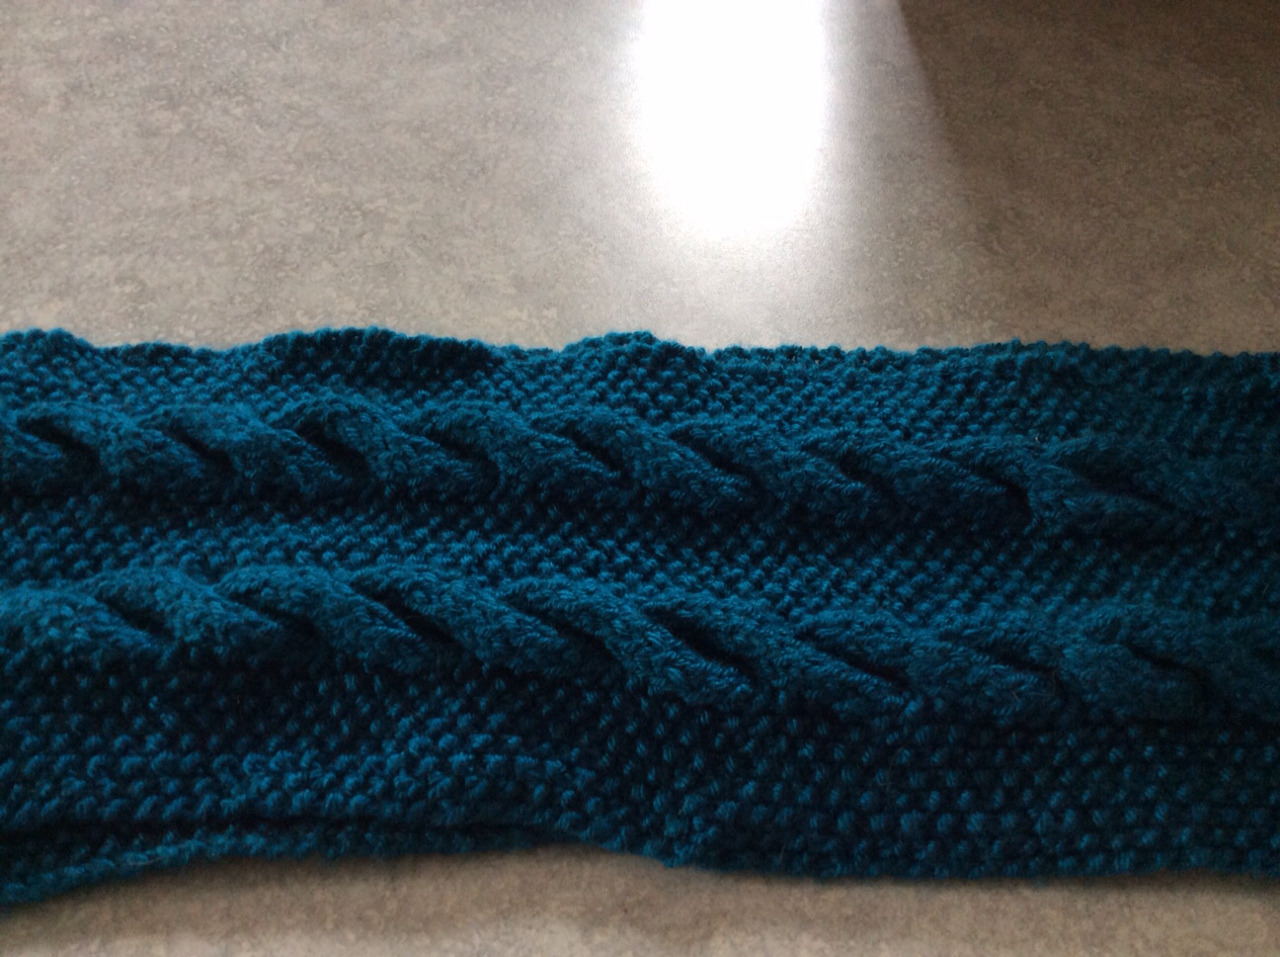
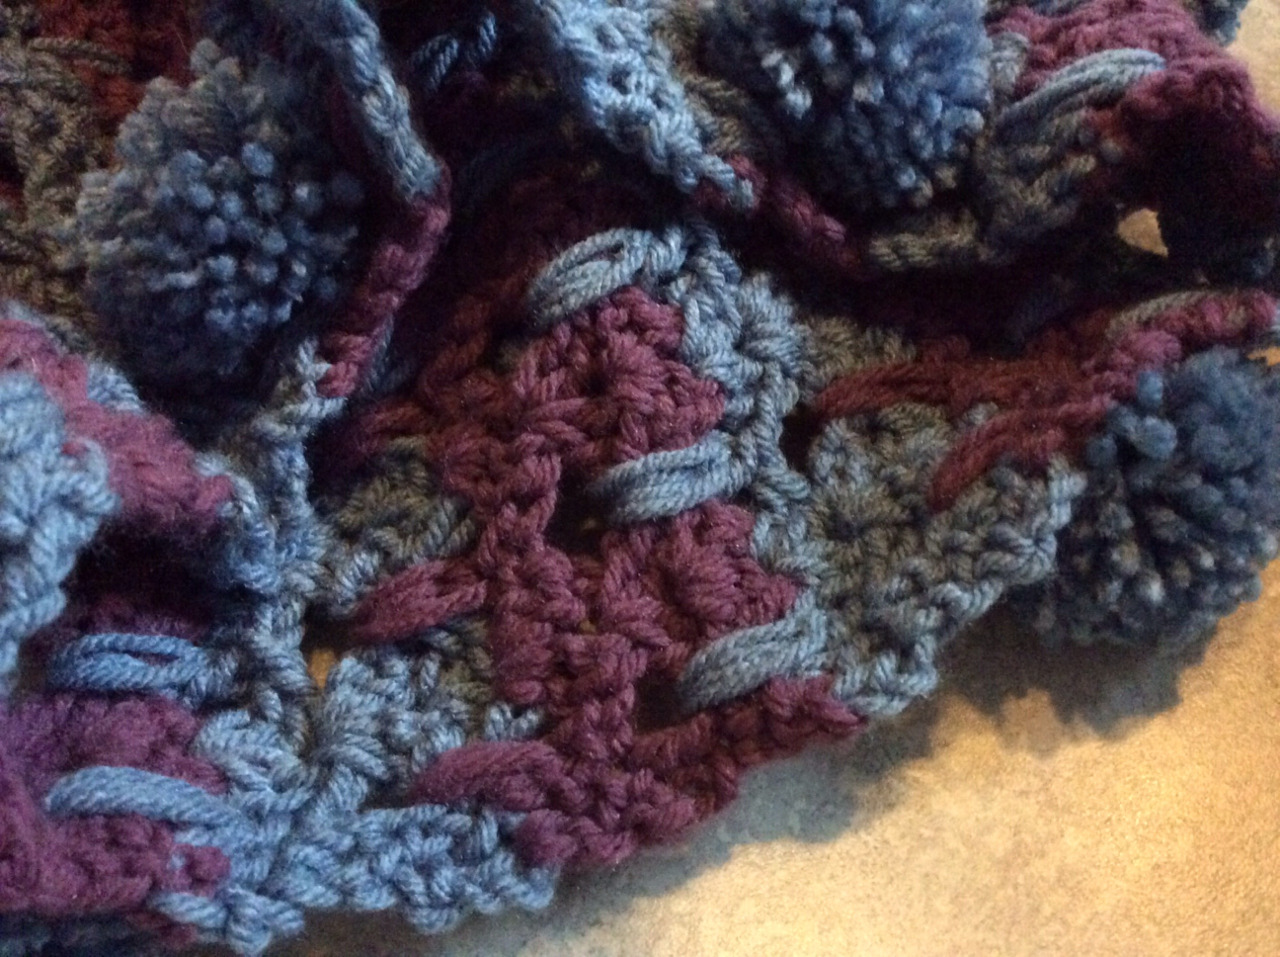
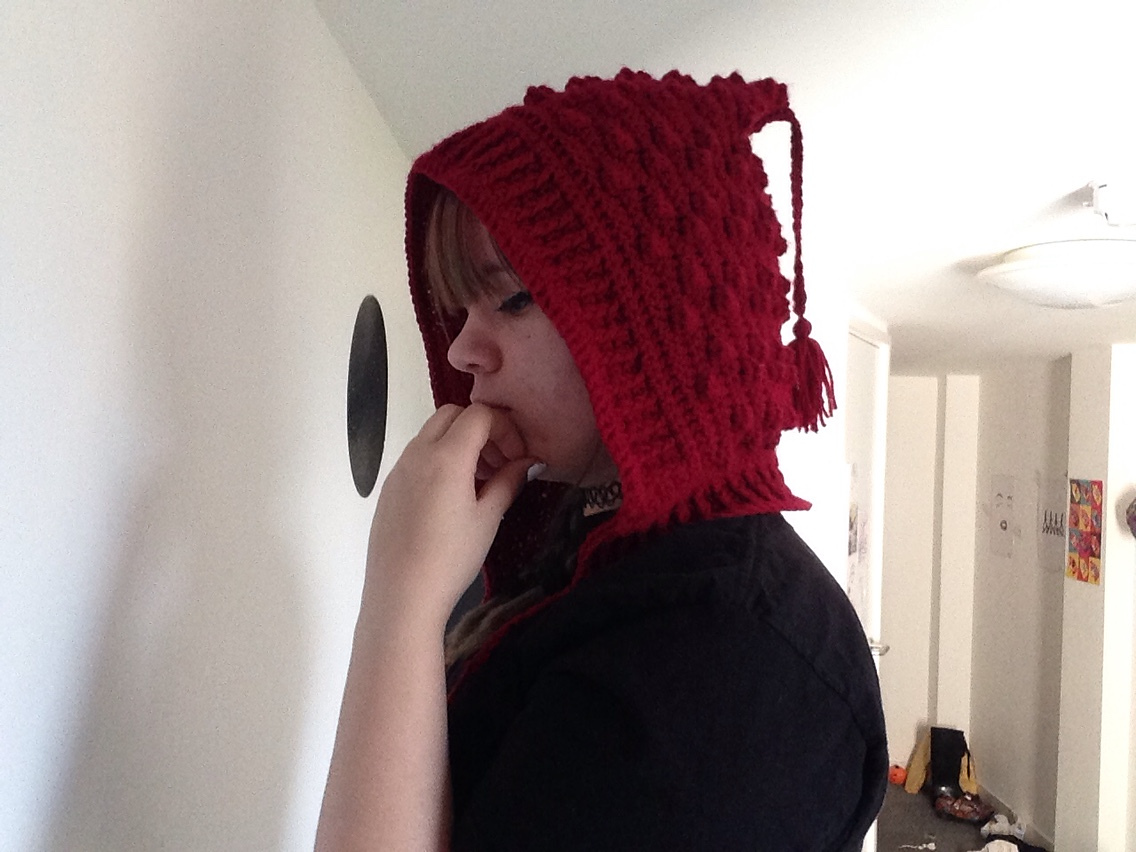
I made this hood using the Bobble Hood with Tassels pattern.

hood front

It was easy and straightforward to make,but I did have a little trouble with the borders. I somehow messed up the back post single crochet so that it was on the wrong side of the piece, and had to match that when I made the second portion of the edging stitch.

hood full

Looking back at the pattern, my hood appears to be a bit smaller than the original, and the bobbles are in slightly different places. I’m not entirely sure what I did to cause this.

side hood

I am happy with the hood I ended up with, but I’m not sure it was the one that I was trying to make. I’ve received a lot of compliments on it, and might make another one. Next time I’ll pay closer attention to the pattern to figure out what I did wrong.

Pink Cable Knit


I’ve been doing a lot of projects with time restraints and projects for people, and I decided to take a break from that and make something for fun!

tumblr_o500s8X8X71ustsfxo1_1280

I made knit this hat from a pink yarn so bright it looks like it’s glowing. It was super difficult to photograph and I apologize for the grainy photos. I made up the pattern as I went along, and although it isn’t perfect, I can type up a version of the pattern if anyone wants to make this hat. Let me know if you’re interested!

Make sure to check out my facebook page if you haven’t already!

tumblr_o500kbK40e1ustsfxo1_1280


Grandpa Vicki

vickis hat

My friend’s friend Vicki asked me to make her a hat that said ‘Grandpa Vicki’ on it. I made this one the same way that I make all of the knitted slouchy beanies, but with the addition of a simple pom-pom. If anyone is interested in the basic ideas behind it, I can make a post about them.

grandpa vicki inside of hat

I designed these letters the same way as I did the ‘ANGEL’ hat, using this knitting graph stitch template. I also used the same method to write the letters, and remembered to take a picture of the inside this time!

If you haven’t liked my facebook page yet, you should! I’ve been writing about the cosplays I did for Bournemouth, and I will be posting about my costumes in detail next week!

All Grown Up Slouched Hat

file_medium2

I made this hat using the All Grown Up Striped Slouched Hat pattern. The pattern calls for the hat to be made using an aran yarn, but I used a double knit (a double knit is thinner than an aran). In order to be able to make the hat to fit my head, I only needed to change the length off the hat. I used a 5.5 mm (I) crochet hook and made the small adult size. I crocheted about 6 more rows in the stripe pattern than the pattern asked for.

The pattern was fairly easy to make, and I learned a new stitch as well as the best method (in my opinion) of making a brim. The pattern calls for the brim to be simultaneously made and attached to the hat, thus eliminating the hassle of sizing the brim to the hat and attaching it. I will definitely be using this brim method for all of my future crochet hats!

Devil or Angle?

tumblr_o351lrkW0Y1ustsfxo3_1280

Why yes, that is a Kylo Ren mask! I made this combination hood and scarf using this scoodie pattern. From my calculations, I thought the scoodie would take about two balls of yarn to make, but it ended up taking six.

It’s difficult to photograph without it looking faded or without all of the detail disappearing, but I hope these photos give an idea of what it looks like. The pattern was a video pattern, which I personally do not like as much as a written pattern, but the scoodie was very easy to make. I would definitely suggest this pattern to people learning to crochet, because of its simple design with great visuals in the instructional video. It worked up very quickly because of the thickness of the yarn, and the scoodie is very warm – perfect for cold days!

12784532_10205579260351768_525346012_nI made this hat for my friend Nicole, who told me to make her a hat that “has a random word on it that you think describes me”. Of course I went with ‘★ANGLE★’, a reference to my friend being an angel, and to an image that went around ages ago that said “I can be your devil or angle” on it. All of the pictures of the hat (with Nicole in it) were taken by Nicole. 12767546_10205579260831780_1235226791_nI tried to use a couple websites I found through google that translate images to knitting patterns, but I found it difficult to get the patterns to look how i wanted it to. Instead, I printed out a knitting pattern template, which is basically a grid of rectangles roughly the same size and shape of stitches, and drew out the letters and stars on that. The knitting method I used for the lettering is called stranded knitting technique, and involves ‘floats’ of yarn to be left on the back of the work. My tension for these floats were off in the space behind the stars, which resulted in them puffing out quite a bit. My tension in the lettering, however, is much better, and that section is very flat. I think I just need more practice in order to fix my tension issues. Overall, I do like the hat a lot, and I think it’s perfect for Nicole.

Hats for Trade

Since my visa doesn’t allow me to do freelance work and I’ve been making hats like it’s what’s keeping me alive, I’ve been trading hats with my friends for different things. I believe I’ve mentioned this before, when I talked about my Ugly Hat Trade with my friend Katie.

My friend Scott, who takes the same course at uni with me, requested that I make him a ‘cat beanie’ in trade for a drawing, so I present you with the Witch’s Cat Hat. The hat is a simple knit base with a half inch of rib stitch at the brim. The ears are two identical crocheted triangles which were then crocheted together using black yarn.

This hat was traded with my friend Luc for food. It was made using the Hella Gay Hat pattern, which I lengthened to make a beanie. I made the larger size, and it ended up being too big. I tried a new technique on this hat, double knitting, which causes the design to be knit on both sides of the piece at the same time, just in opposite colors. It was a little difficult to start out, but easy to pick up. This method takes a lot longer than just creating ‘floats’ in the back of the work, but the tension is much better. Since there is essentially two layers of work, this makes the hat warmer and squisher, which is nice, but since I only double knit a small portion of the hat, it ends up looking a bit odd when placed on the head.

file_medium2 (3)

I am very happy with the pom pom.

Christmas Presents for Relatives

All of these scarves were made over the summer before I moved for some of my relatives.

This cowl was knitted using the Infinity Trinity Cowl and Wristers pattern. I only made the cowl. It was an easy pattern to do, and an easy pattern to memorize, which made it nice to work on while watching TV. The only thing I’m not happy with is the seam joining the ends together. It’s a solid seam that won’t tear apart, but it’s very obvious.

This is based off the Broomstick Lace Infinity Scarf, but I lengthened the pattern so that it is instead a regular scarf. Another super easy pattern good for doing in front of the TV, although holding a huge knitting needle and trying to crochet around it at the same time takes a little focus.

This crocheted cowl has Abstract Crochet Cats and pom-poms! What’s not to like? This design was fairly easy to make, and my mom convinced me to add the pom-poms as a fun addition. I discovered that to make the cats look more like cats, the stitches done ‘in between the ears’ should be done AROUND the stitch instead of through it.

cat scarf 3

Can you see the cats?