Star Butterfly

There was a huge Disney meet on the third day of London MCM, which I went to dressed as Star Butterfly. Star Butterfly is a character from the Disney show Star vs the Forces of Evil.

Star Butterfly Full
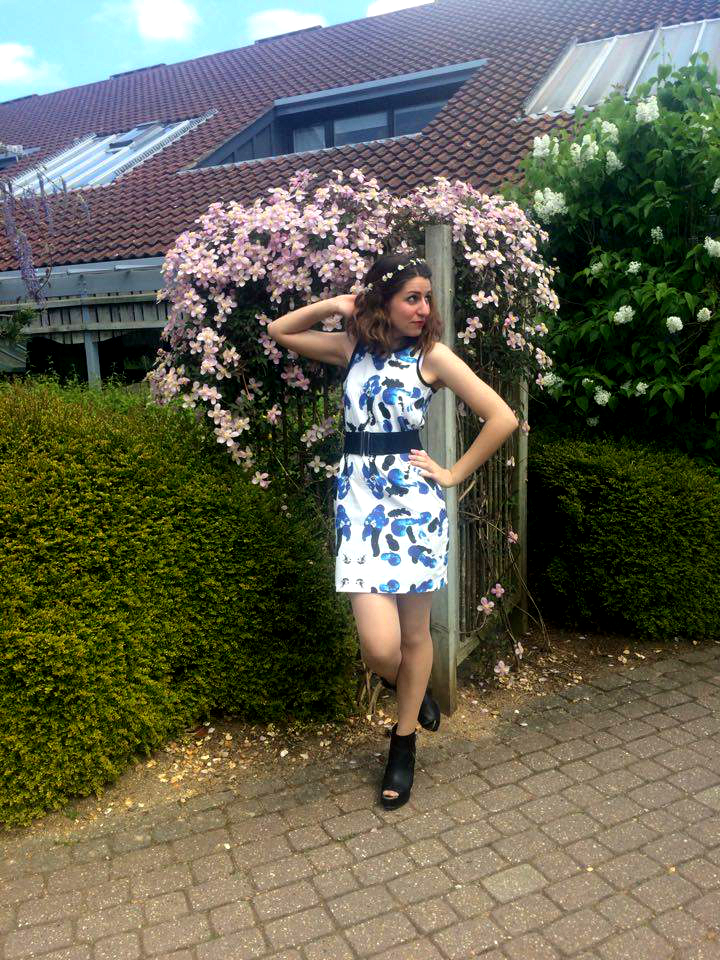
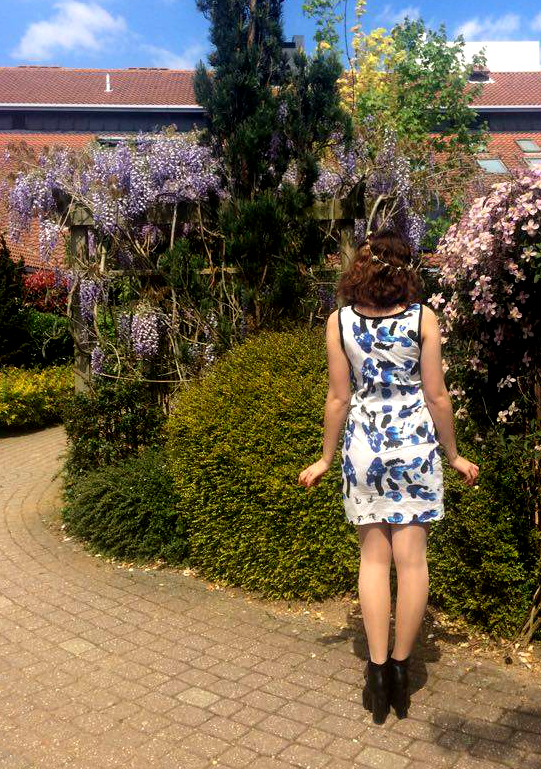
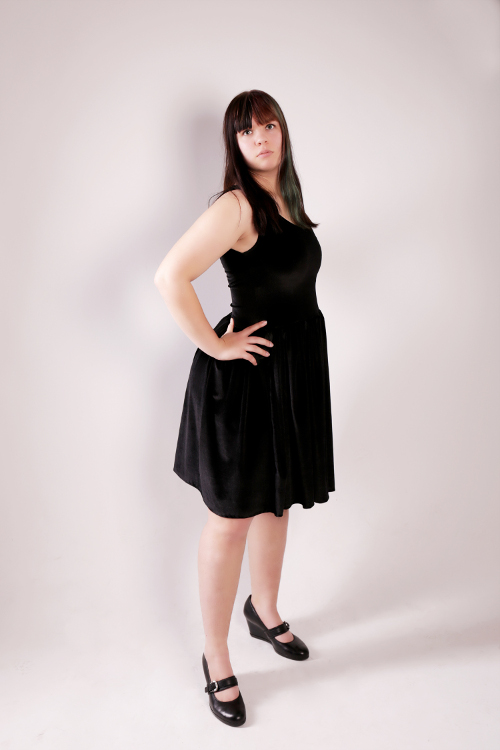
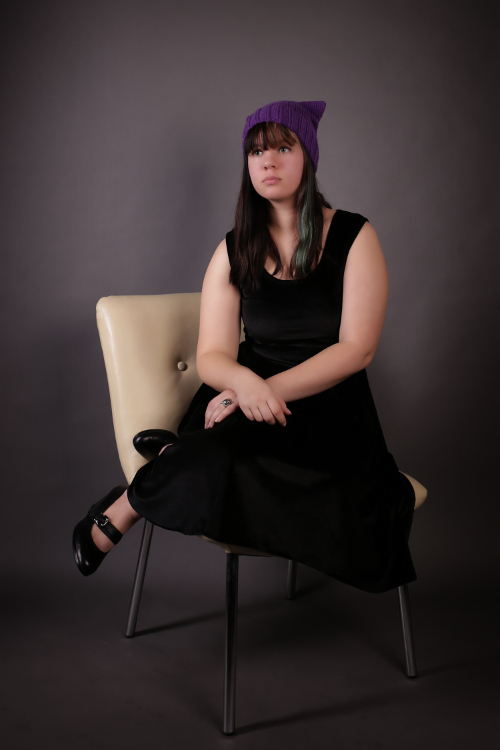
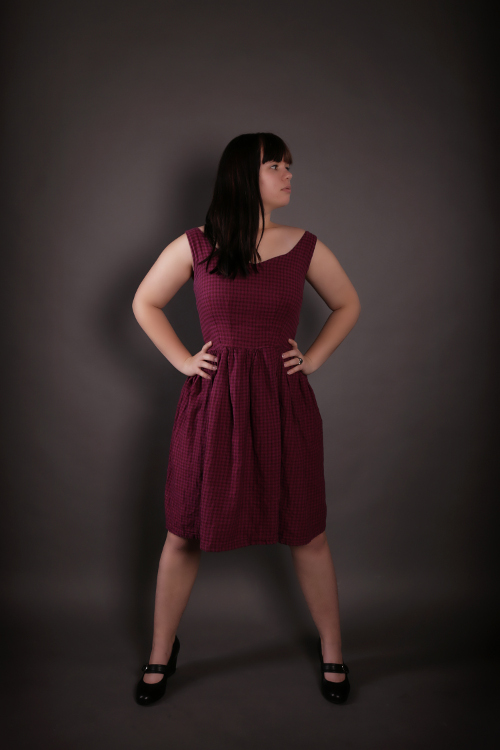
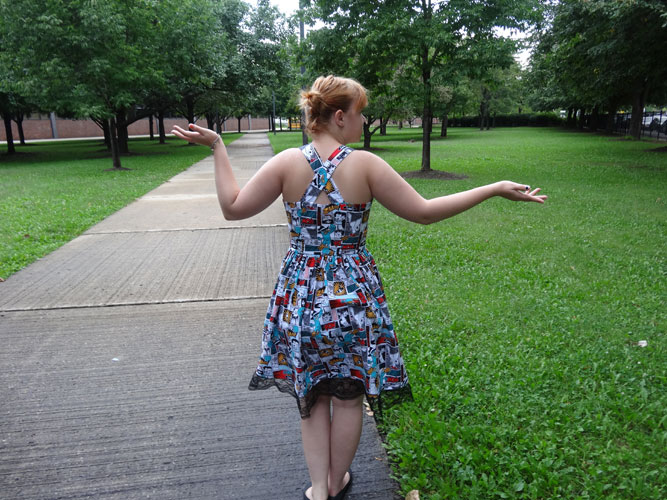
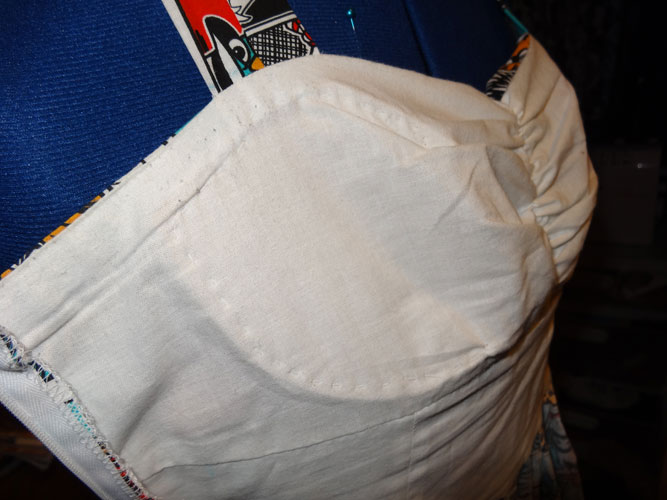
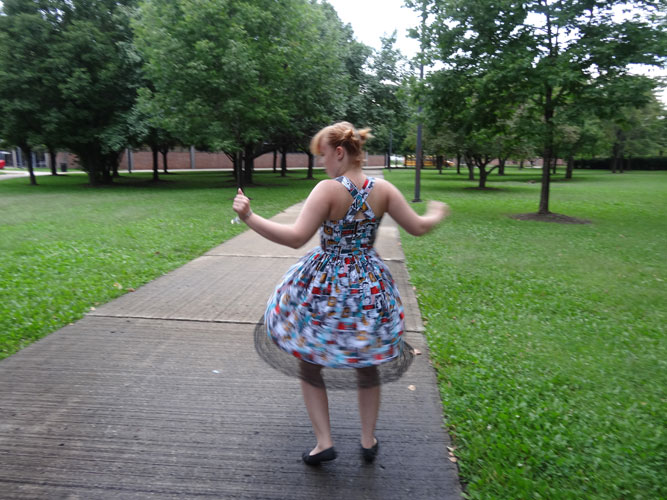
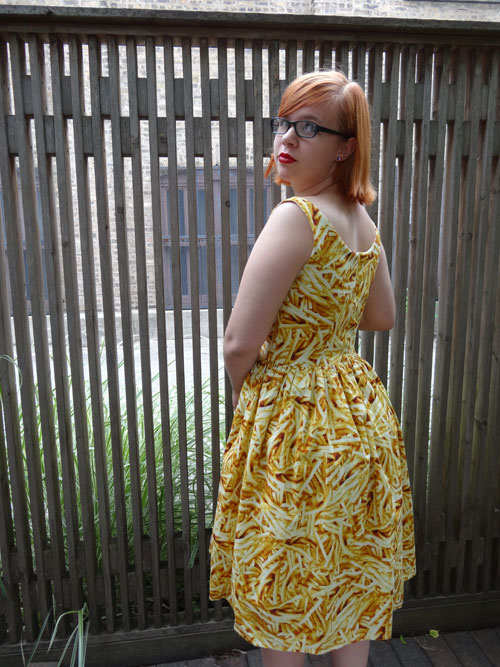
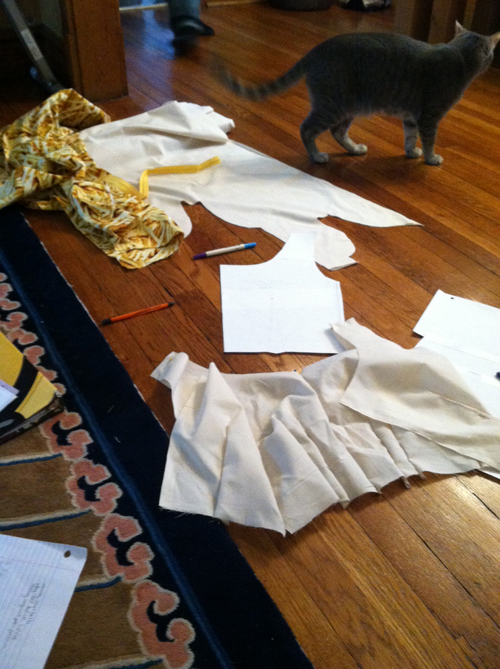
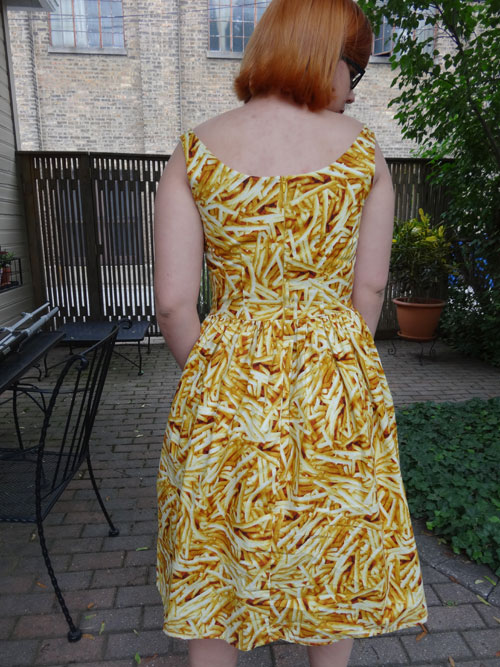
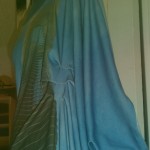
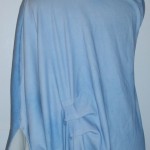
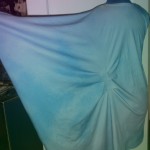
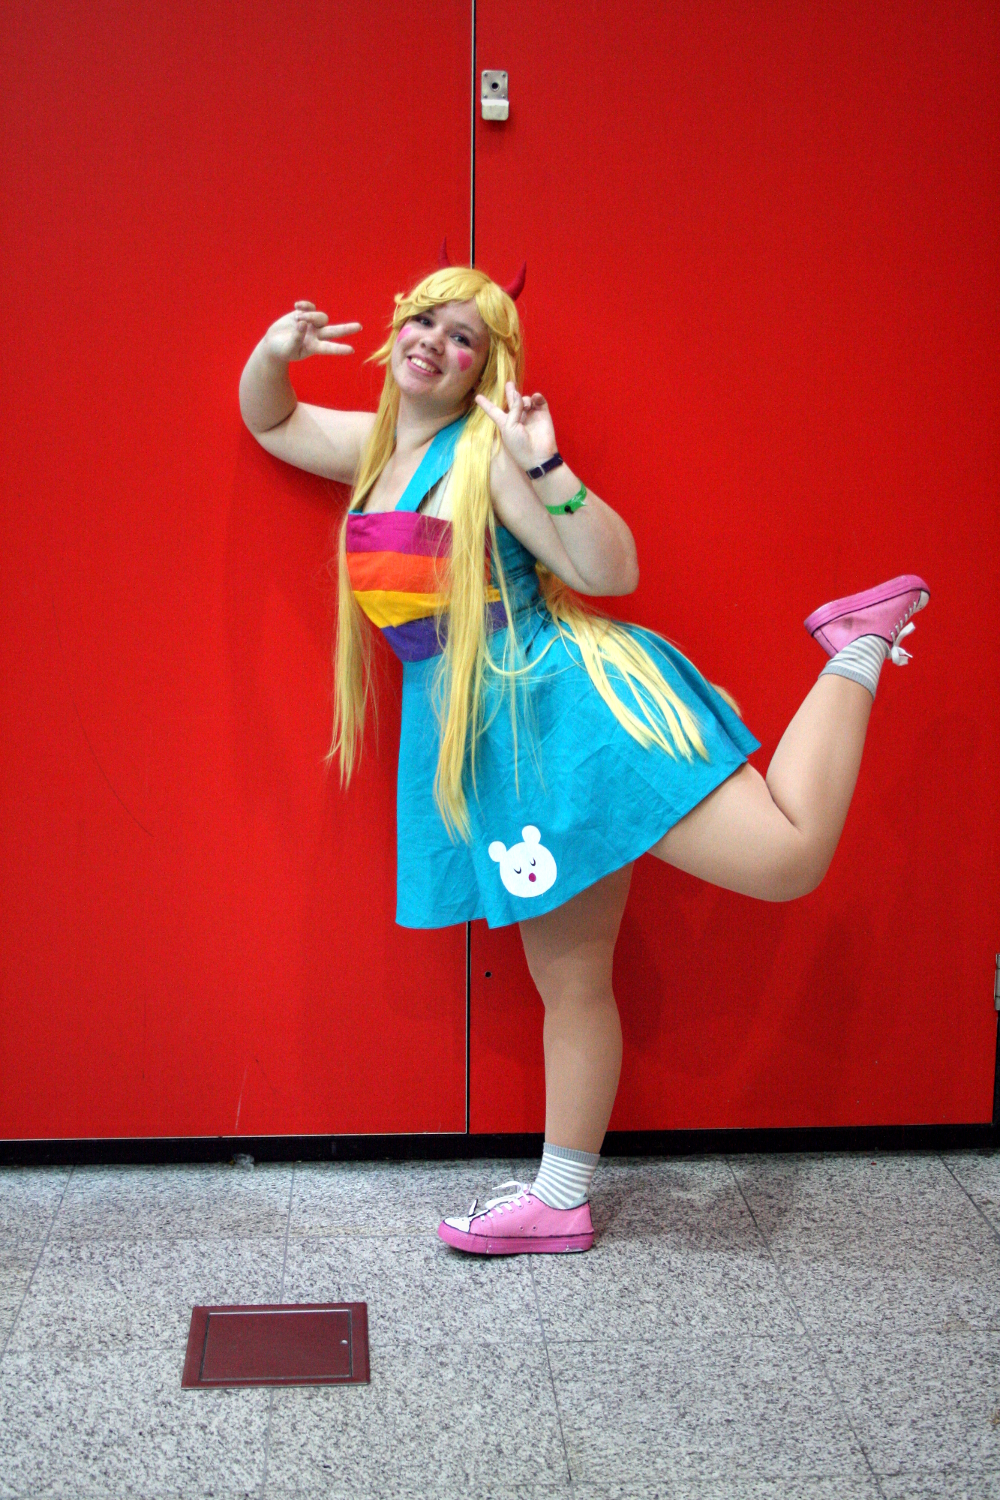
For this cosplay, I made the dress and the headband, painted the shoes, and styled the wig. Making the dress was much more of a pain than I originally thought it would be. I had to shape the front of the dress by curving each of the front stripe pieces just right, but I had a lot of trouble doing this. I finally got the shape of the front right and attached to the back, when I discovered I’d somehow made the front piece much wider than the back piece. The bodice somehow still fit, but the front panel wrapped around further than I wanted it to. The skirt went on with little fuss, although I did somehow catch extra fabric in the hem a few times. I lined the bodice of the dress with darted teal fabric – I wasn’t about to try and stripe the inside too!

Star Butterfly Wig

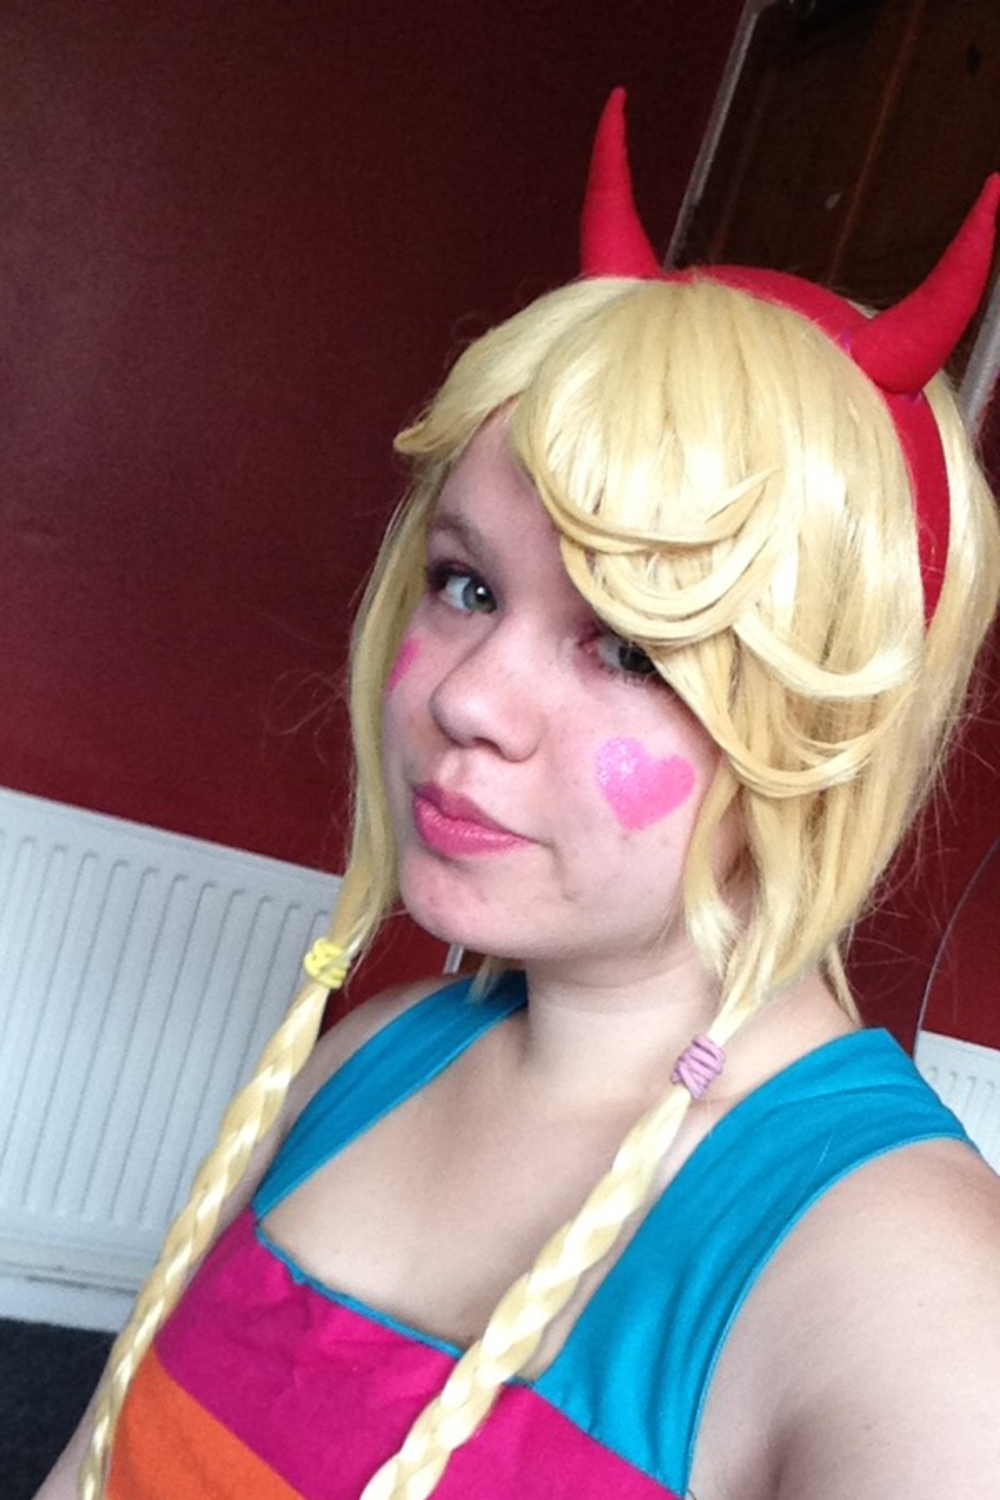
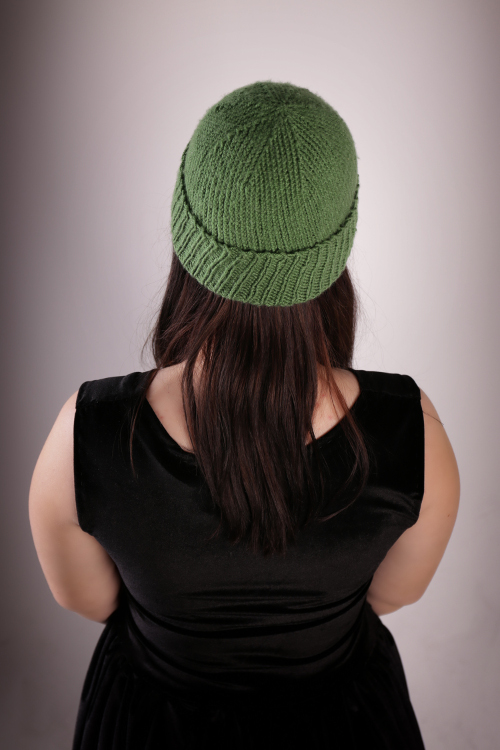
I braided the wig during the train ride to the convention center in the hopes it wouldn’t tangle too badly before I got there.

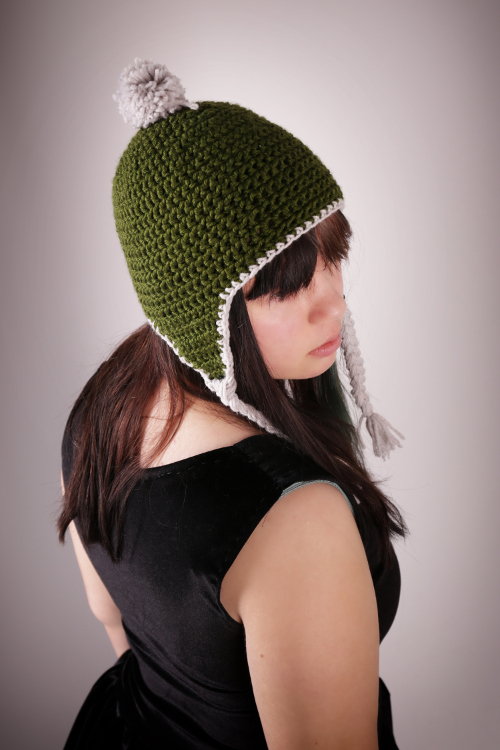
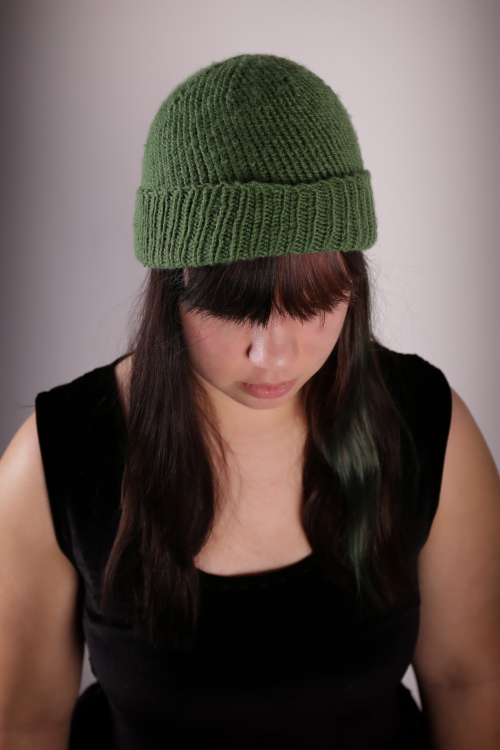
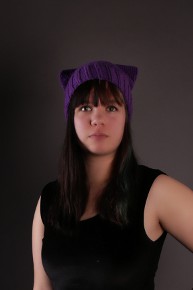
This is the first time I’ve properly styled a wig for a cosplay. I styled it using craft glue, which meant the front of the wig didn’t move at all during the day. The headband was made by hot gluing fabric over an alice band, then hot gluing stuffing filled fabric horns onto that.

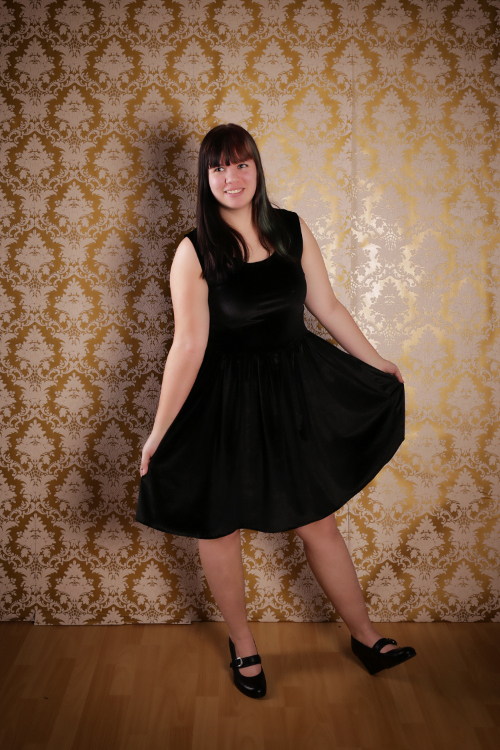
The shoes I painted with multiple layers of acrylic paint to match Star’s shoes in the show. In the show she wears rabbit faced boots instead, but I had to work with what I had. I also sewed, painted, and glued on little rabbit ears to the shoes, but those fell off very quickly. The paint on the rubber soles of the shoes scraped off pretty quickly. I unfortunately didn’t think to take pictures of the shoes before the convention.

Costume Crew Halloween

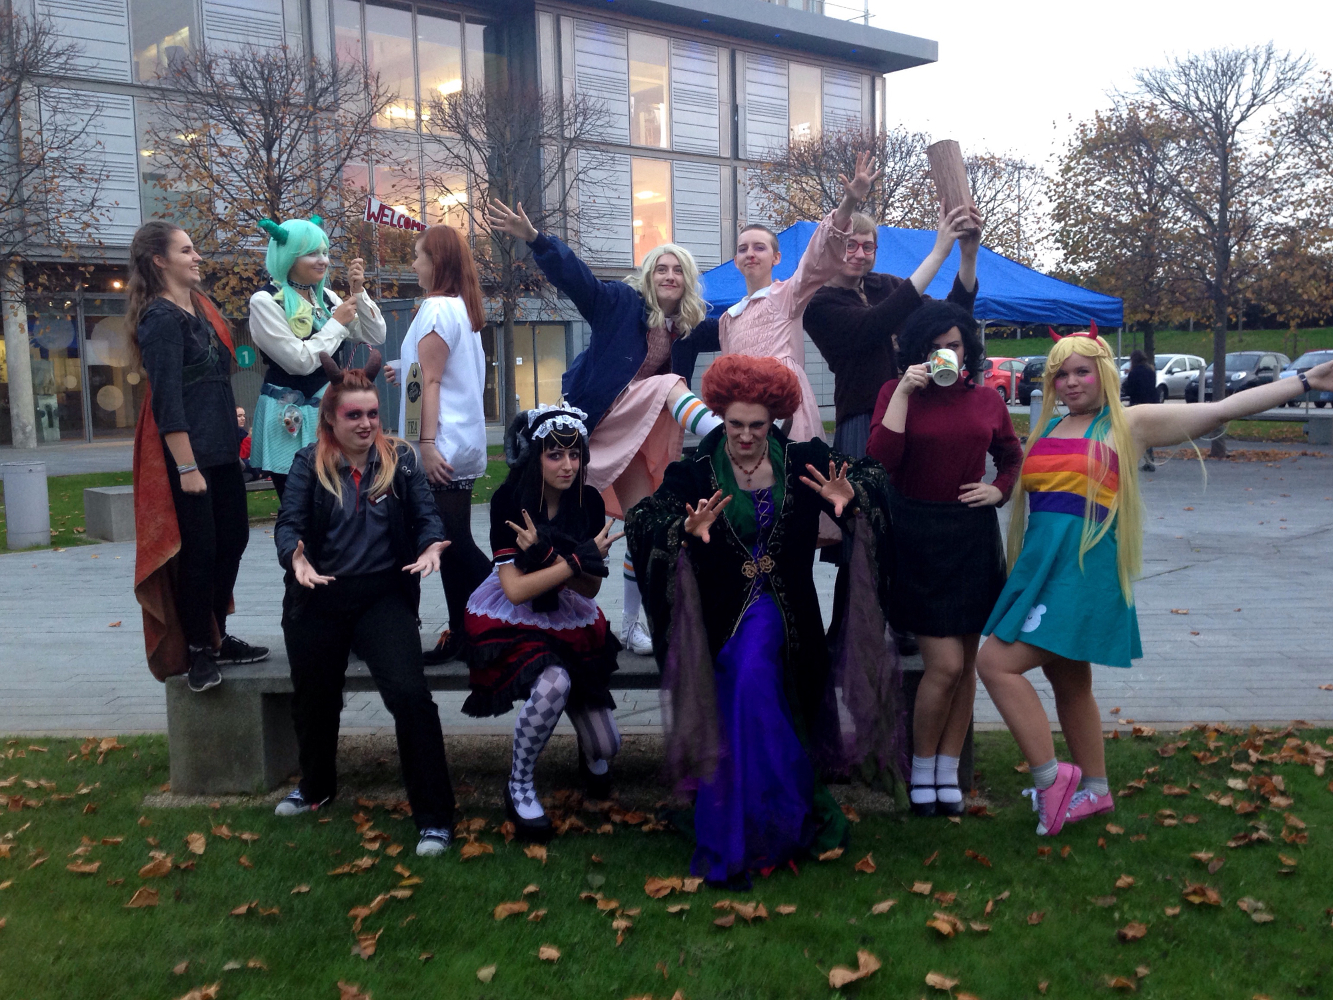
Back row: Em, Dina, Tilly, Phoebe, Maika, Kris; Front row: Katie, Ruth, Scott, Nicole, Me; Photo taken by Jay

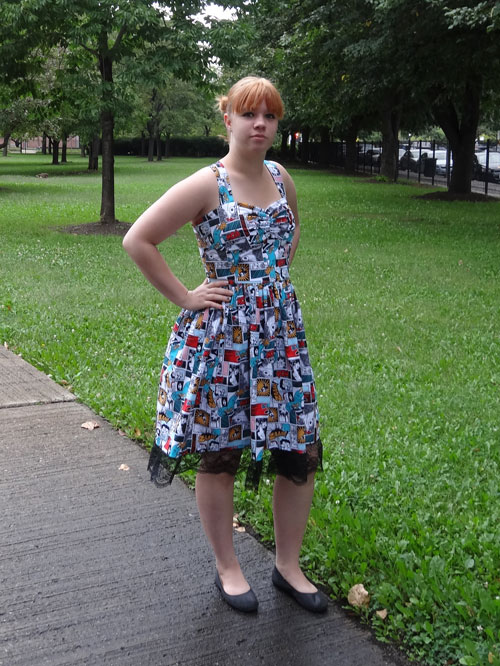
This cosplay was so cute I ended up wearing it for Halloween! Since I’m on a costume course, many people wore really, really good costumes. This costume was lots of fun, and I plan on wearing the dress again as normal clothing.

Dolly from Luxury Comedy

I’ve been watching a lot of Luxury Comedy recently, so my friend Alice the Insane and I decided to dress as Noel and Dolly.

small-img_6489

I made the dress and cut and styled the wig myself, too. The tights, shoes, and belt I found on Amazon and I already owned all of the jewelry and makeup.

img_6465

The dress was a weird thing to make. There’s one sleeve, a weird flap in the front, and shoulder pads. I patterned a shift dress and the sleeve using flat pattern drafting. To make the front flap, I cut out two shift dress fronts and sewed one to the back on both sides and the other on only one side. I then cut the top front (the one sewed in on one side) so that the free side slowly came in until it was about five inches from the side seam. Next, I folded over the side and sewed a hem using my machine. I also hand sewed the edge of the top of that side hem onto the side seam so that the flap would fall where I wanted it to.

img_6456

Instead of fully lining the dress, I made a facing to go around the neck and the left armhole.  It’s herringbone stitched in place to make sure it wouldn’t flip up or move around, and I used it to help keep the shoulder pads in place.

small-img_6476

I actually really like the dress and might wear it without the rest of the costume sometime. It’s a little dressy to wear to uni, and the shoulder pads are kind of a weird element, but I think I can find use for it somewhere.

small-img_6533

I think I made the exact same expression in every photo we took.

The makeup is still probably the funkiest part of this outfit. I spent a lot of time trying to get it just right, and I ended up needing some help with my eyebrows from my friend on the day of the con.

smallimg_6514

Thanks for reading and Happy Halloween! ?


New Fabric Designs!

If you have a Spoonflower account and follow my account, you’ve probably noticed some new designs. I’ve been working on a fabric collection based on paint.

fabric photo bllue and black splatters

The first fabric, called Black and Blue Mirrors, is a simple black and blue repeating pattern. I created this design using acrylic paint and paper. I then scanned the painting into my computer and cleaned it up as much as I could before I ordered a yard of fabric from Spoonflower.

Why did I order a yard of fabric, you ask?
13235751_1279093012118230_1632974195_nFor a swap with Alice the Insane, of course! I gave her a yard of my design printed on cotton poplin ultra in trade for a super cute bag that she made to match our Kylo Ren and General Hux cosplays that we wore to MCM London. 

13444170_490185707847044_1883455511_n

I really like the bag she made, and I’ve been using it so much! It’s a really good size for everything I need with me on a daily basis.

13250474_1279092878784910_492591044_n I love the dress she decided to make from the fabric, I think she did an amazing job keeping the pattern intact and that having the design off center was fresh and different.

13249616_1279092972118234_616445597_nShe added bias binding to the neck edge, and the dress opens at the side with a zipper. Isn’t it lovely?

painted stripes fabric sample

This is the other fabric that I designed, also made using acrylic paint, paper, and a scanner. It’s only the second fabric in my ‘Paint’ fabric collection, and I’m hoping to add at least two more painted fabric designs over the summer.

13236295_1279093835451481_50537210_n

Be sure to check out Alice the Insane’s facebook page!

If you’re interested in purchasing either of these fabrics, they are available here.

A New School Year

Sorry, it’s been quite a while since I’ve last posted. Since then, I have moved to England and started my first year studying costume design and construction at a university level. I’ve been working very hard in class, and so kept forgetting to post. (oops!)

During winter break, I went to Austria with my friend Ruth and stayed with her family. While in Austria, Ruth and I visited her photographer friend, Bildersanatorium, who was kind enough to take photographs of the many pieces I have made since September.

Slytherin Hat

I had made this hat to match a scarf I’d made, but I lost the scarf almost immediately upon its completion.

This hat was the second thing I made after moving to England. It’s a very simple earflap hat made from double crochet and single crochet, with braided tassels and a pom-pom.

In most of the photos I look very serious.

I actually look happy in this photo.


This dress is made from a very nice stretch velvet I picked up from BSP Haberdashery. I felt it, and I just had to take it home with me. I made up the dress pattern as I went along, copying one of my tank tops for the bodice, and gathering two rectangles for the skirt. The dress is so simple that I was able to hand sew the entire dress in one night.

Ruth with Red hat and Harley Quinn Scarf

Ruth with Red hat and Harley Quinn Scarf


This is my friend Ruth in cosplay as Mavis from Hotel Transylvania. She is modeling a knit hat and a crocheted scarf. The hat is a super simple pattern, I just altered knit and purl stitches until it reached the length I wanted, and then decreased. The scarf is made from the basic tunisian crochet stitch, which ended up making the fabric very thick and warm, but also caused a strange drape. I started making the scarf in red, but switched to black when I ran out of red.

Green Hat Front Green Hat


I made this hat for Ruth’s dad for Christmas. It’s a plain knit hat with a ribbed cuff.

Purple Cat Hatpurplecathat2


This hat is made for Ruth’s mom using the Kitkat Hat Pattern. The pattern was super easy to make, and I love the result!

Blue Cable Hat Blue Cable Hat 2


This is my favorite hat. It was my first time working with cables in a pattern and I love it so much! I used the Traveling Cable Hat Pattern and I found the instructions very easy to follow, although I did get confused while I was making the ribbing and messed up a bit. If you want to see in progress pictures of my hat, please click this link.

maroondress3 maroondress1


This dress is actually a project from spring of last year. It’s made from the same pattern as the French Fry Dress out of a soft woven plaid fabric. I did not match the plaid because it is a very small print, and I lined the bodice with the same fabric used in the rest of the dress.

I am planning on posting more often this year, and hopefully I’ll stick to that promise!


Perry the Platypus Dress

platypus-dress-front

This pictures were taken in September…Oops.

The dress is another pattern from Gertie’s New Book for Better Sewing. It’s the Sweetheart Sundress, although I modified it to better fit the idea that I had in my head. I changed the front of the dress so that it is no longer just two pieces (one on each side), but is now five (two on top, three on bottom), changed the back piece by separating the piece along the darts into three separate pieces, and changed the side zipper in order to make a more fitted dress.

platypus-dress-back

The skirt is a simple gathered skirt with a wide lace trim to add a bit of interest to the dress. The first time I applied the lace to the dress, I accidentally melted a segment of the lace with the iron and had to tear out the whole trim and replace it with new lace.

platypus-dress-close-up-of-

This is the inside of the dress. Only the top is lined, and I hand sewed in bra cups for support. The zipper is on the left side, and I did not encase it in fabric on both sides because I was trying to avoid hand sewing as much as possible.

platypus-dress-close-up-of

I think I like the new lace much better.

I found this fabric at Joann’s while looking for a fabric I could use to make a comic book print dress. I think that the fabric fits the criteria I set, because it includes animated characters in a comic book print design. It’s a cotton blend printed with the Phineas and Ferb characters with a focus on Perry the Platypus.

platypus-dress-spinny

Whee!

The Zig-Zag Dress

DSC00696

Oh man, look at that pattern matching on the princess seams!

I made the zig-zag dress a little over a year ago, sometime in the year 2013. It was part of my “Greyscale” Collection, which, as the name suggests, is a collection made from fabrics in shades of grey, black and white. The collection was inspired by the outfits in old black and white movies.

back-of-zig-zag-dress-2

The pattern is Vogue V8808 cut out in option B. I really like this dress style, especially the collar, shape, and length combination. I made the zig-zag dress before I had been told it is a much better idea to trace the pattern pieces, so all of the pieces are actually cut out of the original pattern paper.

side-of-zig-zag-dress

What happened to the pattern matching on the sides??

I’m really proud of the pattern matching on the princess seams (zig-zags AND curves? What was I thinking?!), but not of the pattern matching on the side seams. The reason for this is probably because I sewed and serged the side seams of the lining and the outside fabric at the same time.

inside-of-zig-zog-dress

The inside of the zig-zag dress isn’t very pretty, but at least I serged all of my seams.

Because the zig-zag fabric was very lightweight and see-through, I did not make a full lining, and instead ended it above the knee with a terribly uneven hem. Luckily, it’s not obvious that the lining hem is uneven from the outside, and instead looks like it transitions smoothly from lined to unlined.

back-of-zig-zag-dress

Despite its flaws, I still really like the zig-zag dress – I mean look at those princess seams!

French Fry Dress!

seated-view-of-fronch-fry-d

This is a rather silly pose.

This is the dress that I briefly mentioned in this post. I finally got outside and took some pictures of the dress! (Seven months after I made it-Oops!)

three-quarters-back-view-of

If you look closely, you can see my earrings are French flags! Get it?

The pattern I used for this dress is the Seersuker Sundress from Gertie’s New Book for Better Sewing and I used two yards of French Fry fabric. Since both the book and the fabric were Christmas gifts, I found myself with two yards of fabric and a pattern that called for three. Luckily, when I went to lay out my pattern pieces, there was easily enough space for all of them.

french fry dress in progress

“In Progress” featuring a helpful cat.

Pictured above is the muslin I made for the dress. I only made one muslin, and I only needed to adjust the front and back by taking them in by about 5/8 of an inch. I fully lined the dress with the muslin.

back-view-french-fry-dress

Hand sewing may take a long time, but it’s worth it!

I put in an invisible zipper instead of a lapped zipper, and this is the best invisible zipper I have ever done. The secret is to hand sew the whole zipper. I also took my time on the gathered skirt in order to make sure the gathers were perfectly even. Instead of gathering by sewing over a thread and pulling it, I pinned every gather out individually.
In fact, this garment is probably the best I have ever made. My only regret is that I didn’t take more time with the four darts in the front of the bodice – I could have adjusted them to fit better. Despite this, the French Fry Dress has been worn a few times already, (It was too cold to wear when I made it) and will definitely be worn over and over again in the future.

“Aqua” Inspired Garment

Image

"Aqua" Inspired Garment Front

This garment features a picture of the building “Aqua” located in downtown Chicago. This skyscraper was designed by Jeanne Gang, making “Aqua” the tallest building in the world to have a woman as the lead architect.